
| Quick Summary |
|---|
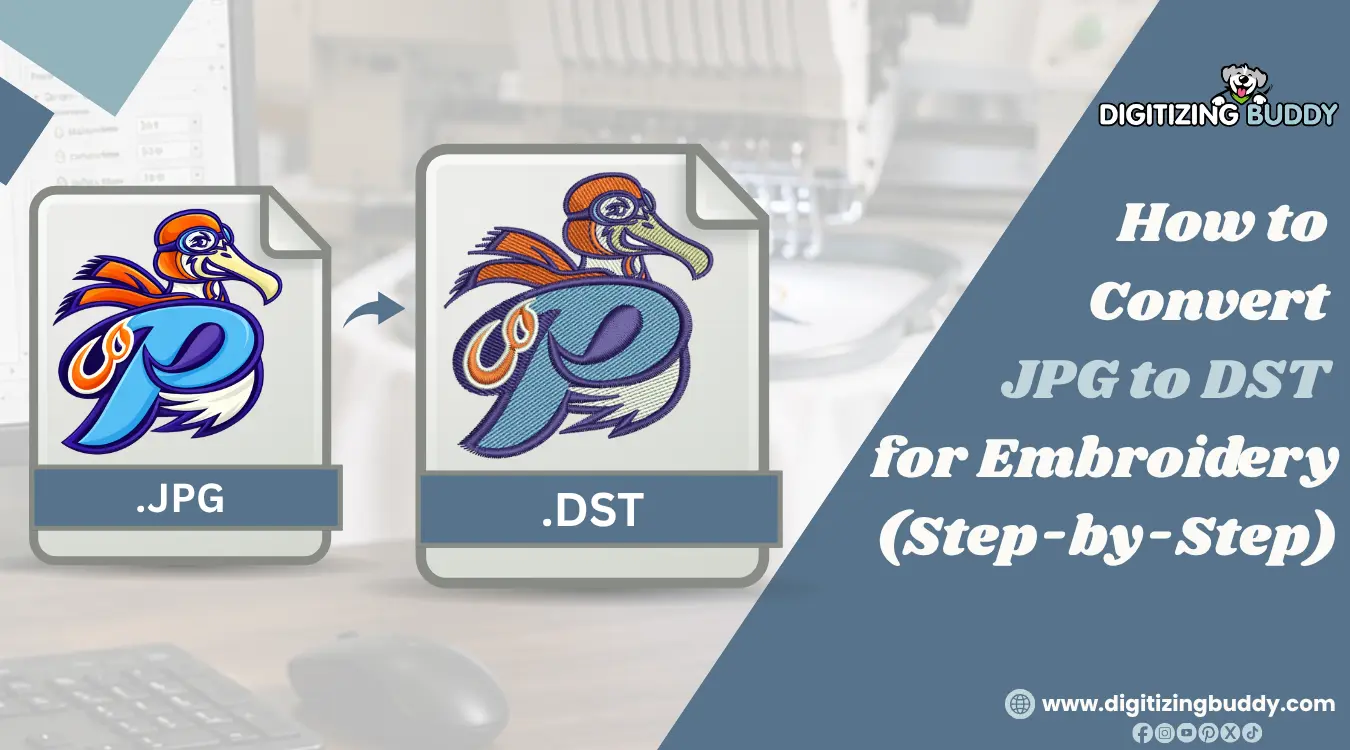
A JPG becomes a DST embroidery file through digitizing, which turns image details into machine-readable stitches.
|
You have a JPG image of a logo, name, or custom design that you want to embroider. However, your embroidery machine needs a DST file to read the design. So, how do you turn that image into stitches?
A JPG contains pixels, not stitch instructions. Simply changing its file extension will not work. Instead, you need to digitize the artwork to create a machine-ready embroidery file.
Fortunately, you have several ways to do this. This guide covers conversion steps, free and paid software, and important file checks. For complex designs, small lettering, and customer orders, reliable custom embroidery digitizing services offer another practical option.
- How Do You Turn a JPG Into a DST File?
- Difference Between a JPG and a DST File
- Can You Change a JPG to DST Without Digitizing?
- JPG Image to DST Embroidery File Conversion
- Best Free and Paid Software for JPG to DST Conversion
- Are Free Online JPG to DST Converters Good Enough?
- Checklist Before Using a DST File
- Why Should You Hire a Professional to Digitize a JPG?
- Final Thoughts
How Do You Turn a JPG Into a DST File?
To turn a JPG into a DST file, use embroidery digitizing software. A simple file rename cannot create the stitch instructions your machine needs.
Basic Conversion Steps
- Clean the image and set the final embroidery size.
- Create stitch objects and adjust stitch type, density, and sewing order.
- Preview the stitching, then export the design as a DST file.
- Test the file on similar fabric before embroidering your final item.
Difference Between a JPG and a DST File
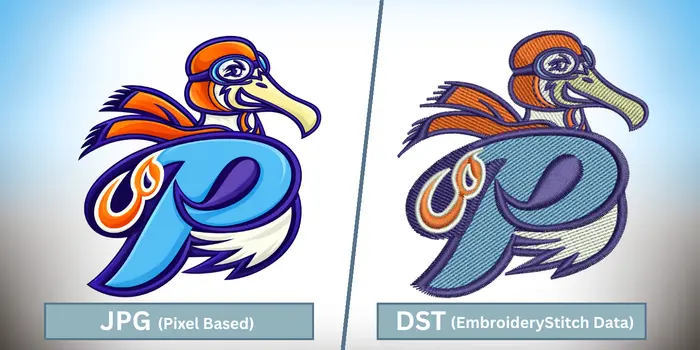
JPG and DST files serve different purposes. A JPG shows a picture using colored pixels. You can edit it in image software, but an embroidery machine cannot use it as stitch instructions.
A DST file tells a compatible machine where to place stitches and when to stop or change colors.
| Feature | JPG | DST |
|---|---|---|
| File type | Raster image | Embroidery stitch file |
| Purpose | Display pictures | Guide stitching |
| Contains | Pixels and colors | Stitch movements and stops |
| Machine use | No stitch instructions | Compatible machines |
| Editing | Image editing | Limited stitch editing |
However, DST files do not store actual thread shades. Keep a separate thread color chart to match your design.
In short, JPG displays the artwork, while DST guides the stitching.
Can You Change a JPG to DST Without Digitizing?
No, you cannot turn a JPG into a working DST file by simply renaming it or using a basic image converter. A JPG contains pixels, while a DST needs instructions that tell the embroidery machine where to stitch.
Why Does Simple File Conversion Not Work?
- Renaming JPG to DST only changes the file name, not its contents.
- Photoshop and Illustrator can prepare artwork, but they cannot create complete embroidery stitch files on their own.
- Auto-digitizing software can create stitches, but you may need to adjust density, stitch types, and sewing order.
Therefore, proper digitizing is necessary to create a usable file. Here is how the process works.
JPG Image to DST Embroidery File Conversion
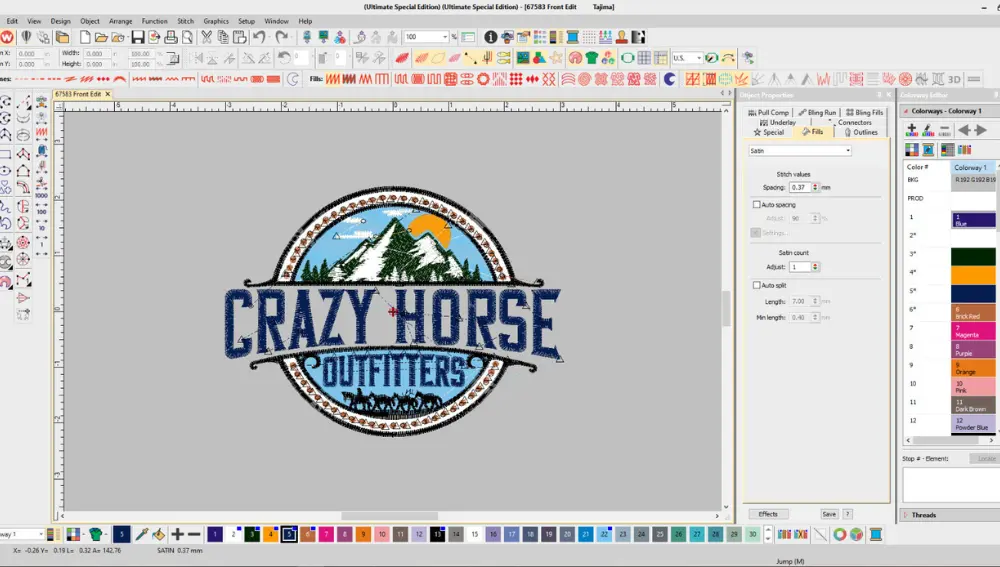
A reliable embroidery file starts with clear artwork and the right stitch settings. Follow these six steps to turn your image into a design your machine can sew.
Step 1: Choose and Clean Your JPG Image
Pick the clearest version of your logo, text, or artwork. Remove unwanted backgrounds, blurry edges, and tiny details that may not stitch well. If possible, start with the original image instead of a small screenshot. Clean shapes are easier to digitize.
Step 2: Set the Final Embroidery Size
Decide where the design will go and measure the space. A left-chest logo, cap logo, and jacket-back design need different sizes and stitch settings. Check your hoop limits and keep small letters large enough to sew clearly. Set the size before creating stitches.
Step 3: Import the Image Into Digitizing Software
Open your artwork in software that creates embroidery stitches. Use the steps for your program:
- Ink/Stitch: Import the JPG into Inkscape. Use Trace Bitmap or draw over the shapes, then set embroidery properties in Ink/Stitch.
- Hatch Embroidery: Open the Artwork toolbox and choose Insert Artwork. Add the JPG and use the available digitizing tools.
- Wilcom EmbroideryStudio: Choose Import Graphic to place the JPG behind your stitch design. Digitize it by using digitizing tools.
Step 4: Create Stitch Types and Adjust Settings
Turn the artwork into stitch objects. Choose satin stitches for many letters and narrow shapes, fill stitches for large areas, and running stitches for thin lines. Adjust the underlay stitches to support the design, stitch density to control stitch spacing, and pull compensation to reduce gaps.
Arrange the sewing order so nearby areas stitch smoothly. This reduces jumps and trims.
Step 5: Preview and Export the DST File
Run the stitch simulator. Look for gaps, overlaps, long jumps, and unexpected color changes. Save an editable master file before exporting so you can make changes later.
- Ink/Stitch: Choose File, then Save a Copy, and select DST. Keep the SVG working file.
- Hatch: Save the design as EMB. Open Output Design and export it as DST.
- Wilcom: Save the EMB project, then choose Export Machine File and select DST.
Step 6: Test the Design on Fabric
Sew a sample using fabric and stabilizer similar to your final item. Watch for puckering, thread breaks, gaps, and letters that look too small. Fix the stitch settings and test again before making the final product.
For a logo with fine details or tricky fabric, send your artwork to Digitizing Buddy for a DST file suited to your project.
Watch this review by Embroidery Legacy to see their experience with Digitizing Buddy and why quality digitizing matters for your embroidery projects.
Best Free and Paid Software for JPG to DST Conversion
Choosing the right software depends on your budget and design needs. These tools turn artwork into stitches and export files for compatible embroidery machines.
| Software | Cost | Best For |
|---|---|---|
| Ink/Stitch | Free | Beginners learning digitizing |
| Hatch Embroidery | Paid | Hobbyists and small shops |
| Wilcom EmbroideryStudio | Paid | Commercial digitizing |
You can also explore Embrilliance StitchArtist and Brother PE-DESIGN for creating embroidery designs.
Free software can create usable DST files. Still, stitch quality depends on the artwork, settings, and your skills. Paid tools offer extra features, but they cannot replace careful stitch planning.
Are Free Online JPG to DST Converters Good Enough?
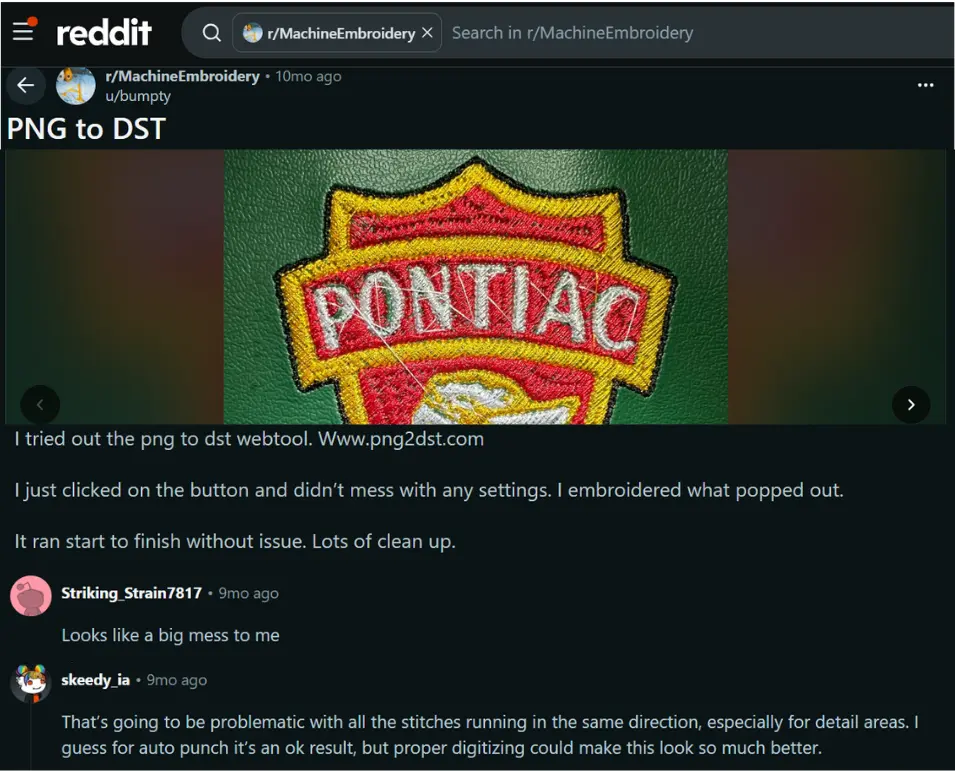
Free online converters can work for simple designs, but results vary. Some tools use auto-digitizing to create stitches. However, many online converters only change existing embroidery formats, such as PES to DST. They cannot turn JPG pixels into stitches without digitizing.
Where Do Automatic Converters Work Best?
| May Work For | May Struggle With |
|---|---|
| Simple shapes | Detailed logos |
| Single-color designs | Small lettering |
| Flat graphics | Gradients and shadows |
| Practice projects | Caps and stretchy fabrics |
Automatic tools may miss fine details or use poor stitch settings. They may also struggle with fabric stretch, density, and underlay.
Therefore, always check the stitch preview and test the design on similar fabric. A downloaded DST file does not guarantee smooth stitching.
Checklist Before Using a DST File
Before loading a DST file, check more than whether it opens. A file may look fine on screen but cause gaps, puckering, or broken threads when sewn.
What Should You Check?
- Design size: Must fit your machine’s hoop.
- Stitch density: Crowded stitches can break thread or pucker fabric.
- Thread color order: DST records color changes, not exact thread shades.
- Small lettering: Tiny letters may close up during embroidery.
- Jumps and trims: Poor stitch order leaves unwanted threads.
- Machine compatibility: Some machines do not support DST.
Also, use the stitch preview to spot long jumps, crowded areas, and unwanted stops. Keep a thread chart to match the original colors.
Finally, sew a sample using the same fabric and stabilizer as your final item. Check for poor lettering, gaps, and thread breaks. Make changes and test again before starting a large order.
Why Should You Hire a Professional to Digitize a JPG?
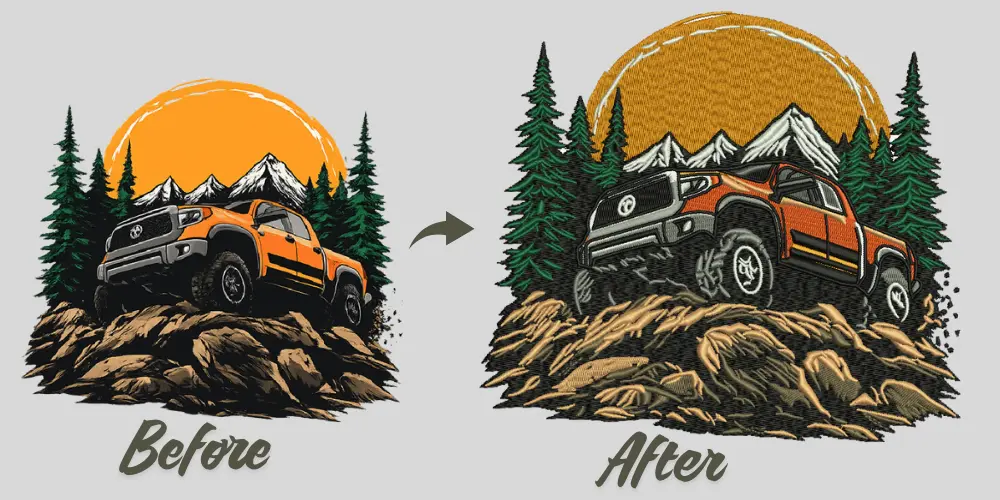
Digitizing a design yourself takes time. Paid software can be costly, while free tools still have a steep learning curve. You may spend hours fixing stitches instead of working on other projects or customer orders.
Auto-digitizing saves time, but it may create too many stitches, miss fine details, or use poor sewing order.
When Is Expert Digitizing Worth It?
Professional digitizing is useful for:
- Business logos that need accurate details.
- Small lettering and thin lines.
- Structured caps and 3D puff embroidery.
- Custom patches and difficult fabrics.
- Bulk orders that need consistent stitching.
A skilled digitizer controls stitch types, underlay, density, and sewing order based on the fabric. This reduces trial and error while you focus on more productive work.
Final Thoughts
Turning a JPG image into a DST embroidery file takes more than changing its name. The image needs stitch instructions that your machine can follow. Clear artwork, the right design size, and proper stitch settings make a big difference.
Free tools like Ink/Stitch can handle the job, while paid software offers more features. However, automatic conversion may miss small details or create poor stitches. Always check the design size, thread colors, and machine compatibility. Also, test the file on fabric before starting your project.
For detailed logos, small lettering, or bulk orders, skip the trial and error. Send your artwork to Digitizing Buddy and get a free quote for custom embroidery digitizing.
Frequently Asked Questions
Yes, you can digitize a photograph using techniques like photo stitch embroidery. However, realistic photos often need fewer colors, simpler details, and careful stitch settings to produce good results on fabric.
Yes. You can use the free Ink/Stitch extension with Inkscape on a supported Mac. However, you must create and adjust the stitches before exporting.
DST files do not store actual thread colors. Your software or machine may assign default shades. Use a thread color chart to select the correct colors.
Some Brother machines support DST, while others use PES. Check your machine’s manual for supported file types before transferring the design.
Small size changes may work, but larger changes can affect stitch density and quality. For major resizing, adjust the original digitized design and test it again.