
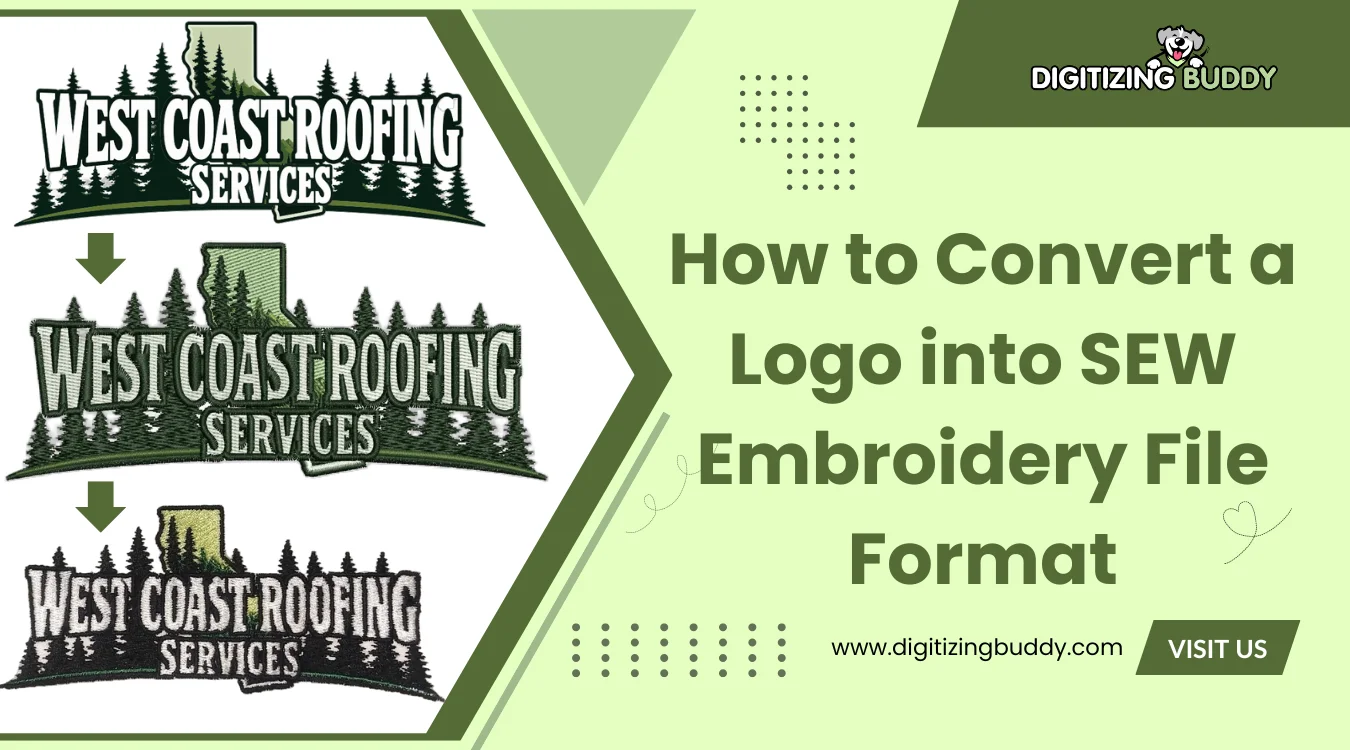
| Quick Summary |
|---|
A clean SEW file starts with correct machine details, careful digitizing, and a test sew.
|
A business logo may look sharp as a JPG, PNG, PDF, AI, or SVG file. However, an embroidery machine cannot stitch pixels or vector paths. It needs a planned sequence of stitches, color changes, and movement commands.
Without proper digitizing, small letters may close up, coverage may look thin, and fabric may pucker. In addition, the wrong format, oversized hoop settings, poor proportions, or long jumps can cause machine errors and weak results.
This guide explains SEW compatibility, logo digitizing, format limits, export steps, and test sew-outs. Digitizing Buddy also provides dependable embroidery digitizing solutions for clean, production-ready stitch files.
- What Is a SEW Embroidery File?
- Do You Need SEW or JEF for Your Machine?
- What Are the Main Limits of the SEW Format?
- Why Can’t You Simply Save a JPG or PNG as SEW?
- What Do You Need Before Creating the SEW File?
- How to Convert Logo to SEW Format Step-by-Step
- What Problems Can Appear in a SEW Logo File?
- When Should You Hire a Professional Digitizing Service?
- Final SEW File Quality Checklist
What Is a SEW Embroidery File?
A SEW embroidery file is a machine stitch file used with some older Janome, Elna, New Home, and Kenmore machines. It tells the machine where to place stitches, when to move, and when to change thread colors. However, it does not keep the editable objects used during digitizing.
What Information Does a SEW File Store?
A SEW file stores:
- Needle penetration coordinates
- Movement commands
- Color changes
- Stitching order
- Design position
- Basic preview and color details
Meanwhile, satin objects, fill objects, underlay, density, and pull compensation stay in the editable master file. The exported SEW file keeps the generated stitches and machine commands instead.
Which Machines Use SEW Files?
Older machine models may accept SEW files, including Janome, Elna, New Home, and Kenmore embroidery machines. However, support varies by model. Therefore, check the machine manual before saving or transferring the design. Current Janome and Elna machines generally use JEF as the standard stitch format.
Do You Need SEW or JEF for Your Machine?
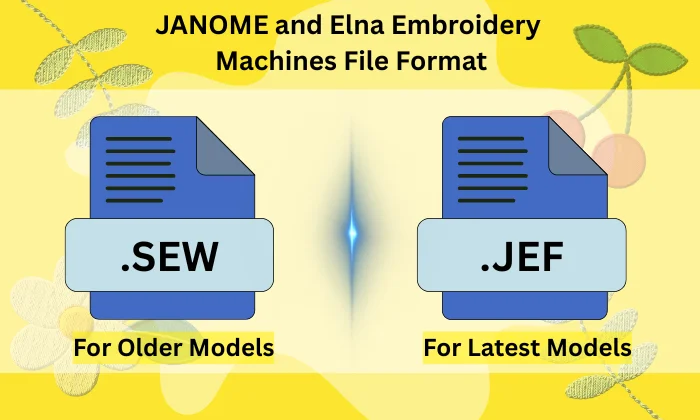
SEW and JEF serve different Janome machine generations, so choosing the wrong one can stop a design from appearing. Check the machine manual before ordering, exporting, or transferring the file.
SEW Is Mainly a Legacy Format
SEW is useful for older Janome, Elna, New Home, and Kenmore machines. However, Janome identifies JEF as the default stitch format for current Janome and Elna machines.
For example, the older Janome Memory Craft 9000 accepted both SEW and JEF. Meanwhile, many later models use JEF, JEF Plus, or JPX files.
Check the Exact Machine Model
Confirm these details:
- Machine brand and model number
- Accepted file extensions
- Transfer method and folder structure
- Hoop dimensions and maximum design size
- Stitch or color change limits
- Memory card requirements
Quick Format Check
Use SEW when the manual lists .SEW.
Use JEF when the machine lists .JEF.
Still unsure? Check the model manual before preparing the file.
What Are the Main Limits of the SEW Format?
SEW has stricter limits than many machine formats. It supports up to 12 thread changes and stores a fixed palette of 78 colors. A common sewing area is 125 by 90 mm, while some older Janome hoops use 85 by 70 mm. However, compatible hoop sizes can vary by machine.
Why Does Stitch Planning Matter?
SEW does not normally carry trim codes. Therefore, the digitizer should carefully reduce long jumps and plan smooth travel between logo sections. Some machines may still trim automatically before jumps or stops, but this depends on the model. Always check the machine manual and test the exported file before production.
Why Can’t You Simply Save a JPG or PNG as SEW?
A JPG, PNG, PDF, AI, or SVG file only shows artwork. It does not contain needle points, stitch paths, color stops, or movement commands. Therefore, an embroidery machine cannot read it as a sew-ready design.
What Is File Conversion?
File conversion changes one embroidery format into another. For example, a digitizer may convert a JEF stitch file into SEW after checking size, colors, and compatibility.
What Is Embroidery Digitizing?
Digitizing builds stitches from ordinary artwork. The digitizer chooses stitch types, density, underlay, sequence, and travel paths.
Simply renaming .jpg as .sew will not create embroidery. The logo must be interpreted, digitized, exported, and tested on real fabric first.
Watch this quick and helpful video to understand why JPG and PNG images cannot run directly on an embroidery machine and why the artwork must be digitized.
What Do You Need Before Creating the SEW File?
Collect the key details before digitizing:
- Highest quality logo available
- PNG, JPG, AI, EPS, SVG, or PDF artwork
- Exact embroidery machine model
- Finished width and height
- Hoop size and logo placement
- Garment or fabric type
- Thread colors and total logo colors
Why Does the Fabric Matter?
Fabric changes how stitches behave. Therefore, denim, polo knit, fleece, caps, and lightweight shirts may need different density, underlay, and pull compensation. Sharing these details early helps the digitizer build a cleaner file and reduce problems during the test sew-out.
How to Convert Logo to SEW Format Step-by-Step
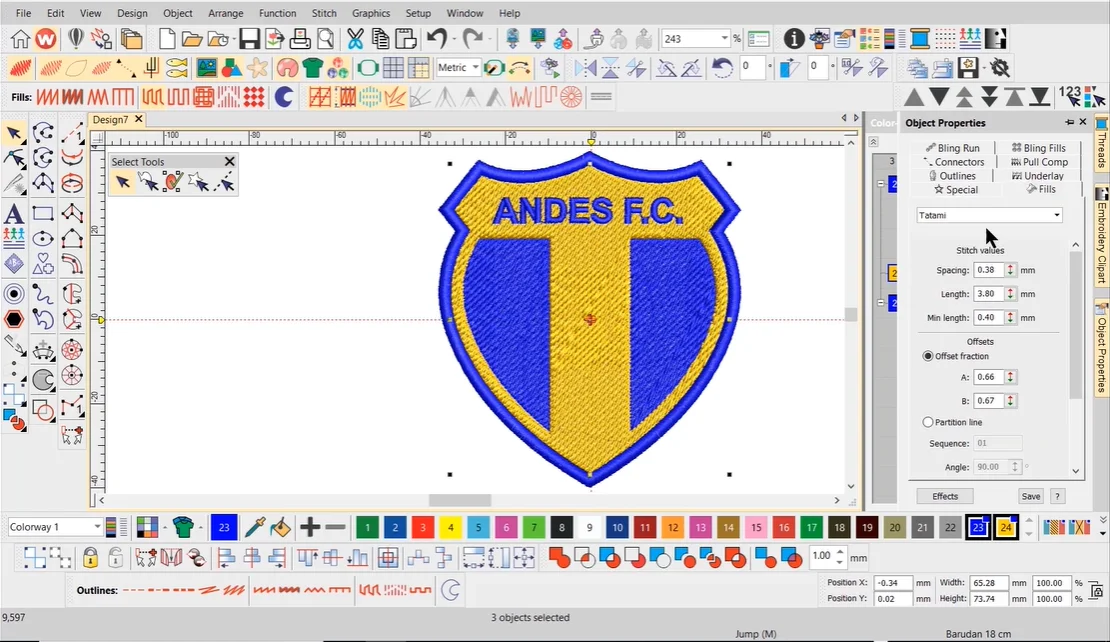
Step 1: Inspect and Simplify the Logo
Check gradients, shadows, thin outlines, tiny text, overlapping shapes, extra colors, and distressed effects. Embroidery uses thread instead of ink. Therefore, simplify, enlarge, combine, or remove details that will not stitch clearly.
Step 2: Set the Final Embroidery Size
Choose the width and height before adding stitches. A left chest logo needs different settings from a jacket back design. Also, shrinking a stitch file can tighten lettering and increase density. Confirm that the design fits the SEW-compatible hoop.
Step 3: Redraw and Separate the Elements
Trace the logo into objects. Separate text, borders, icons, background shapes, fine lines, and overlapping sections. Meanwhile, add enough overlap to prevent gaps when the fabric shifts.
Step 4: Choose the Right Stitch Types
Use run stitches for fine lines. Satin stitches suit lettering, borders, and narrow columns. Fill stitches cover areas. However, do not turn every shape into a fill. Base each choice on width, purpose, and size.
Step 5: Adjust the Stitch Settings
Underlay supports the top stitches, while density controls coverage. Push and pull settings help narrow shapes and letters keep their width. In addition, stitch direction adds shape and reduces distortion. Make fabric changes in the editable master design before export.
Step 6: Plan the Stitching Order
Build background areas before foreground details. Also, reduce long jumps, repeated color changes, unnecessary stops, and travel across open fabric. Careful pathing matters because SEW does not normally carry trim commands.
Step 7: Save the Editable Master File
Save the design in an editable format such as EMB. It keeps object shapes, stitch types, density, underlay, colors, and settings. In contrast, the machine file mainly carries stitches and commands.
Step 8: Export the Completed Design
Export as SEW only after saving the master file. Wilcom EmbroideryStudio, Hatch, and Embird can write SEW files. However, Ink Stitch currently reads SEW but does not export it. Check your software version.
Step 9: Preview and Run a Test Sew Out
Open the exported file again. Check the size, color sequence, simulation, and jumps. Then transfer it through the machine’s required method. Test it on matching fabric and stabilizer.
If problems appear, correct the master design and export a fresh file.
Need help preparing your logo for embroidery? Digitizing Buddy can create a clean SEW file with careful stitch planning, fabric-based settings, and smooth machine performance.
What Problems Can Appear in a SEW Logo File?
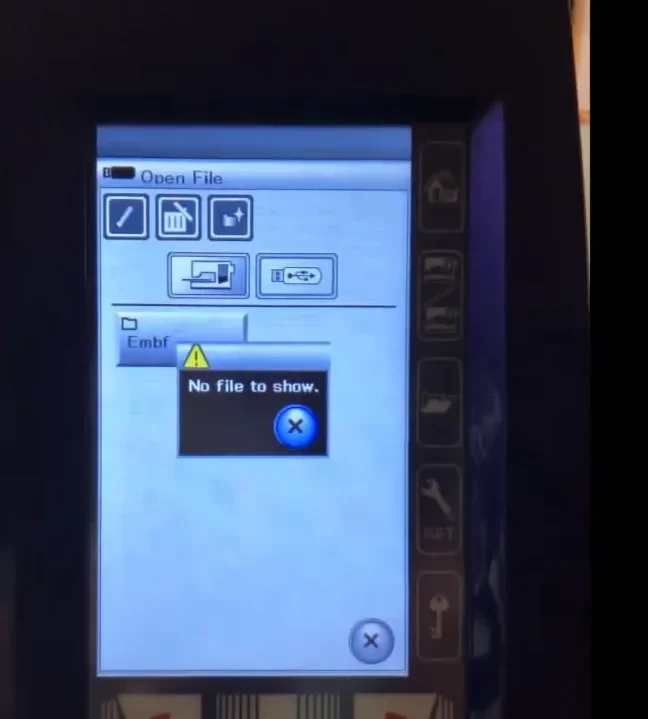
1. The Machine Does Not Show the File
Check these common causes:
- The machine does not support SEW.
- The file is in the wrong folder.
- The transfer media is incompatible.
- The design exceeds the hoop size.
- The file name uses unsupported characters.
- The file is damaged or exported incorrectly.
Therefore, confirm the manual, folder path, hoop limit, and transfer method before trying again.
2. The Logo Has Too Many Colors
Standard SEW files allow up to 12 thread changes. Reduce extra colors and combine similar shades when possible.
3. Long Threads Appear Between Objects
SEW usually does not carry trim commands. As a result, improve the stitch path and reduce long jumps.
4. Small Text Looks Closed or Uneven
Increase the lettering size, simplify the font, or lower the density. Also, use lettering made for small embroidery.
5. The Logo Changes Shape After Resizing
Return to the editable master file. Avoid major size changes in the finished machine file.
When Should You Hire a Professional Digitizing Service?
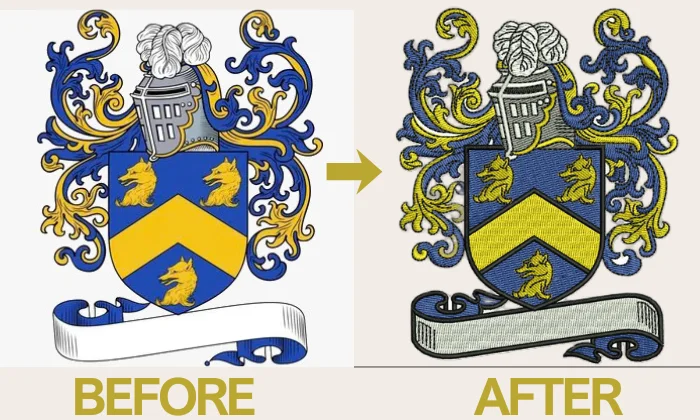
Creating a SEW file yourself may seem affordable. However, embroidery digitizing has a steep learning curve. You must understand stitch types, density, underlay, pull compensation, sequencing, fabric movement, and machine limits.
Professional embroidery software can also require a costly license or subscription. In addition, learning the tools, testing designs, and correcting stitch problems may take several hours or even days or months for a beginner.
Common Drawbacks of DIY Digitizing
- High software and training costs
- Long setup and editing time
- Poor results on small lettering
- Excessive jumps and thread breaks
- Wasted fabric, thread, and stabilizer
- Repeated test sew-outs
Professional help is useful for detailed logos, older machines, tight deadlines, or bulk production. An experienced digitizer can create smoother paths, readable text, and fabric-specific settings. Digitizing Buddy can prepare a clean, machine-ready SEW file.
Final SEW File Quality Checklist
Before production, review each point:
- Fix any problems before full production.
- Confirm the exact machine model.
- Check that the manual supports SEW.
- Make sure the design fits the hoop.
- Verify the final size and color limit.
- Keep all text clear and readable.
- Review stitch order and reduce long jumps.
- Check start and end positions.
- Record the thread colors.
- Save the editable master file.
- Reopen the exported SEW file.
- Complete a test sew on similar fabric.
Final Thoughts
Creating a reliable SEW embroidery file takes more than changing a logo extension. You must confirm the machine model, check hoop and color limits, digitize each logo element, and plan the stitch path carefully. In addition, saving an editable master file makes future corrections much easier.
Always reopen the exported file and complete a test sew on similar fabric before production. This step helps catch sizing, color, and stitch problems early. Need a clean, machine-ready logo design? Contact Digitizing Buddy for professional embroidery digitizing and get a free quote today.
Frequently Asked Questions
No. JPG and PNG files contain visual artwork, not stitch commands. A digitizer must create needle points, stitch types, color changes, and movement paths before exporting the design as SEW.
SEW files mainly work with some older Janome, Elna, New Home, and Kenmore machines. However, support varies by model, so always check the machine manual before ordering the file.
SEW is an older machine format with stricter size and color limits. Meanwhile, JEF is the standard stitch format used by many newer Janome and Elna embroidery machines.
Small size changes may work, but major resizing can damage density, lettering, and stitch coverage. Instead, edit the original master design and export a new file at the correct size.
A standard SEW file supports up to 12 thread changes. Therefore, logos with many shades may need fewer colors or combined sections before export.