
| Quick Summary |
|---|
Set embroidery prices by covering every cost and adding profit.
|
One customer brings 12 blank hats and asks you to stitch a logo. Another wants the same 12 hats but expects you to supply them. The design stays the same, yet the final price should not.
You must cover stitches, hooping, labor, and supplies. Then come garment costs and the work needed to turn a logo into stitches. Small orders can cut into your profit, while bulk discounts may leave you underpaid.
So, how do you set a fair price without losing money? This guide walks through the costs that matter. For new designs, compare reliable embroidery digitizing services with the time and cost of doing it yourself.
- Quick Answer: How Much Should You Charge for Embroidery?
- Common Embroidery Pricing Methods
- What Factors Affect Embroidery Prices?
- Pricing Customer-Supplied Hats, Shirts, and Jackets
- Pricing Apparel and Hats You Supply
- How Much Should You Charge for Embroidery Digitizing?
- In-House vs. Outsourced Digitizing: Which Is Cheaper?
- How to Calculate the Final Embroidery Quote
- Embroidery Pricing Examples
Quick Answer: How Much Should You Charge for Embroidery?
Your embroidery price should cover the full cost of each order, not just its stitch count. Design size, order quantity, and production time all affect what you should charge.
Costs to Include
- Labor for hooping, stitching, and finishing.
- Thread, backing, and other supplies.
- Digitizing or setup for new designs.
- Machine costs, rent, and other overhead.
Use this simple formula:
Embroidery selling price = Production costs + Overhead allowance + Profit
If you supply hats or shirts, add the garment’s selling price, including your markup. Since every shop has different costs, check each quote before setting a final rate.
Common Embroidery Pricing Methods
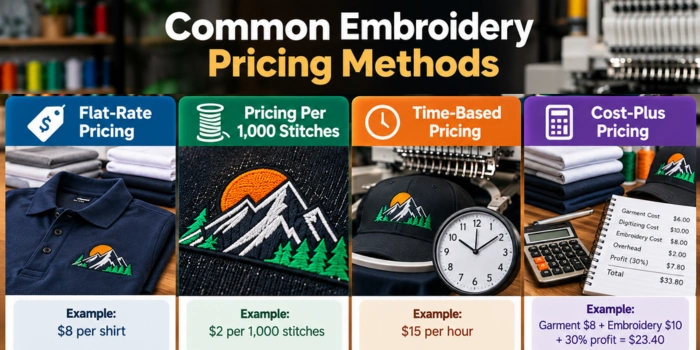
Embroidery shops use three common pricing methods. Each works better for certain orders, depending on design size, quantity, and production costs.
Pricing Per 1,000 Stitches
You charge based on the number of stitches. For example, at $3 per 1,000 stitches, an 8,000-stitch logo costs $24 to embroider.
However, small designs still need setup and hooping. So, set a minimum charge per item or order to cover your time.
Flat-Rate Pricing
You set fixed prices for common jobs, such as left-chest logos, names, and hat fronts.
This makes quoting easier. However, each rate should have limits on design size, stitch count, and complexity. Charge extra for larger or detailed designs.
Time-Based and Cost-Plus Pricing
This method uses your actual costs, including:
- Labor and machine running time.
- Thread, backing, and other supplies.
- Machine maintenance and overhead.
- Your target profit.
Which Pricing Method Works Best?
A mixed approach works well for many shops. Use stitch or placement rates for quick quotes, then check your real costs to protect your profit.
What Factors Affect Embroidery Prices?
Two designs with the same stitch count can cost very different amounts to produce. Before setting a price, look at the full job, not just the design file.
Costs That Change Your Quote
- Stitch count and size: Larger or dense designs often need more thread and machine time.
- Machine time: Color changes, trims, and thread breaks can slow production, even on fast machines.
- Labor: Count time spent hooping garments, loading designs, trimming threads, and checking each finished piece.
- Supplies: Include stabilizer, thread, needles, bobbins, and other items used during stitching.
- Garment and placement: Stretchy shirts, thick jackets, curved caps, and hard-to-reach spots may need extra setup.
- Overhead: Build machine repairs, maintenance, power, rent, and insurance into your rates.
- Order size: Larger runs can spread setup time across more pieces, but not every job earns a bulk discount.
- Special requests: Rush jobs, 3D puff, and other complex effects may require more work or testing.
A small logo on a cap may take longer to hoop and align than a similar logo on a flat T-shirt. So, charging only by stitch count can leave you short.
Also, track how long jobs actually take. Compare that time with your quote, then update your rates when needed.
Pricing Customer-Supplied Hats, Shirts, and Jackets
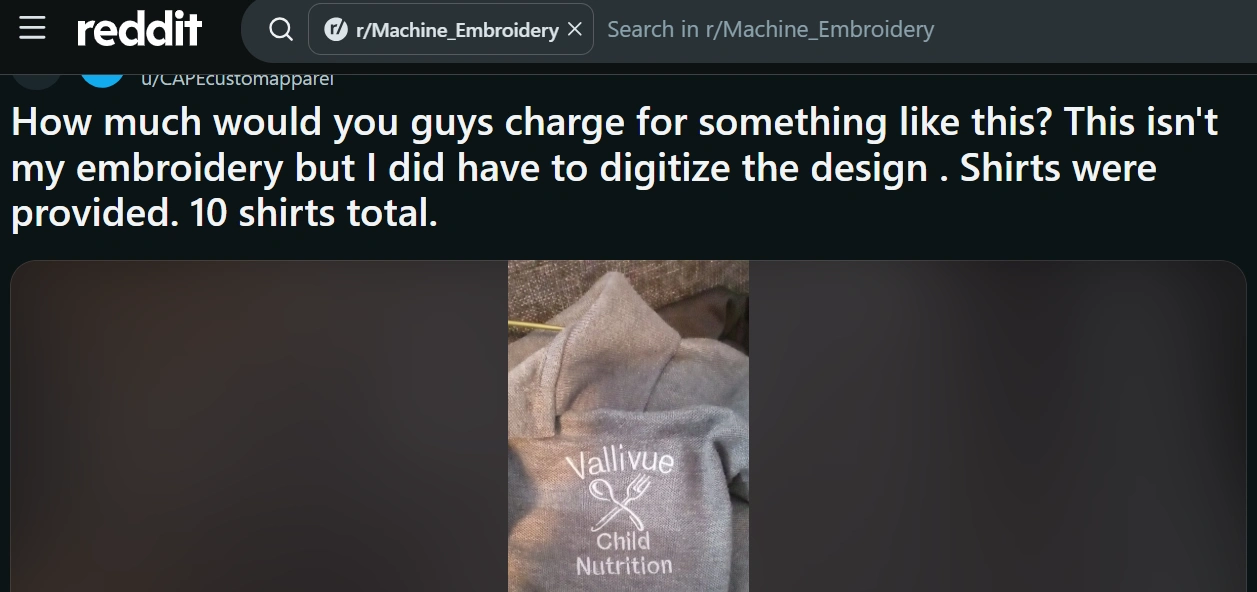
When customers bring their own hats, shirts, or jackets, they pay for embroidery, not garments. Still, cover every step of the job. You also earn no markup on the apparel.
What Should You Charge for Customer-Supplied Apparel?
Build the price around these costs:
- Hooping, loading, stitching, trimming, and checking each item.
- Machine time, thread, stabilizer, needles, and supplies.
- Overhead and enough profit to keep the job worthwhile.
- A one-time digitizing fee for every new logo or a new size.
Set a minimum charge for small orders. Even one shirt takes time to prepare. For larger runs, lower the price only when you can save time per piece.
Also, consider a separate handling fee for extra inspection, sorting, or tricky placement. For example, one U.S. shop lists $4 to $8 per garment for each embroidery location. However, do not charge twice for normal hooping if your base price already includes it.
Handling Risk and Customer-Owned Garments
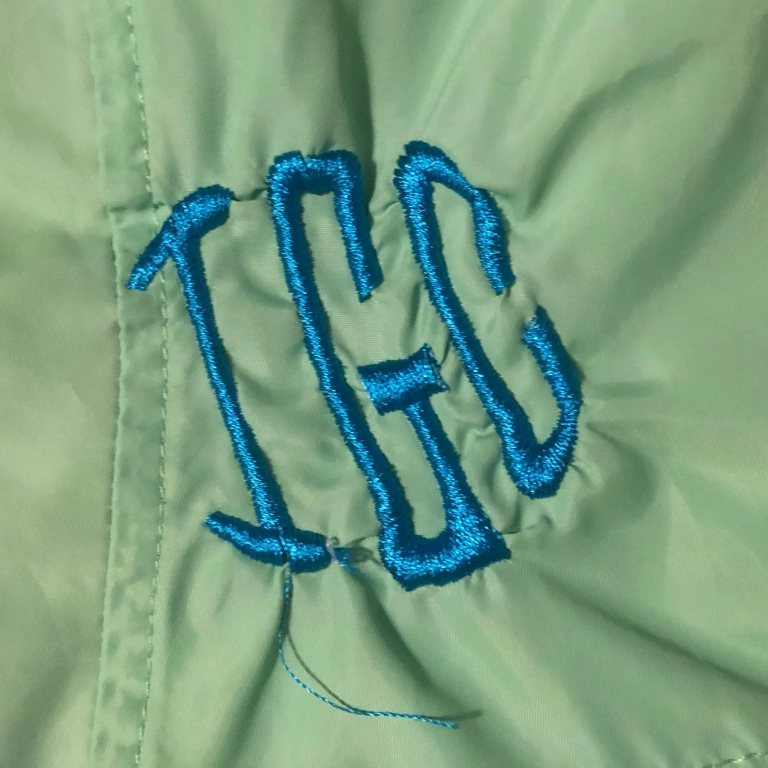
A customer may bring an expensive jacket or a cap made from stiff, uneven fabric. Such items can be harder to hoop and may cost more to replace if something goes wrong.
Before accepting the order:
- Check fabric, seams, stains, old damage, and access to the stitch area.
- Discuss hoop marks, puckering, and the chance of needle damage.
- Agree on how to handle damage and possible replacement costs.
- Put the price, design location, approval, and damage policy in writing.
Finally, decline garments you cannot sew safely. Ask for a test item when fabric or placement looks risky.
Pricing Apparel and Hats You Supply
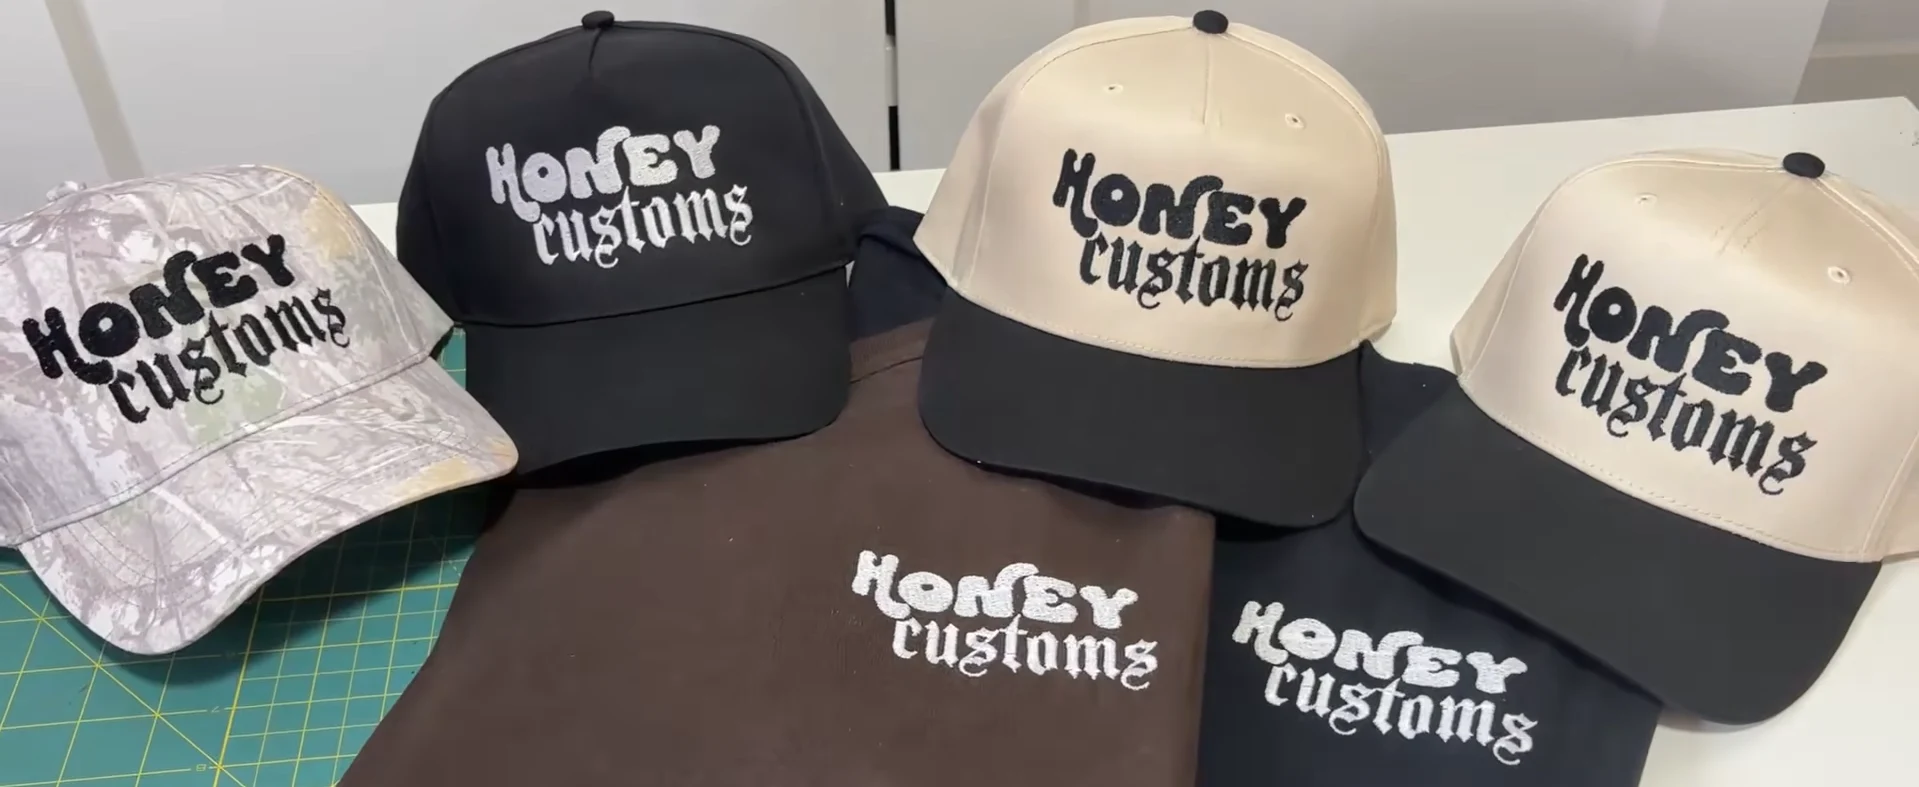
When your shop supplies blank shirts and hats, you sell two things: the garments and the embroidery work. Price both parts carefully so one does not cut into the profit from the other.
Calculate the Garment’s Actual Cost
Start with the wholesale price, then add shipping to your shop, supplier fees, and any taxes you cannot recover. This gives you the landed cost of each item.
Your selling price also needs room for ordering time, sorting sizes, and the chance of a wrong or damaged item. Use a markup that fits your costs instead of copying another shop’s rate.
For example, if a hat costs $8 in total and you sell it for $12, the $4 difference is a 50 percent markup on cost. However, it is only a 33.3 percent gross margin on the hat sale, before other business expenses.
Add Embroidery and Digitizing Charges
After pricing the blanks, add the stitching charge for each location. Include extra work for thick caps, jackets, or hard-to-hoop areas. Then add a one-time digitizing fee for a new logo, if needed.
Use this formula for the order:
Final price = Marked-up apparel + Embroidery service + Applicable setup or digitizing charges
For an order with several items, multiply the per-item charges by quantity before adding one-time fees.
Check Sizes, Quantity, and Stock
Also, confirm the brand, color, style, and sizes before quoting. Larger sizes or premium styles may cost more. Bulk supplier discounts can lower your cost, but check your real savings before offering discounts.
Finally, confirm stock and delivery dates. A late replacement or extra shipping charge can quickly reduce your profit.
How Much Should You Charge for Embroidery Digitizing?
Digitizing turns artwork into stitch instructions for embroidery machines. A digitizer chooses stitch types, underlay, and sewing order. Simply saving a JPG as DST or PES does not create a usable design.
How to Set Your Digitizing Fee
Charge a one-time fee for each new logo. Base it on design detail, finished size, stitch count, and the work involved. Simple lettering may cost less than a detailed jacket-back design.
When Should You Charge Extra?
- A new file for a cap, 3D puff, or different placement.
- Major edits to an existing logo or a poorly made stitch file.
- Extra test runs or changes outside the agreed scope.
For repeat orders, reuse the approved file when the size, fabric, and placement stay the same.
In-House vs. Outsourced Digitizing: Which Is Cheaper?
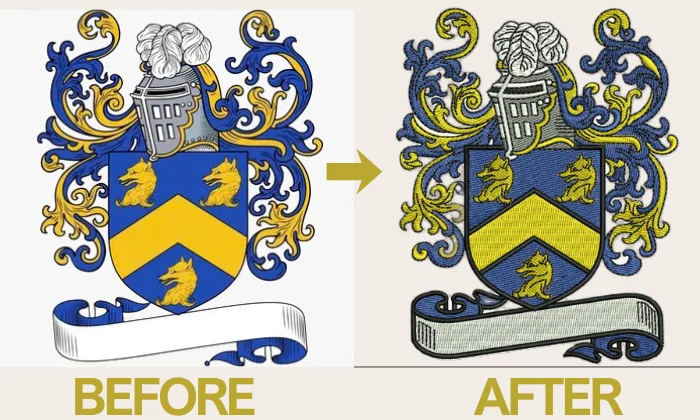
In-house digitizing gives you control, but costs add up. Hatch Digitizer 4 costs $1,199, while Ink/Stitch is free. However, both require time and practice to master. Hiring a skilled digitizer also means paying wages and training costs.
Cost and Control Comparison
| Factor | In-House Digitizing | Outsourced Digitizing |
|---|---|---|
| Upfront cost | Software and training | Usually no software purchase |
| Ongoing cost | Labor, testing, overhead | Per-design fee and file review |
| Control | Direct edits and scheduling | Depends on provider |
| Skill required | Trained digitizer | Reliable specialist |
| Best suited for | Steady design volume | Irregular or complex orders |
What Does Each Design Really Cost?
For in-house work, add digitizing labor, software costs per design, testing, and revisions.
For outsourcing, add the vendor fee, communication, file checks, testing, and revisions. Compare the total cost per design, not just the vendor’s price.
When Does Outsourcing Make Sense?
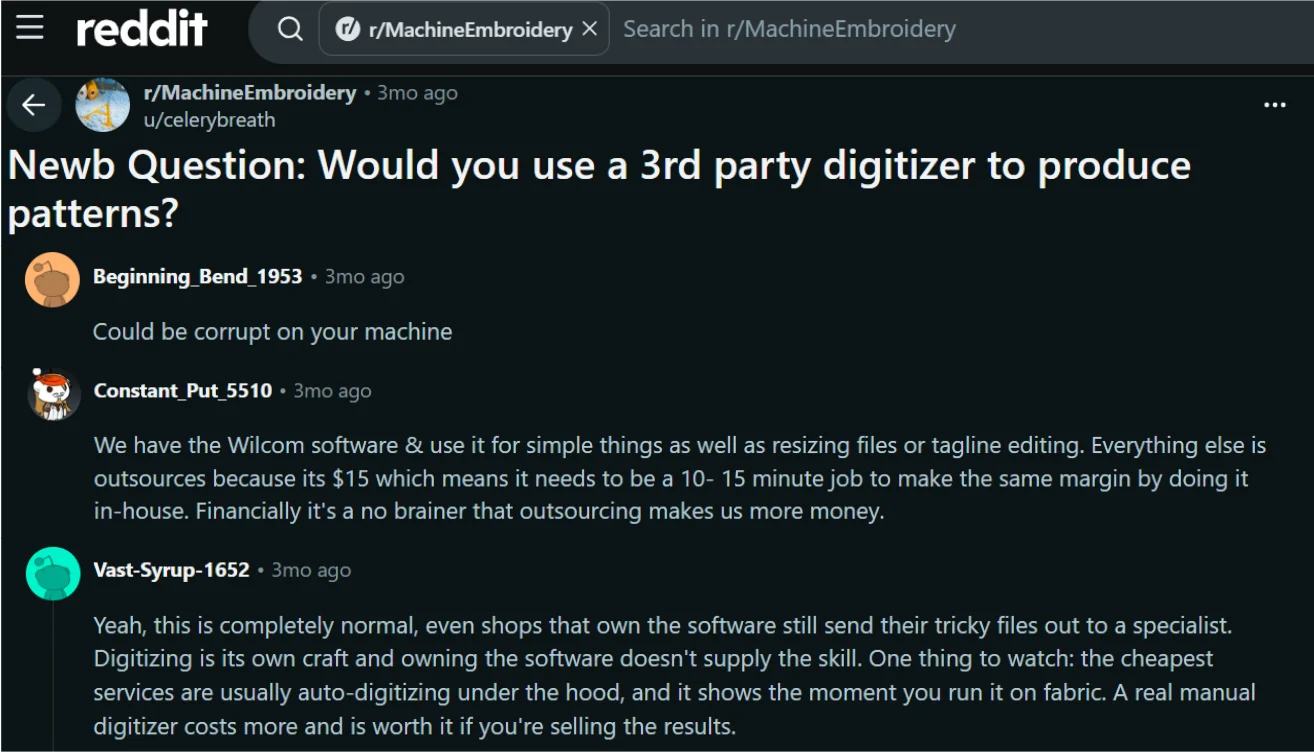
Outsourcing often costs less when design orders are irregular. It also saves production time and gives you access to specialists for caps, small lettering, and 3D puff.
However, check samples, delivery times, and revision terms before choosing a provider.
When digitizing takes time away from production and quality matters, compare your in-house costs with an instant free quote from Digitizing Buddy. It may help you keep your machines running while managing design costs.
How to Calculate the Final Embroidery Quote
A good quote covers every cost before you promise a price. Follow these steps to protect your profit and avoid surprise expenses.
Steps to Set Your Price
- Confirm garment quantity, fabric type, design size, and embroidery locations.
- Estimate the stitch count and actual production time.
- Calculate the embroidery cost per item, including any minimum charge.
- Add the marked-up price of hats or shirts if you supply them.
- Include one-time digitizing fees and extras, such as rush service.
- Check your profit, get artwork approval, and finalize the quote.
Final Embroidery Pricing Formula
Order Total = Quantity × (Embroidery Price per Item + Apparel Selling Price per Item) + One-Time Fees + Extras
For customer-supplied garments, enter zero for apparel. Then add any required taxes based on local rules.
Before reviewing the pricing examples, watch this quick and helpful video for more context. Then see how garment costs, embroidery charges, and digitizing fees come together in a final quote.
Embroidery Pricing Examples
A 12-hat order can have two prices, even when every hat gets the same logo. The difference comes from who buys the blanks.
Example Order Details
- Quantity: 12 hats
- Design: 8,000 stitches, one location
- Embroidery charge: $12 per hat
- One-time digitizing fee: $35
- Blank hat landed cost: $8 each
- Blank hat selling price: $12 each
Example 1: Customer Supplies the Hats
The customer brings all 12 hats, so you charge only for embroidery and digitizing.
12 hats at $12 each = $144
Add $35 for digitizing.
Total quote = $179
Your $12 embroidery price must still cover hooping, thread, machine time, and profit.
Example 2: Your Shop Supplies the Hats
Here, you also sell the blank hats at $12 each.
12 hats at $24 each = $288
Add $35 for digitizing.
Total quote = $323
However, buying the hats costs you $96. The extra $144 in sales leaves $48 from the hats before other business costs. It is not all profit.
These prices are examples, not set rates. They do not include extra handling fees, shipping to the customer, or tax. Always compare your quote with your actual costs before accepting the order.
Pricing Mistakes That Cut Your Profit
Small pricing errors can reduce your profit, even when your machines stay busy. Before sending a quote, check for these common mistakes.
Common Mistakes to Avoid
- Charging only by stitch count while ignoring setup and hooping time.
- Forgetting digitizing fees, test stitching, or file corrections.
- Selling blank apparel without enough markup to cover extra costs.
- Offering bulk discounts without checking labor, machine capacity, or actual savings.
- Using standard rates for difficult caps, jackets, or embroidery placements.
- Starting production before customers approve the artwork, quantity, placement, and final price.
Finally, compare your estimated costs with actual expenses after each order. This helps you adjust rates and avoid future losses.
Final Thoughts
A fair embroidery price starts with knowing what each order costs. When customers bring their own hats or shirts, charge for stitching, labor, supplies, and digitizing. When your shop supplies the apparel, add the garment cost and a markup that protects your profit.
Also, look beyond stitch count. Hooping time, machine use, difficult placements, and setup costs all affect your final price. Check your costs before offering discounts, and confirm every detail before production.
If digitizing takes time away from your embroidery orders, consider outsourcing to Digitizing Buddy. Get a free quote for your next design and spend more time running your machines and growing your business.
FAQs
Calculate hooping time, stitch count, machine use, and supplies. Set a minimum charge to cover setup and labor, even for a single hat.
Start with the garment’s total cost, including shipping. Then add a markup that covers ordering time, possible replacements, and profit. There is no fixed markup for every shop.
Yes. Each location needs its own hooping, machine time, and finishing. Charge for both placements and include any extra digitizing work.
Usually, no. Reuse the approved stitch file for the same design and placement. However, major changes in size, fabric, or design may require a new fee.
Outsourcing often saves money on occasional orders because you avoid software and training costs. In-house digitizing may cost less when you have steady work and a skilled digitizer.