
| Quick Summary |
|---|
CND files store Melco embroidery design information and need conversion before use on embroidery machines.
|
You found an old CND embroidery design, but your embroidery machine won’t recognize it. Now you’re wondering how to open the file or use it for stitching.
CND is an older file format linked to Melco embroidery software. Many embroidery shops still have these files saved from past projects. However, not every embroidery machine or software program can read them directly.
The good news is that you can open and convert these designs with compatible software. This guide covers the tools, conversion steps, and common problems.
For older CND designs that need more than conversion, explore our precision embroidery digitizing services for clean, machine-ready results.
- Quick Answer: What Is a CND File?
- How CND Files Store Embroidery Designs
- Which Software Can Open CND Files?
- How to Open a CND File in Melco DesignShop
- How to Convert CND to DST, PES, JEF, or EXP
- CND vs. OFM, EXP, and DST: Key Differences
- When Do You Need Professional Embroidery Digitizing?
- Best Practices for Editing and Using Older CND Designs
- Final Thoughts
Quick Answer: What Is a CND File?
A CND file is a Melco Condensed embroidery design file. It stores design outlines and stitch settings that embroidery software uses to create stitches. Unlike regular image files, CND files contain information used to prepare embroidery designs.
What Does a CND File Contain?
- Design outlines that define shapes.
- Stitch details, such as length and spacing.
- Information used to generate embroidery stitches.
However, not every embroidery machine can read CND files directly. Compatible programs like Melco DesignShop and Wilcom EmbroideryStudio can open them and export designs in machine-supported formats, such as EXP or DST.
How CND Files Store Embroidery Designs
CND files store design information that embroidery digitizing software uses to create stitches. However, the details available depend on the file’s version and how it was saved.
Design Outlines and Stitch Properties
Design outlines define the shape of letters, logos, and other elements. Compatible software uses these outlines and stitch settings to create the embroidery pattern.
These settings may include:
- Stitch types, such as satin, fill, and running stitches.
- Stitch length and spacing.
- Stitch density and direction.
Together, these details control how stitches fill each shape and affect the final embroidery.
Older vs. Newer CND Versions
CND files saved in Melco DesignShop V7 or earlier contain editable outlines. However, they may not preserve the exact fill settings or stitch positions.
In contrast, DesignShop V9 and later use manual stitches when saving CND files. This keeps the original stitch placement but limits outline editing and resizing.
Therefore, check the file’s structure before making changes.
Want a clearer picture of how the CND format works? Watch this quick and helpful video for a visual introduction to this older Melco embroidery file format.
Which Software Can Open CND Files?
Several embroidery programs support CND files, but they offer different editing and conversion features. The right choice depends on your software version and what you want to do with the design.
CND Software Compatibility
| Software | CND Support |
|---|---|
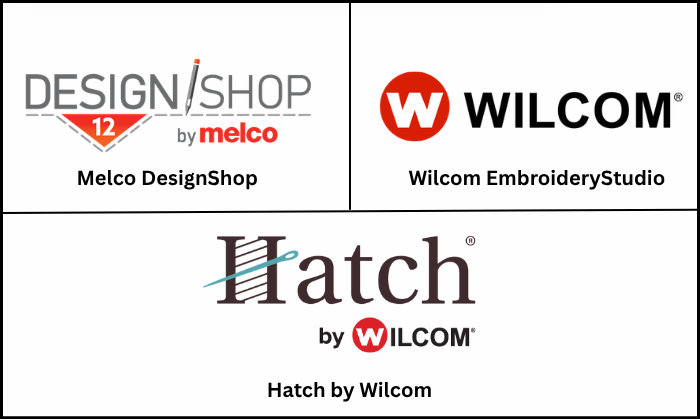
| Melco DesignShop | Opens and saves CND files. Editing depends on the file version. |
| Wilcom EmbroideryStudio | Opens, converts, and saves CND designs. |
| Hatch Embroidery | Opens CND files and exports supported machine formats. |
What to Check Before Opening a CND File
Before choosing software, consider these points:
- Software version: Check compatibility with older CND designs.
- License features: Confirm that your edition supports the required tools.
- Export options: Make sure it supports your machine’s file format.
Also, opening a file does not guarantee full editing access. Some designs may lose certain stitch settings during conversion.
Therefore, keep your original file safe and review the converted design before stitching. Avoid online viewers without confirmed CND support.
How to Open a CND File in Melco DesignShop
Melco DesignShop supports CND files and lets you view their embroidery details. You can open an existing design in a few simple steps.
Steps to Open a CND File
- Open Melco DesignShop on your computer.
- Click File in the top menu and select Open.
- Browse your folders and locate the .CND file.
- Select the file and click Open to load the design.
- Check whether the design appears correctly in the workspace.
- Review its dimensions, stitch count, and available outline details.
- Select File, then Save As, and save a working copy before making changes.
However, some older designs may offer limited editing options depending on how they were saved.
What If You Don’t Have DesignShop?
Alternatively, you can check Wilcom EmbroideryStudio or Hatch Embroidery for CND support.
How to Convert CND to DST, PES, JEF, or EXP
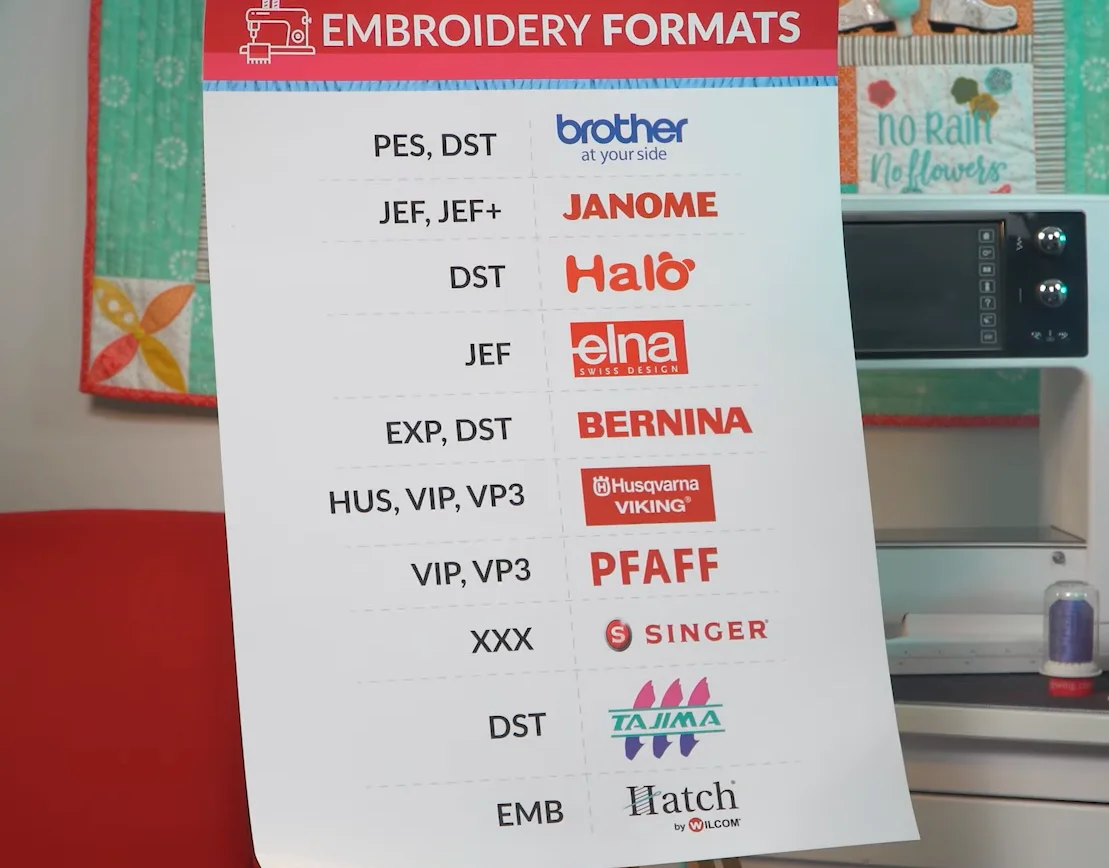
You can convert a CND design using software like Melco DesignShop, Wilcom EmbroideryStudio, or Hatch Embroidery. However, conversion requires more than changing the file extension. Always check the design before sending it to your machine.
Step-by-Step CND File Conversion
- Open the original CND file in compatible embroidery software. Keep a backup.
- Check the design size, stitch count, and stitch layout. Make sure it fits your hoop.
- Review the thread colors and color change or stop sequence, if available.
- Fix visible problems. Use the stitch preview to check fills, outlines, trims, and jumps.
- Choose Save As or Export Design, depending on your program.
- Select the output format your embroidery machine accepts, then save the new file.
- Reopen the exported file, inspect its stitches, and run a test sew-out on similar fabric.
Choosing the Right Output Format
Different machines use different embroidery formats.
| Machine or System | Common Output |
|---|---|
| Melco | EXP, or OFM, in supported workflows |
| Brother or Baby Lock | PES |
| Janome | JEF |
| Tajima and many commercial machines | DST |
Always confirm the accepted embroidery file type in your machine’s manual. Requirements can differ, even within the same brand.
What Can Change During Conversion?
Conversion software may recalculate stitches from the original design. This can change stitch counts, stitch spacing, or how certain shapes sew. Thread colors and stop commands may also need checking.
Some special design effects may not transfer because the new software lacks matching features.
For example, “Wilcom notes that converting CND designs can change stitch counts by about 10 percent.“ Therefore, compare the preview with the original and test the result. A renamed extension alone never makes a design machine-ready.
For older designs that need rebuilding rather than simple conversion, Digitizing Buddy provides custom embroidery digitizing tailored to your machine and stitching needs.
CND vs. OFM, EXP, and DST: Key Differences
CND, OFM, EXP, and DST are common embroidery file formats, but they serve different purposes. Some store design information for editing, while others hold stitch instructions for embroidery machines.
Embroidery File Format Comparison
| Format | Main Purpose | Key Difference |
|---|---|---|
| CND | Melco condensed design | Editing options depend on the file version. |
| OFM | Melco project format | Stores more design details and editing properties. |
| EXP | Melco expanded stitch format | Contains stitch positions and machine commands. |
| DST | Tajima commercial stitch format | Widely used for machine-ready embroidery designs. |
Design Files vs. Machine Stitch Files
CND and OFM are mainly used during embroidery design work. They can store outlines and stitch properties, making certain changes easier.
However, OFM offers more editing options. It can preserve lettering settings, thread colors, and other project details.
In contrast, EXP and DST focus on stitch instructions. They tell the machine where to place stitches but do not preserve the original editable shapes.
Which Format Should You Use?
Use OFM when you want to keep an editable Melco project. Choose EXP or DST when your machine requires those formats.
When Do You Need Professional Embroidery Digitizing?
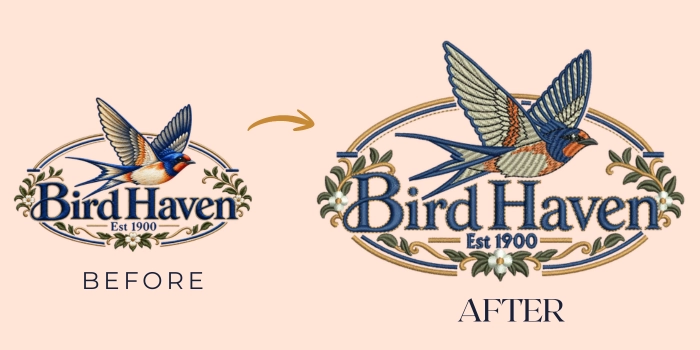
Converting a CND file changes its format, but it does not always improve stitch quality. Professional embroidery digitizing focuses on how the design will stitch on real fabric.
What Needs Professional Digitizing?
Some designs need more than basic file conversion, especially when they have:
- Poor stitch density or uneven fills.
- Small lettering that loses detail.
- Missing outlines or damaged stitch sections.
- Major size changes that affect stitch quality.
- Complex details like 3D puff or appliqué.
Why Choose Professional Digitizing?
A skilled digitizer adjusts stitch types, underlay, density, and pull compensation based on the fabric and design.
This improves stitch coverage, reduces unnecessary trims, and helps prevent puckering or thread breaks.
Best Practices for Editing and Using Older CND Designs
Older CND designs may open correctly but still need careful checks before stitching. A few simple steps can prevent lost details and poor results.
Quick Checklist Before Stitching
- Keep the original CND file unchanged. Work on a copy instead.
- Check the design size against your hoop and fabric.
- Review stitch types, density, and color change order.
- Save an editable project copy when your software allows it.
- Test the converted file on fabric similar to your final garment.
However, if outlines disappear, stitches overlap, or resizing damages small lettering, repeated conversions may not solve the problem.
In such cases, file correction or professional redigitizing may work better than converting the same design again.
Final Thoughts
CND files are still useful for working with older Melco embroidery designs. However, opening and converting them requires compatible software and the right settings.
Programs like Melco DesignShop, Wilcom, and Hatch can handle these files, but editing options may vary. Always check the design size, stitch quality, and machine compatibility before choosing an output format like DST, PES, JEF, or EXP.
Also, remember that file conversion cannot fix every stitch problem. Some older designs may need professional redigitizing for better results.
Have an old CND design that needs a fresh start? Contact Digitizing Buddy for custom embroidery digitizing and get a free quote for your next project.
Frequently Asked Questions
Yes. Open the CND file in compatible embroidery software and export it as PES. Check the design size, stitch quality, and color sequence before stitching.
Yes. Wilcom EmbroideryStudio and Hatch Embroidery support CND files. However, editing features may vary depending on the software version and original design.
Reliable free online CND converters are difficult to verify. For safer results, use compatible embroidery software that supports CND import and DST export.
Some older CND files contain editable outlines that allow stitch recalculation during resizing. However, newer files may contain manual stitches, making major size changes less reliable.
Yes, but the image needs embroidery digitizing first. Simply changing the file extension will not work. Digitizing software must create stitch information before saving the design in a supported format.