
| Quick Summary |
|---|
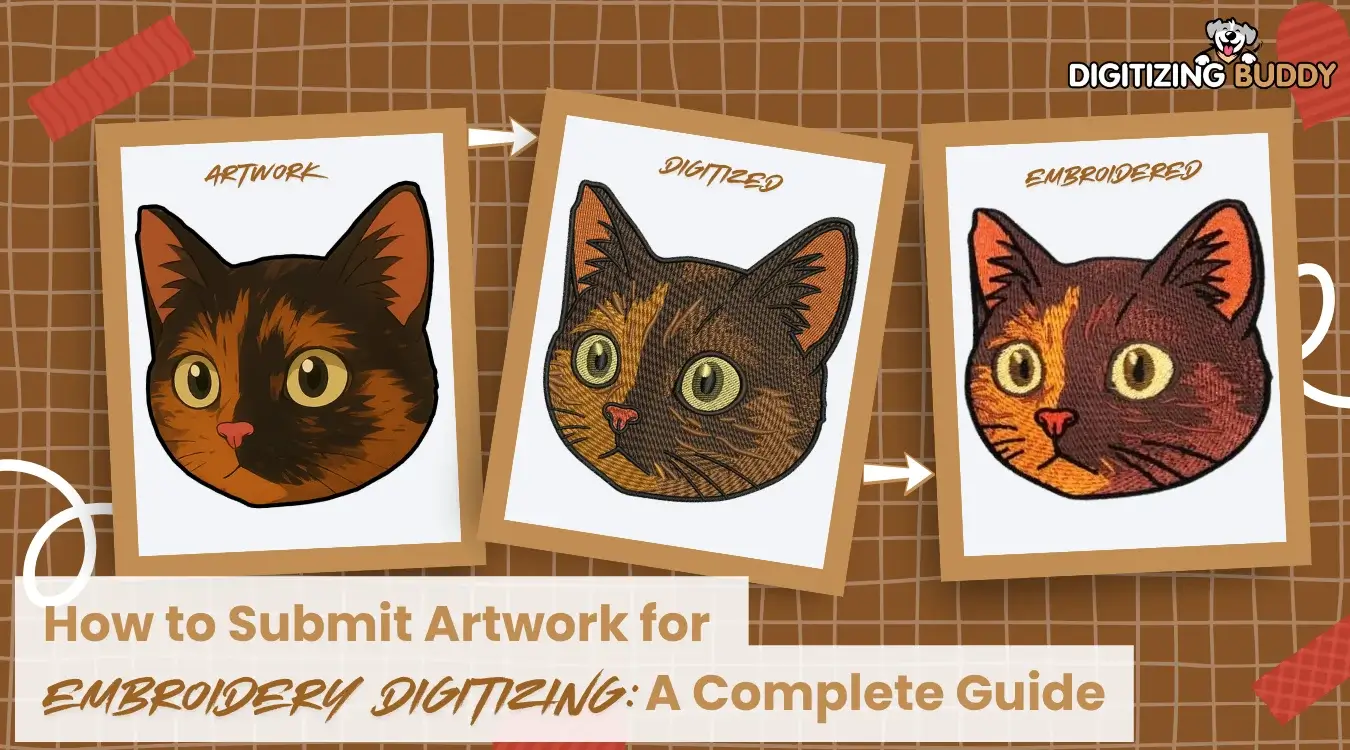
Submitting artwork for embroidery digitizing requires clear images, accurate design details, and the right machine file format.
|
Your logo is ready, but what file should you send to the digitizer? Is a JPG enough, or do you need a vector file? Uploading your artwork is only the first step. Missing details can delay your order and lead to extra revisions.
Before you submit, you need to confirm the design size, fabric type, embroidery placement, and machine file format. Clear instructions help the digitizer prepare a design that stitches well on your chosen material.
This guide covers everything from artwork preparation to order submission and final file checks. For a smoother start, Digitizing Buddy provides reliable custom embroidery digitizing services to turn your artwork into a stitch-ready file.
- Getting Your Artwork Ready for Digitizing
- Essential Details to Include With Your Digitizing Order
- Placing Your Embroidery Digitizing Order
- From Uploaded Artwork to Finished Stitch File
- Reviewing Your File Before Embroidery
- Common Order Mistakes That Cause Delays
- Making Your First Order Easier With Digitizing Buddy
- Conclusion: A Better Start for Every Embroidery Project
- Frequently Asked Questions
Getting Your Artwork Ready for Digitizing
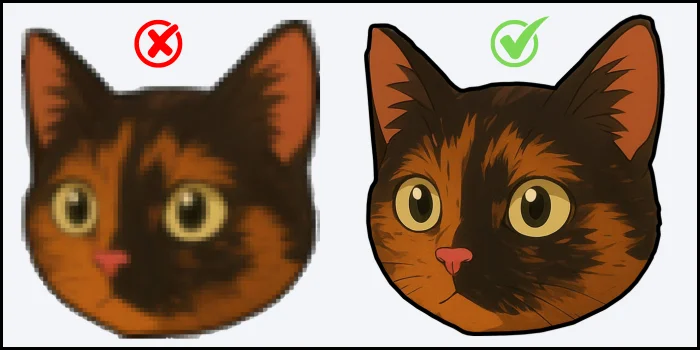
Clear artwork helps a digitizer identify shapes, colors, and edges before planning stitches. However, you do not need a vector file. A clear JPG or PNG can also work for manual digitizing.
Choosing the Right Artwork Format
Send the best copy of your logo. Common artwork formats include JPG, PNG, AI, EPS, SVG, and PDF. A PDF may contain vector shapes or a regular image.
| Artwork Type | Main Benefit |
|---|---|
| Vector (AI, EPS, SVG) | Stays sharp when resized |
| Raster (JPG, PNG) | Works well when the image is clear |
Also, avoid blurry screenshots or cropped logos. They can hide details that digitizer needs to recreate.
Checking Small Text, Borders, and Fine Details
A thread cannot show every tiny detail exactly as it appears on a screen. Small lettering, narrow spaces, thin borders, and shadows may need changes to stitch clearly.
Quick Artwork Checklist
- Use the clearest file available.
- Show the complete logo.
- Point out important text or symbols.
- Ask before removing fine details.
These checks help preserve your logo’s original look while making it easier to embroider.
Essential Details to Include With Your Digitizing Order
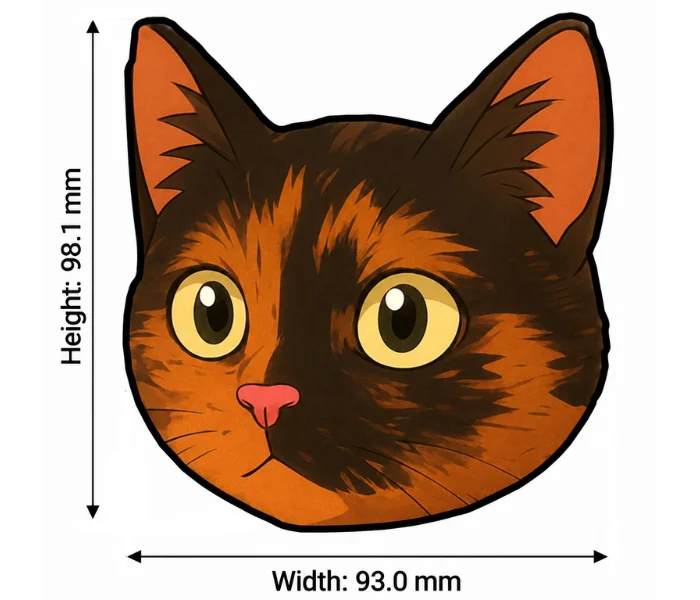
A clear order helps the digitizer create a design that fits your fabric and machine. However, missing details can cause poor stitching, delays, or extra revisions.
Important Information Your Digitizer Needs
Before submitting your artwork, include these details. Each one affects how the digitizer plans and prepares your stitch file.
| Order Details | Why They Matter |
|---|---|
| Finished Size | Give the exact width and height in inches. Size affects stitch types, small lettering, and fine details. |
| Fabric and Garment | Mention cotton, polyester, fleece, or other materials. Fabric stretch and thickness affect stitch settings. |
| Placement and Hoop Area | Specify left chest, cap front, or sleeve. Include your usable hoop area to avoid sizing problems. |
| Thread Colors | Share color names or thread numbers for accurate matching. |
| Special Instructions | Mention 3D puff, appliqué, small lettering, or details you want to preserve. |
| Machine and File Format | Provide your machine model and required format, such as DST, PES, or JEF. |
| Delivery Deadline | State when you need the file and allow time for test stitching. |
Check Your Order Before Submitting
Also, remember that the same logo may need different stitch settings for a cap and a stretchy shirt.
Therefore, review your instructions before sending them. Clear details help reduce mistakes and unnecessary revisions.
Placing Your Embroidery Digitizing Order
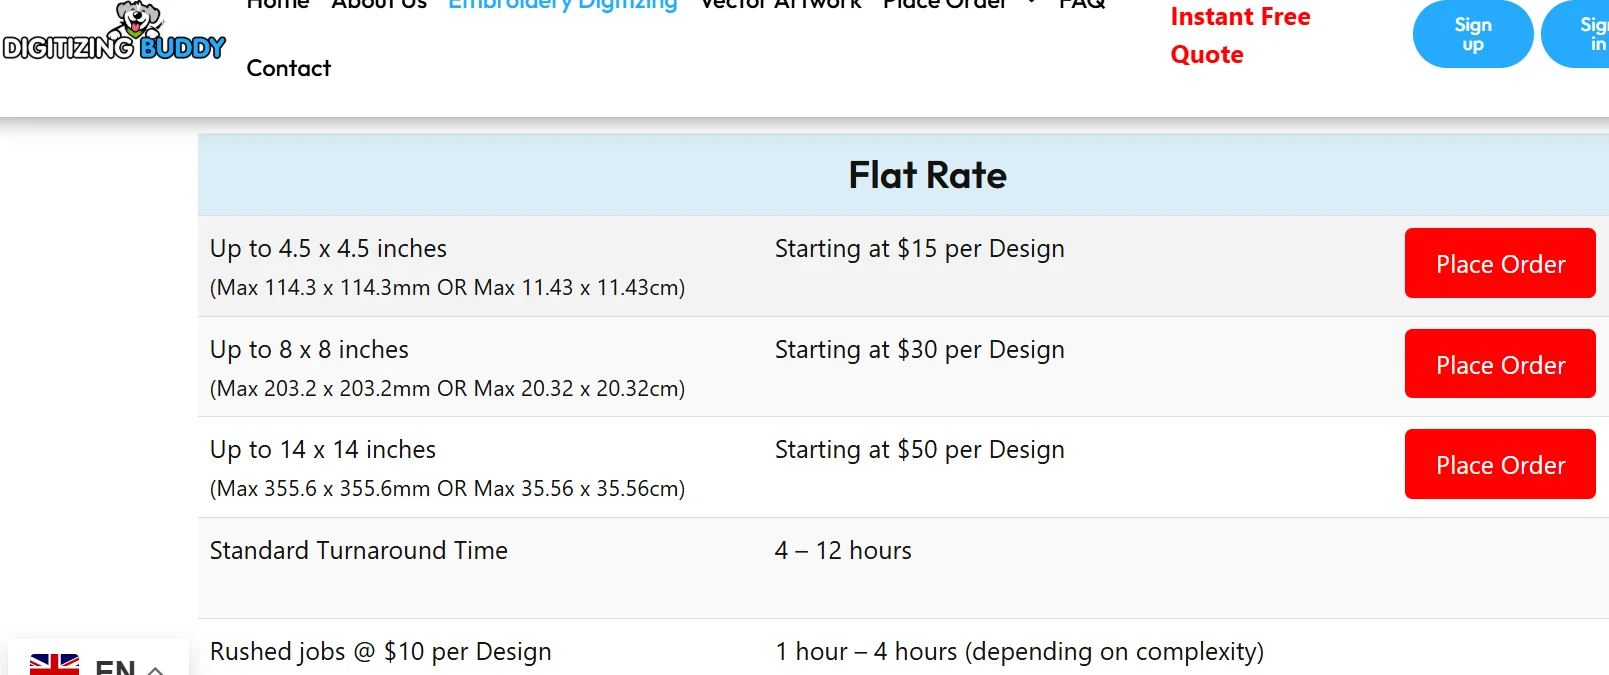
Submitting your artwork is easier when you know what the order form asks for. Follow these steps to get started.
Step 1. Open the Order Form or Request a Quote
Visit the Digitizing Buddy’s Place Order page. Sign up or sign in to place an order. You can also request a free quote before ordering.
Step 2. Upload Your Logo or Artwork
Enter your name and email address. Upload a clear JPG, PNG, PDF, or other accepted artwork file. The form accepts files up to 20 MB.
Step 3. Enter Size, Fabric, and Placement Details
Add the finished width and height, along with the size settings. Select the garment, number of colors, and turnaround time. Also, include the fabric type when possible.
For example, request a 3.5-inch left-chest logo for a polyester polo.
Step 4. Select the Machine File Format
Choose the stitch format your embroidery machine supports, such as PES, DST, or JEF. However, if you are unsure, check your machine manual or ask live chat for guidance.
Step 5. Add Special Instructions and Submit
Share extra details, such as small lettering, exact thread colors, or 3D puff, through email or live chat.
Finally, review your order and click Submit. You can track its progress through your dashboard.
Alternative Option: Place Your Order Through Live Chat
You can also place your order through Digitizing Buddy’s 24/7 live chat support. Simply share your artwork, design size, fabric type, and other requirements with the support team.
Additionally, you can request a free quote, discuss special instructions, or get help choosing the correct embroidery file format. This option makes ordering easier, especially for beginners.
Want to see what others think about Digitizing Buddy? Watch Embroidery Legacy’s review below for an independent look at our embroidery digitizing service.
Ready to get started? Place your order today and request a free quote for your design.
From Uploaded Artwork to Finished Stitch File
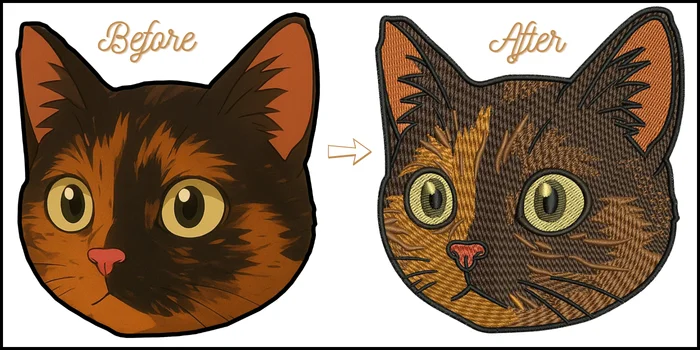
Once you submit your artwork, the digitizer turns it into stitch instructions your embroidery machine can read. Unlike an automatic image converter, manual digitizing involves careful planning for each design.
1. Artwork and Order Review
The digitizer reviews your logo, finished size, fabric, and placement. They also check small letters, borders, and fine details that may need adjustments for clean stitching.
2. Manual Stitch Planning
Then, the digitizer creates the stitch paths and adjusts important settings.
- Underlay supports the top stitches and helps stabilize fabric.
- Density controls stitch spacing to prevent gaps or excess bulk.
- Stitch direction helps create smooth shapes and clean edges.
- Stitch sequence controls sewing order and reduces unnecessary jumps.
3. Quality Checks and File Preparation
Afterward, the digitizer reviews stitch flow, color changes, trims, and design size. They correct any issues found during the review.
However, a test sew-out is still important because fabric can affect the final result.
4. Receiving Your Finished Stitch File
Finally, the design is exported in your requested format, such as DST, PES, or JEF.
Once your order is complete, you can download the file from your dashboard or get the design by email on your provided email address.
Reviewing Your File Before Embroidery
After downloading your stitch file, a quick review can catch problems before they waste fabric, thread, and time.
Check the File Details
Open the design in your embroidery software or machine preview. Confirm these details:
- File format matches your machine.
- Width and height fit your hoop.
- Spelling, color sequence, and design direction look correct.
Run a Test Sew-Out
Then, stitch the design on the same fabric with the stabilizer you plan to use. Check for gaps, puckering, thread breaks, and uneven lettering.
Request Revisions When Needed
However, if something looks wrong, send your digitizer a clear photo, design size, and details about the issue. Clear feedback helps fix problems before production begins.
Common Order Mistakes That Cause Delays
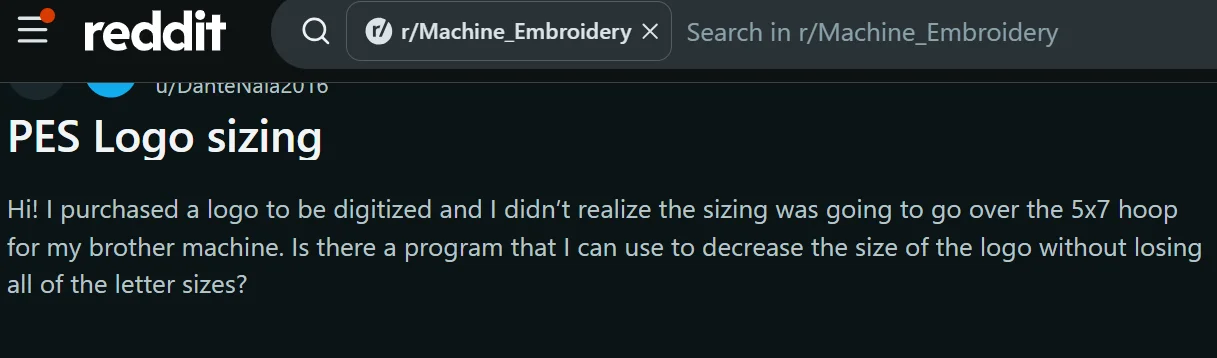
Even a clear logo can cause delays when important order details are missing. Common problems include incorrect hoop sizes, wrong file formats, and poor stitching after resizing.
Mistakes to Avoid Before Submitting
- Blurry or cropped artwork: Send a clear, complete image so the digitizer can see every detail.
- Missing final size: Give the exact width and height. Also, confirm your machine’s usable hoop area.
- Unclear fabric details: Mention whether the design goes on a cap, fleece, or stretchy shirt.
- Wrong file format: Check your machine model before requesting PES, DST, JEF, or another format.
- Careless resizing: Large size changes can affect stitch quality and may require redigitizing.
- Skipping the test sew-out: Test on similar fabric to catch gaps, puckering, and thread breaks.
Therefore, review these details before submitting your order to avoid unnecessary delays and revisions.
Making Your First Order Easier With Digitizing Buddy
Your first digitizing order should be simple, even with a detailed logo. Digitizing Buddy makes it easier to submit artwork, share instructions, and receive your finished design.
Easy Ordering and Free Quotes
You can place an order online, request a free quote, or download our app from the Apple App Store. Also, our 24/7 live chat support helps you discuss design requirements, file formats, and special requests.
Manual Digitizing and Quality Checks
Experienced digitizers manually plan stitches based on your artwork, size, and fabric. The team also reviews each design before delivery to help catch possible issues.
File Downloads and Free Revisions
You can track your order and download completed files through your dashboard. However, always run a test sew-out before production. Share clear photos and request free revisions if needed.
Ready to turn your logo into stitches? Submit your artwork today and get a free quote.
Conclusion: A Better Start for Every Embroidery Project
A successful embroidery project starts with clear artwork and the right instructions. Before placing your order, confirm the design size, fabric type, embroidery placement, and machine file format. These details help your digitizer create a stitch file that fits your project.
Also, review your completed file and run a test sew-out before full production. This simple step helps catch stitching problems, avoid wasted materials, and reduce costly mistakes.
With the right preparation, ordering embroidery digitizing becomes much easier, even for beginners.
Ready to bring your artwork to life? Place your order with Digitizing Buddy today and get a free quote for your custom embroidery design.
Frequently Asked Questions
Yes. You can submit a clear JPG or PNG image. A vector file is not required because a digitizer can manually turn your artwork into a machine-ready stitch file.
Provide your logo, finished size, fabric type, embroidery placement, machine format, and thread colors. Also, mention any special details or deadlines.
Check your machine manual or model specifications. Many Brother machines use PES, Janome machines use JEF, and commercial machines often support DST. Requirements vary by model.
Contact your digitizer and request a smaller version that fits your machine’s embroidery area. Avoid shrinking the stitch file too much because it can affect stitch quality.
Sometimes, but not always. Caps often need different stitch directions, sewing sequences, and settings. Tell your digitizer where you plan to embroider so they can prepare the right version.