
| Quick Summary |
|---|
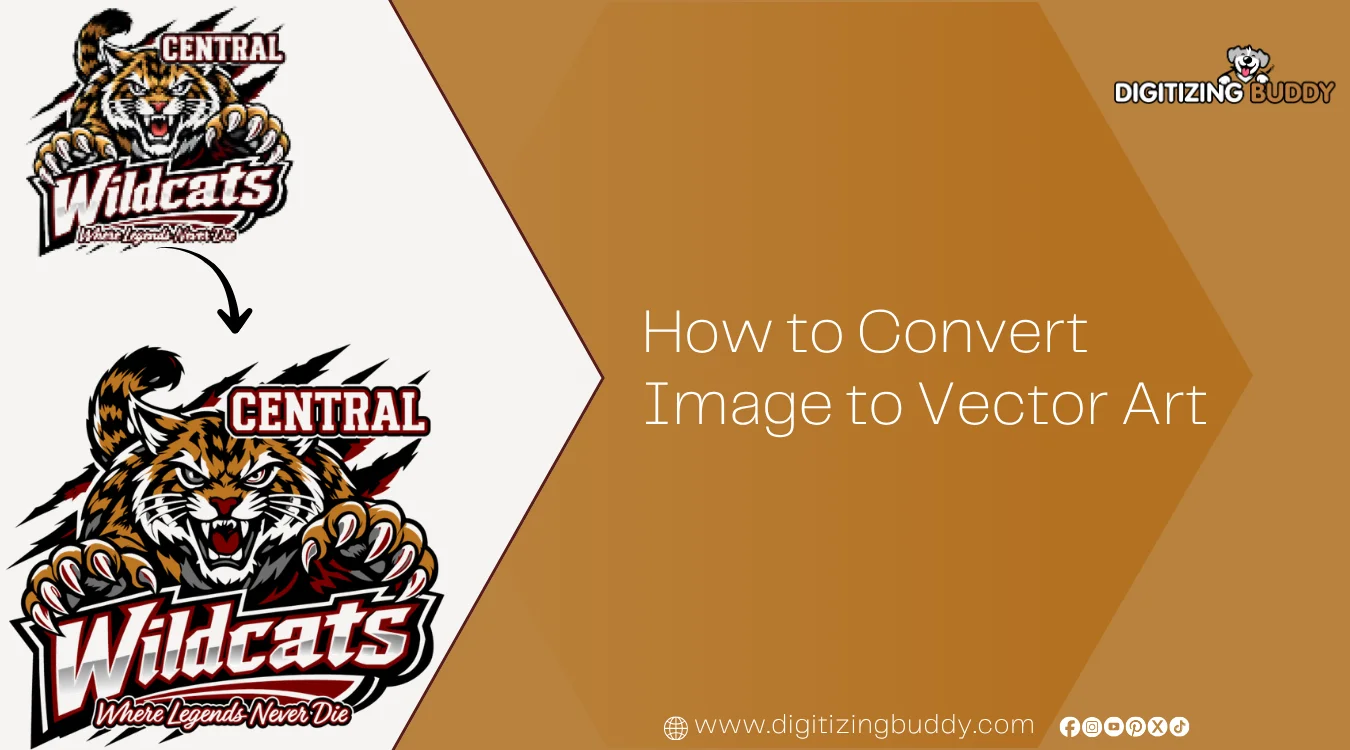
Image to vector conversion turns pixel-based artwork into clean, scalable paths that stay sharp at different sizes.
|
A logo saved as a JPG or PNG may look sharp on a website or phone. However, once you enlarge it for a shirt, banner, sign, patch, or promotional item, the edges can turn blurry and jagged.
Vector conversion solves this problem by rebuilding pixel-based artwork with clean, editable paths and shapes. As a result, you can resize the design without losing its sharp appearance.
This guide explains raster and vector graphics, conversion methods, automatic and manual tracing, path cleanup, and the right file formats. When the original artwork is too small, blurry, or complex to trace cleanly, professional vector art conversion is often the better route for creating an accurate master file.
- Vector and Raster Images Explained
- Why Image to Vector Conversion Matters
- Main Methods Used to Convert Images Into Vectors
- Image to Vector Conversion Step by Step
- Choosing the Right Vector File Format
- Automatic Tracing vs Manual Vector Conversion
- Common Vector Conversion Mistakes
- Professional Vector Conversion for Complex Artwork
- Final Thoughts
Vector and Raster Images Explained

Raster images use pixels to form a picture. JPG and PNG are examples. They work well for photos, but enlarging them too much can make edges look blurry or blocky.
Vector images use points, lines, curves, and shapes. Because these paths follow mathematical rules, the artwork can scale without the same loss of sharpness. SVG, AI, and EPS are common vector formats.
Key Differences
| Raster Image | Vector Image |
|---|---|
| Made from pixels | Made from paths and shapes |
| Can pixelate when enlarged | Scales cleanly |
| JPG, PNG, BMP | SVG, AI, EPS |
| Best for photos | Best for logos and artwork |
| Harder to edit precisely | Shapes and colors stay editable |
However, saving or renaming a JPG as SVG does not make it a true vector. The artwork must be traced or rebuilt as vector paths.
Why Image to Vector Conversion Matters
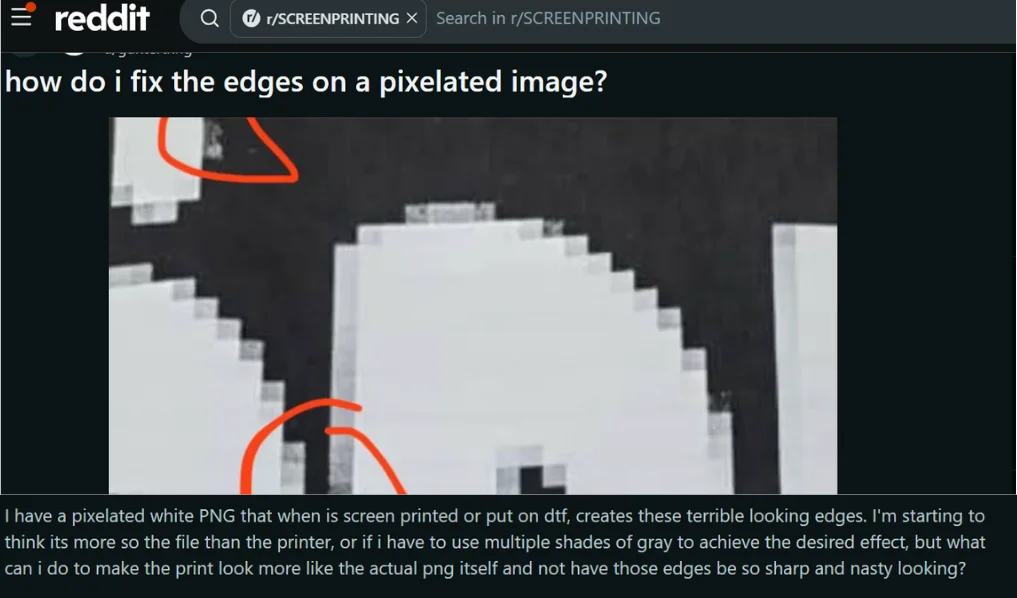
Image to vector conversion matters when the same artwork must work at many sizes and on different products. A clean vector file keeps logos and graphics sharp from small labels to large signs because the artwork can scale without losing edge quality.
Where Vector Artwork Is Used
Vector files are useful for:
- Large-format printing
- Screen printing
- Signs and vehicle graphics
- Vinyl cutting
- Logo editing
- Packaging
- Promotional products
- Decals and merchandise
In addition, designers can resize, recolor, reshape, and separate parts of vector artwork without rebuilding the whole design. This makes it easier to prepare one logo for several production methods.
Main Methods Used to Convert Images Into Vectors
Automatic and manual tracing are the two main ways to turn raster artwork into vector paths. The right method depends on the image quality, detail, and accuracy you need.
Adobe Illustrator Image Trace
Illustrator Image Trace can quickly convert JPG or PNG artwork into editable vector paths. It works best with simple logos, bold shapes, clear edges, high contrast, and limited colors.
However, the result may include extra anchor points, rough curves, or altered lettering. Cleanup is often needed after tracing.
CorelDRAW PowerTRACE
CorelDRAW PowerTRACE converts bitmap images into vector artwork and gives more control over detail, colors, curve smoothness, and node count.
This makes it useful for logos, signs, and print artwork that needs further editing.
Inkscape Trace Bitmap
Inkscape offers Trace Bitmap as a free option. It can trace simple black-and-white or color artwork, but detailed files may still need manual cleanup.
Online and AI Vectorizers
Online vector tools offer fast results for simple graphics. However, they may not provide reliable results; always check curves, text, shapes, and unwanted paths before production.
Manual Vector Tracing
For blurry logos, detailed lettering, or complex curves, designers often rebuild the artwork with Pen tools, Bezier curves, shape tools, and node editing. This takes longer but gives much better control over accuracy and path quality.
Image to Vector Conversion Step by Step
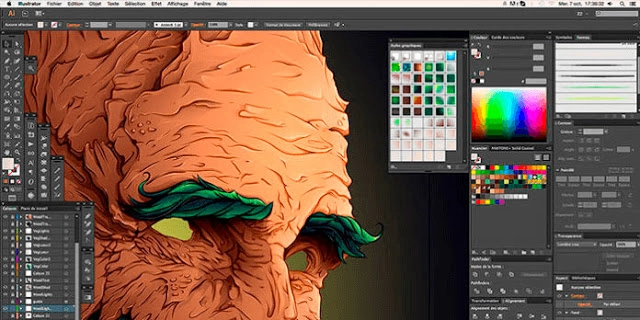
Converting an image into a clean vector file takes more than running an automatic trace. You need to prepare the artwork, build clean paths, fix errors, and check the final design before export.
Follow these steps for a cleaner and more accurate result.
Step 1. Start With the Best Source Image
Begin with the clearest and largest image available. A high-quality JPG or PNG gives you more detail to work with and makes tracing easier.
Avoid screenshots, compressed social media images, and very small files when possible.
Step 2. Prepare and Clean the Image
Now remove anything that should not become part of the vector artwork. Delete unwanted backgrounds, shadows, marks, and extra objects.
For old or blurry images, improve the contrast so the edges are easier to see. You can also reduce extra colors if the design only needs a few solid shades.
Keep the image close to its original proportions. Stretching it before tracing can change the shape of the logo.
Step 3. Import the Artwork Into Vector Software
Open the image in Adobe Illustrator, CorelDRAW, Inkscape, or another vector program.
Place the raster image on its own layer. Then lock that layer if you plan to redraw the design manually. This keeps the source artwork in place while you build new shapes above it.
Step 4. Choose Automatic or Manual Tracing
Simple logos with clean edges may work well with automatic tracing.
You can use:
- Image Trace in Adobe Illustrator
- PowerTRACE in CorelDRAW
- Trace Bitmap in Inkscape
Adjust the settings until the main shapes look close to the original.
However, do not depend on auto tracing for every design. Small text, detailed logos, weak images, and complex curves often need manual redrawing.
Want to see the tracing process in action? This Illustrator tutorial shows how to prepare an image, use Image Trace, smooth the vector paths, and refine the final artwork.
Step 5. Build or Refine the Main Shapes
For manual tracing, use the Pen Tool, Bezier Tool, shape tools, and node controls.
Start with the largest shapes. Then add smaller details, letters, borders, and inner elements.
Use fewer nodes whenever possible. Too many nodes can make curves look rough and make future editing harder.
Step 6. Clean the Vector Paths
Zoom in and inspect every part of the design.
Check for:
- Rough curves
- Extra nodes
- Open paths
- Small gaps
- Uneven corners
- Overlapping shapes
- Distorted letters
- Missing details
Smooth any weak curves and remove unnecessary points. Make sure connected shapes meet properly.
Step 7. Rebuild Text When Needed
Automatic tracing often gives poor results on small or blurry lettering. If you know the font, type the text again and match the size, spacing, and shape.
When the font is unknown, redraw the letters carefully so they stay close to the original logo.
Step 8. Match Colors and Final Details
Compare the vector file with the source image. Match brand colors, line thickness, spacing, and proportions.
Also check that each object is separate when the artwork may need color changes later.
Step 9. Save and Export the Final Vector
Save an editable master file before creating other versions.
Then export the artwork in the format required for the job. SVG works well for web and cutting, while AI and EPS are common for editing and production. PDF is also useful for sharing and printing.
Before delivery, open the exported file again and confirm that the shapes, colors, and layout remain correct.
Choosing the Right Vector File Format
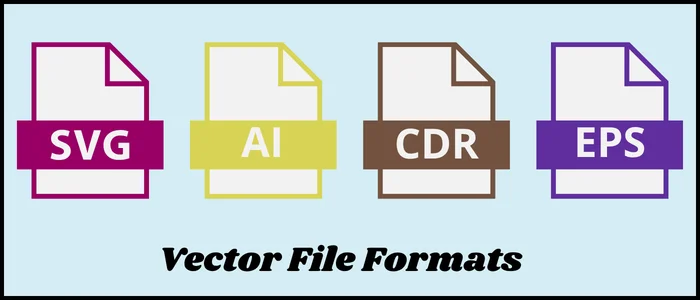
The right vector format depends on how you plan to edit, share, print, or produce the artwork. Saving the correct version also helps avoid compatibility problems later.
Common Vector Formats
| Format | Best Use |
|---|---|
| SVG | Websites, vinyl cutting, and scalable graphics |
| AI | Editing artwork in Adobe Illustrator |
| EPS | Printing and many production workflows |
| Sharing, proofs, and professional printing | |
| CDR | Editing and production in CorelDRAW |
For ongoing edits, keep the original working file with separate shapes, colors, and text whenever possible. Then export other formats for the final use.
However, the file extension alone does not prove that artwork is vector. A PDF can contain vector objects, raster images, or both. Likewise, saving or renaming a JPG as an SVG does not convert the pixels into vector paths. The artwork must be properly traced or rebuilt.
Automatic Tracing vs Manual Vector Conversion
Automatic tracing and manual vector conversion both have a useful place. The better choice depends on the source image and how accurate the final artwork needs to be.
Automatic Tracing Works Best for Simple Artwork
Auto tracing is fast and works well for clean logos, bold shapes, and artwork with clear edges. Tools in Illustrator, CorelDRAW, Canva, and other programs can create vector paths in a short time.
However, low-resolution images or complex lettering may produce rough curves, extra nodes, or distorted shapes. Because of this, the traced file still needs a careful check and cleanup.
Manual Conversion Gives More Control
Manual tracing takes more time, but it gives the designer better control over every curve, corner, letter, and shape.
It is usually the stronger option for blurry logos, complex lettering, detailed artwork, and production files where accuracy matters. Clean manual paths also tend to use fewer nodes, which makes the final artwork easier to edit and resize.
Working with a blurry logo, detailed lettering, or artwork that needs a cleaner rebuild? Digitizing Buddy provides manual vector conversion for logos and graphics that need accurate paths, smooth curves, and production-ready files.
Common Vector Conversion Mistakes
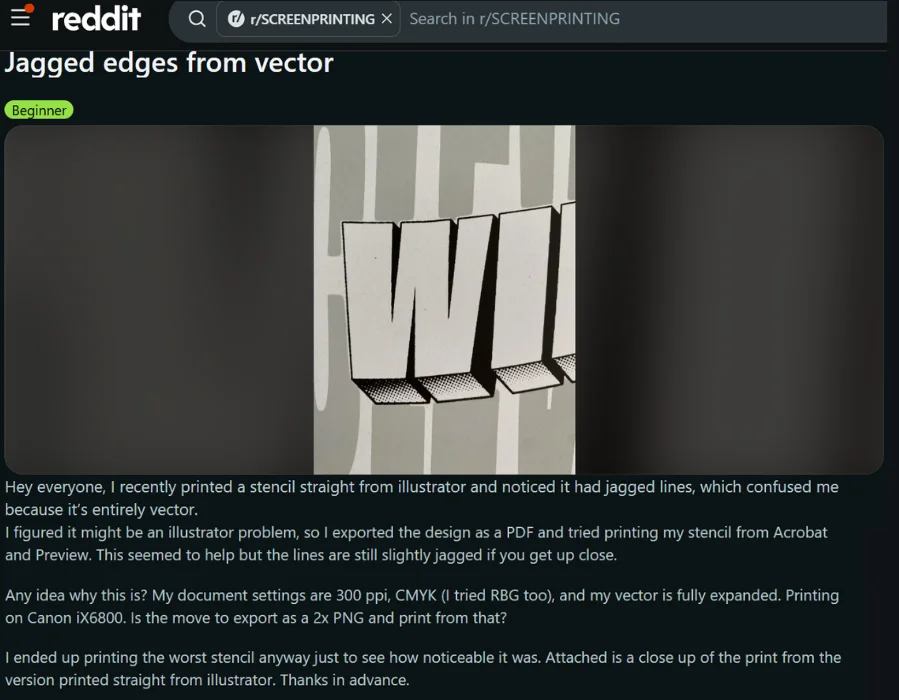
Cause and fix: Jagged edges can appear when clean vector artwork gets rasterized during export, printing, or stencil output. Low output resolution, printer settings, or screen setup can make the effect more visible. Keep the artwork as vector as long as possible, use high-resolution output when rasterization is required, and check the stencil or film closely before printing.
Even good software can produce weak vector artwork when the source image or cleanup process is poor. Small mistakes can affect curves, lettering, editing, and final production.
Mistakes to Avoid
- Using a tiny screenshot instead of the best original image
- Expecting auto trace to fix blurry or damaged artwork
- Keeping hundreds of extra nodes that create rough curves
- Ignoring distorted letters, spacing, or logo shapes
- Placing a raster image inside an SVG and calling it vector
- Exporting the wrong file format for the final production method
Photographs also need a different approach. A photo can be changed into vector-style artwork, but it contains far more colors, shadows, and details than a simple logo. Because of this, tracing a detailed photo rarely creates the same clean result as rebuilding simple logo artwork with controlled vector paths.
Professional Vector Conversion for Complex Artwork
Some images need more than automatic tracing. Professional vector conversion gives better control when the source is blurry, damaged, detailed, or important for repeated production.
When Professional Conversion Makes Sense
It is especially useful for:
- Blurry company logos
- Old scans and low-quality images
- Complex lettering
- Mascots and detailed artwork
- Customer logos used again and again
- Print and production files
- Screen printing and embroidery businesses
A vector artist can manually rebuild curves, letters, shapes, colors, and spacing instead of depending only on auto trace. This helps remove rough edges, extra nodes, uneven curves, and distorted details.
As a result, the finished artwork is cleaner, easier to edit, and more reliable for different production methods. It also gives businesses a reusable master file for future orders, resizing, color changes, and new products.
Final Thoughts
A clean vector file starts with the best source image you can find. From there, choose automatic tracing for simple artwork or manual tracing when the design needs more control.
After tracing, clean the paths, fix rough curves, check colors, review shapes, and make sure the lettering still looks right. Then save the artwork in the format that fits the final use.
Software can speed up the process, but good results still depend on careful path work and final checks.
If your logo is blurry, outdated, or hard to rebuild, send it to Digitizing Buddy for clean vector conversion and get a free quote for a production-ready file.
FAQs
Yes. You can trace a JPG or PNG and rebuild it as vector paths. Simple logos and clear artwork usually give better results than blurry or highly detailed images.
Low-quality images, compression marks, shadows, and too much detail can create extra nodes and uneven curves. Cleaning the source image and simplifying the paths usually improves the result.
Yes, but automatic tracing may not reproduce the logo accurately. Low-resolution logos often need manual redrawing to restore smooth curves, clean lettering, and correct shapes.
Not always. A real vector file must contain paths and shapes. Some SVG files simply contain an embedded raster image, which will not provide the same editing or scaling benefits.
Yes, but photos contain many colors, shadows, and small details. They usually create complex vector files. Vector conversion works best when the photo is simplified into stylized shapes or artwork instead of copied exactly.