
| Quick Summary |
|---|
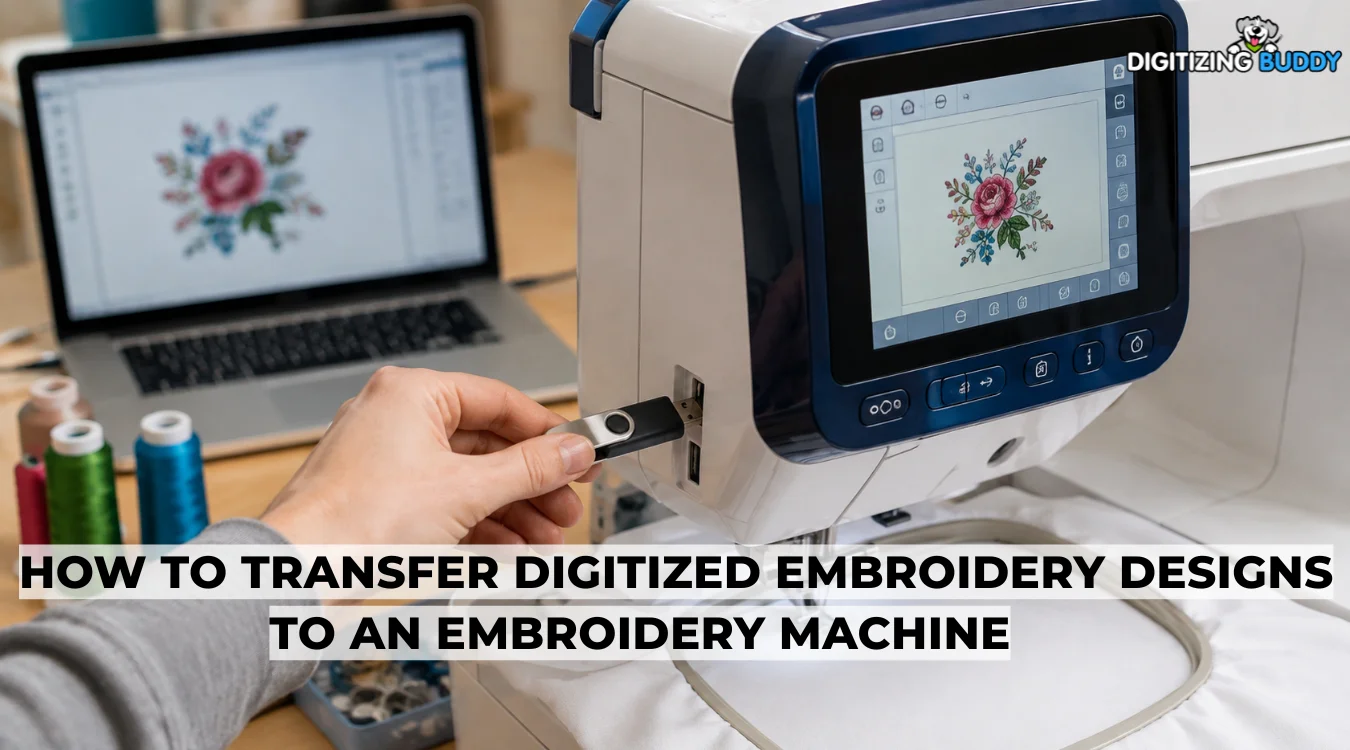
Loading embroidery designs correctly starts with the right file, transfer method, and machine setup.
|
Your digitized design may be ready on your computer, but your embroidery machine cannot stitch it until you load the correct machine-readable file. The steps can change based on your machine model, supported formats, transfer method, and hoop size.
However, you do not need to make the process complicated. This guide shows you how to move the file, find it on the machine, and check it before stitching.
Need file help? Digitizing Buddy provides reliable embroidery digitizing services for quality embroidery results.
- Quick Answer: How Do You Transfer a Digitized Design to an Embroidery Machine?
- What Should You Check Before Loading an Embroidery Design?
- How Can You Transfer Embroidery Designs to an Embroidery Machine?
- How to Load the Transferred Design on the Embroidery Machine?
- What Embroidery File Format Does Your Machine Need?
- Why Won't My Embroidery Design Show Up on My Machine?
- Why Do the Thread Colors Look Different After Loading the Embroidery Design?
- Can You Upload Your Own Image to an Embroidery Machine?
- Do You Need Embroidery Software Just to Transfer a Design?
Quick Answer: How Do You Transfer a Digitized Design to an Embroidery Machine?
Prepare the design in a file format your embroidery machine supports. Then send the file by USB drive, Wi-Fi or network, or a direct computer connection if your model allows it. Open the design from the machine’s embroidery menu, review the size and placement, choose the correct hoop, and confirm everything before stitching.
What Should You Check Before Loading an Embroidery Design?
Many transfer problems start before you insert a USB drive. Check the file, machine limits, and embroidery area before loading anything.
Is the Design Already Digitized?
JPG, PNG, SVG, and PDF artwork is not the same as a machine-ready embroidery file. Artwork must be digitized into stitch data before transfer. Janome, for example, defines JEF as machine-readable stitch data with hoop movements and instructions for each stitch.
Is the File Format Supported by Your Machine?
Check the manual for your exact model, not only the brand. Format support can vary between machines.
Will the Design Fit the Embroidery Area?
Before loading, check:
- Finished design size
- Selected hoop size
- Maximum embroidery field
- Stitch or color limits
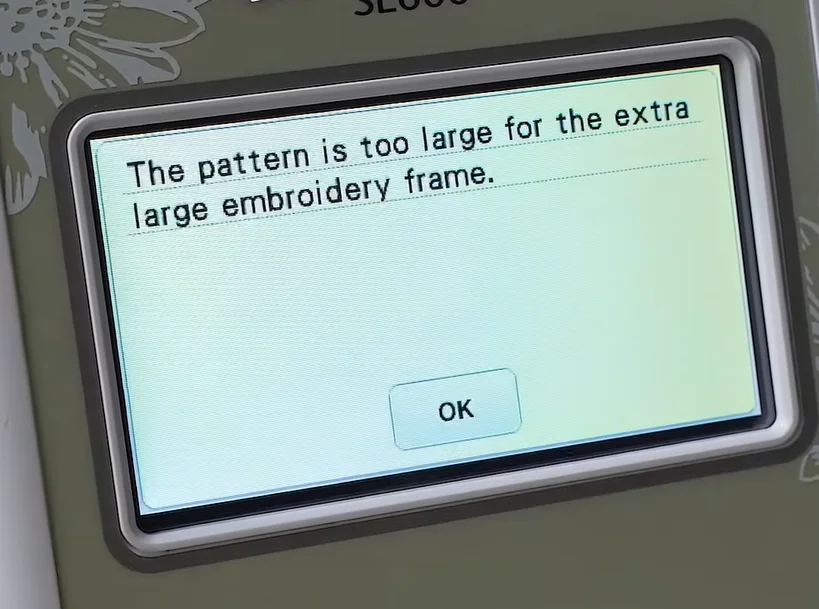
Designs larger than a machine’s embroidery range may be rejected during transfer.
How Can You Transfer Embroidery Designs to an Embroidery Machine?
Once the embroidery file is ready, choose a transfer method supported by your machine. The right option depends on the machine model, available ports, network features, and how you manage your embroidery files.
| Transfer Method | Best For | What You Need |
|---|---|---|
| USB flash drive | Simple offline transfer | Compatible USB port and flash drive |
| Wi-Fi or network | Wireless workflow | Supported machine and network |
| USB cable | Direct computer transfer | Compatible machine, cable, and software |
| Commercial network system | Production environments | Supported machines and network software |
Method 1: Transfer the Design With a USB Flash Drive
A USB flash drive offers a simple way to move embroidery files from a computer to a machine without an internet connection.
Use these steps:
- Find the finished machine-ready embroidery file.
- Insert a compatible USB flash drive into the computer.
- Copy the correct file onto the drive.
- Wait until copying finishes.
- Safely eject the USB drive.
- Insert it into the embroidery machine.
- Open the USB or external memory menu.
- Find and select the design.
However, USB requirements differ between machine models. Check the manual for supported drive capacity, file system, folder structure, and embroidery formats.
Do not assume that every machine requires the same USB format. Also, avoid removing the drive while the computer or machine is reading or writing data.
Watch this short video to see the USB transfer method in action, from moving the digitized embroidery file onto a USB drive to loading it on the embroidery machine for stitching.
Method 2: Send the Design Through Wi-Fi or a Network
Some embroidery machines support wireless design transfer. Connect the machine and computer to the required network, then send the embroidery file through the supported transfer system or software.
This method works well when you transfer designs often because you do not need to move a flash drive between devices.
In addition, commercial embroidery shops often use network systems to send files to multiple supported machines. This creates a faster workflow when operators handle many jobs throughout the day.
Method 3: Transfer Directly With a USB Cable
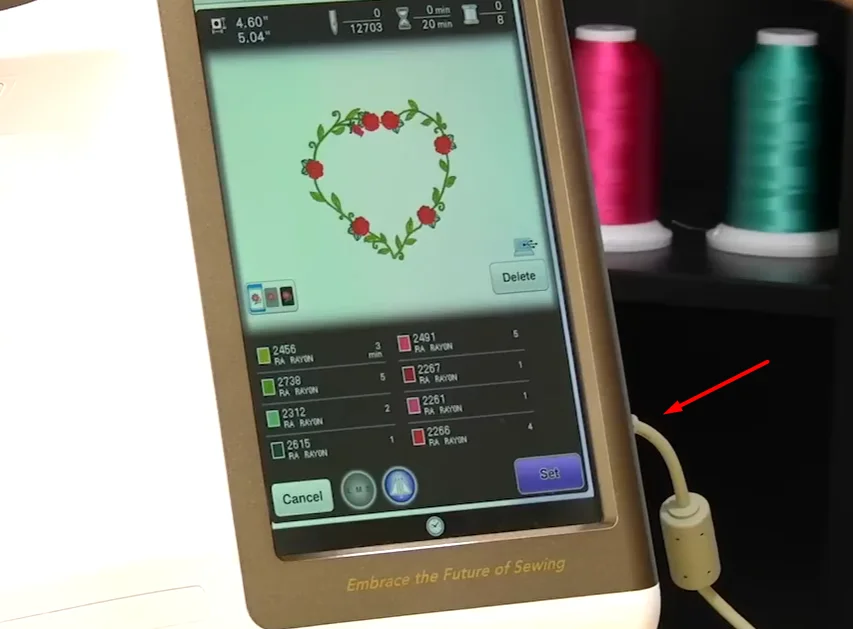
Compatible machines also accept designs through a direct USB connection to a computer.
Connect the machine with the correct cable and open the supported transfer software or connected-device folder. Then copy or send the embroidery file to the machine’s memory.
After the transfer finishes, disconnect the cable correctly. Open the embroidery menu, find the saved design, and check that the file displays properly before preparing the machine for stitching.
How to Load the Transferred Design on the Embroidery Machine?
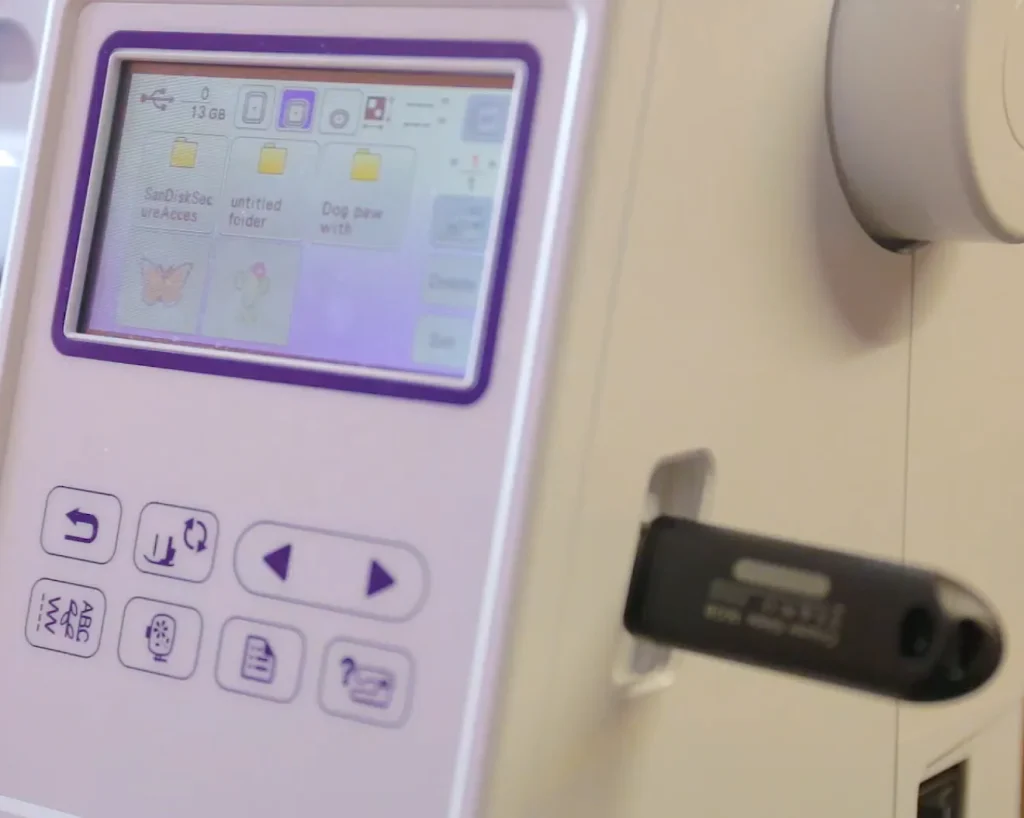
Transferring the file and loading it for embroidery are two separate steps. After the file reaches the machine, you still need to open, review, and prepare it before stitching.
Check the Design Before You Start
Open the USB, network folder, or machine memory and find the transferred design. Then:
- Select and open the design
- Check the design preview
- Confirm the finished dimensions
- Choose the correct hoop
- Check the design position and direction
- Review the thread color sequence
- Save the design to machine memory if needed
After that, make sure the design fits the selected embroidery area. Also, confirm the placement before starting. A quick test stitch helps you catch size, position, or stitch issues before running the final garment.
What Embroidery File Format Does Your Machine Need?
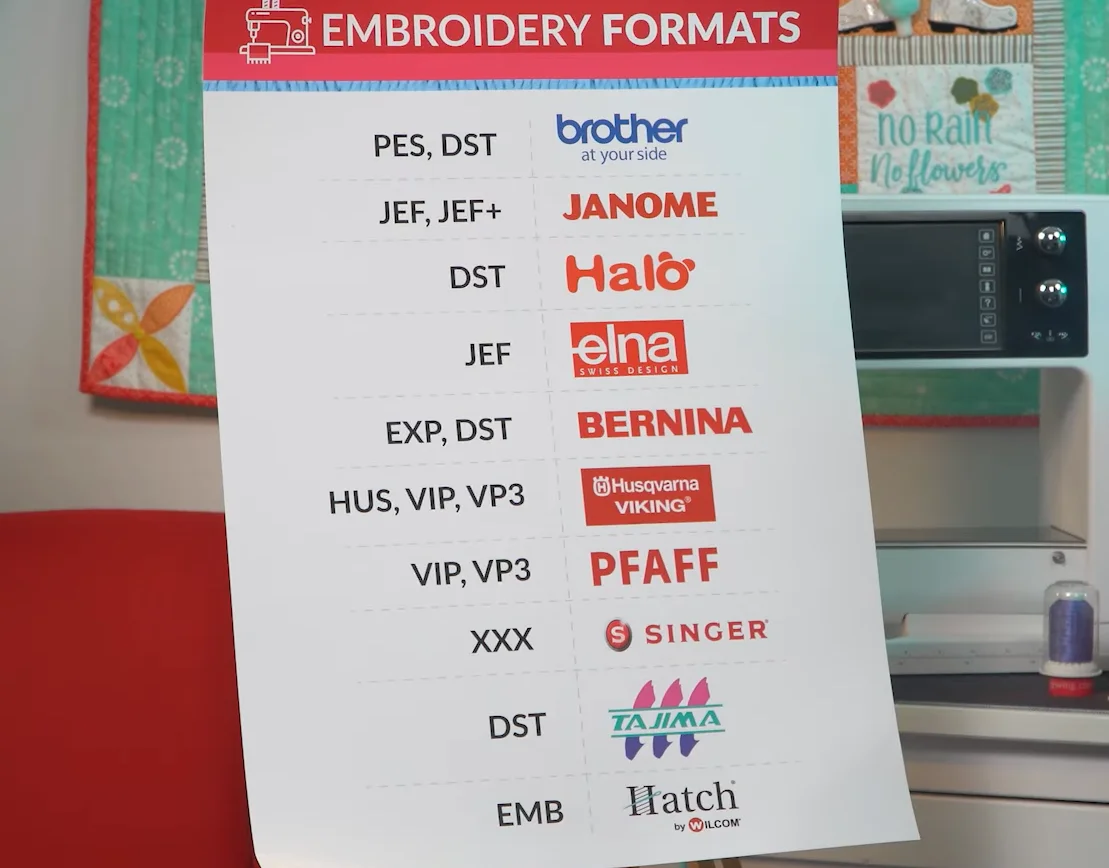
An embroidery machine needs a stitch-based file format it can read. The correct format depends on the exact machine model, not just the brand.
Common Embroidery Machine Formats
Several formats appear across home and commercial embroidery systems, including:
- PES
- DST
- JEF
- JEF+
- JPX
- EXP
- VP3
- HUS
- PHC
- PHX
Each format stores embroidery data differently. Some carry stitch movements and color information, while others focus mainly on stitch commands. Because of this, a design can work perfectly on one machine but fail to appear on another.
Also, newer models sometimes support more file types than older machines from the same product line. Commercial equipment can have its own accepted formats and transfer rules.
For this reason, always check the manual for your exact embroidery machine model before exporting or transferring the design. Choosing a format only by brand name can lead to an unreadable or unsupported file.
Why Won’t My Embroidery Design Show Up on My Machine?
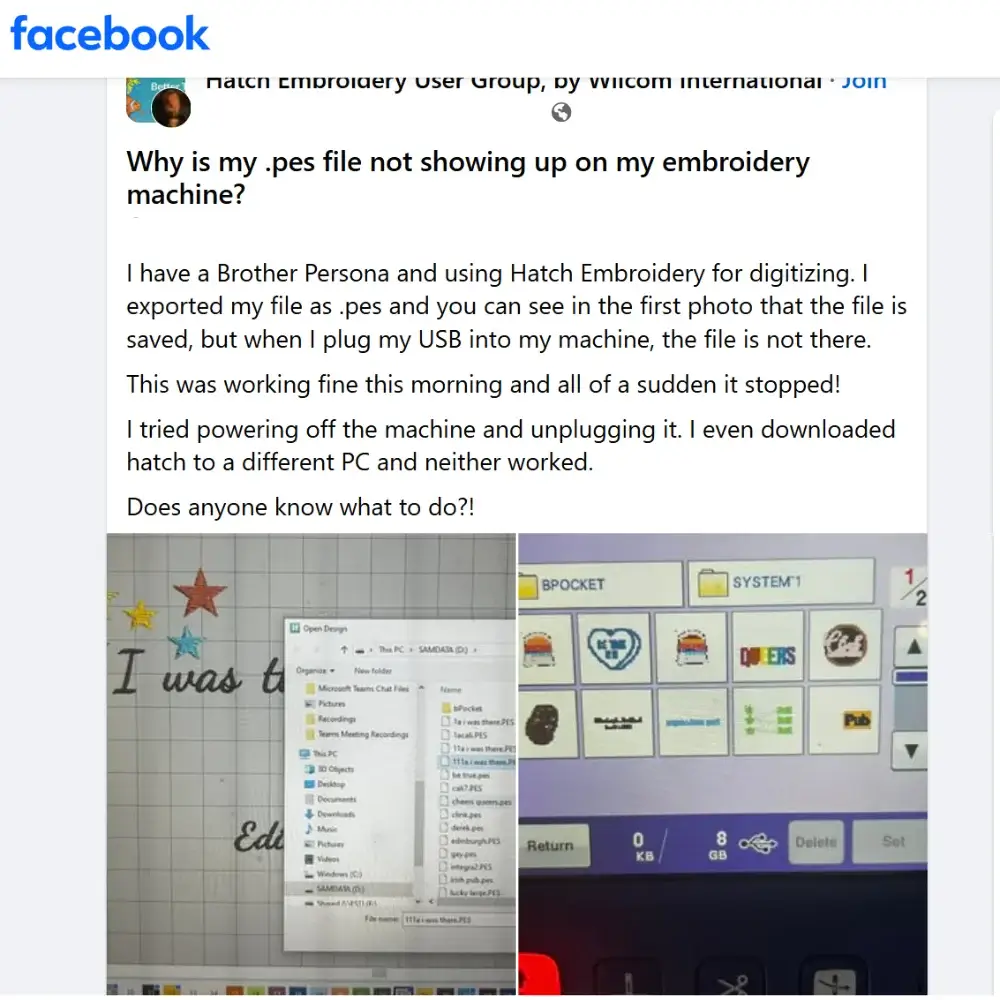
A user in a Facebook embroidery group shared a common transfer problem: the embroidery file was saved on the USB drive, but it did not appear on the machine.
If a design does not appear after transfer, the problem usually comes from the file, storage device, machine limits, or connection settings. Check these areas before transferring the file again.
1. The File Format Is Not Supported
Your machine only displays embroidery formats it can read. Confirm that the exported file matches the formats listed for your exact model.
2. The Design Is Too Large
A design can stay on the USB drive but fail to load when its dimensions exceed the machine’s embroidery area or selected hoop size.
3. The USB Drive Is Not Recognized
Check whether your machine supports the USB drive’s capacity and file system. Also, reconnect the drive properly and confirm that the computer copied the file successfully.
4. The File Is Saved in the Wrong Folder
Some machines limit how deeply they search through folders. Move the embroidery file closer to the main USB directory if the machine cannot find it.
5. The File Name Is Causing a Problem
On some machines, unusual symbols or unsupported characters in file and folder names can prevent designs from appearing. Use a simple file name with letters and numbers.
6. The Design Exceeds Machine Limits
Some models set limits for stitch count, color changes, design size, or combined patterns. A file outside those limits can be rejected.
7. The Wireless Connection Is Incorrect
For network transfer, confirm that the machine and computer use the required network connection. Also, complete the transfer before searching for the design on the machine.
If the problem continues, check the machine manual for its exact file, USB, folder, and design limits.
Why Do the Thread Colors Look Different After Loading the Embroidery Design?
Some embroidery formats handle thread color data differently. For example, DST files store stitch commands but do not carry specific thread color information.
As a result, the machine can display its own default color sequence instead of the colors used during digitizing. This does not always mean the design is wrong. Before stitching, compare the color order with your original design and assign the correct thread colors on the machine.
Can You Upload Your Own Image to an Embroidery Machine?
Not directly in most cases. JPG and PNG files contain image pixels, not the stitch commands an embroidery machine needs. The artwork must first be digitized and exported in a machine-supported embroidery format.
Digitizing defines important production details, including:
- Stitch types and direction
- Stitch density and underlay
- Sewing sequence
- Trims and other stitch instructions
Therefore, simply copying an image to a USB drive will not make it stitch-ready.
If your artwork is still just an image, Digitizing Buddy can prepare the stitch-ready file your machine needs, with the right settings for a cleaner and more reliable stitch-out.
Do You Need Embroidery Software Just to Transfer a Design?
Not always. If you already have the correct machine-ready embroidery file, you can often copy it to a supported USB drive and load it without owning digitizing software.
However, embroidery software becomes useful when you need to:
- Digitize artwork
- Edit stitch settings
- Resize a design correctly
- Convert or export file formats
- Use certain direct or wireless transfer features
For simple file transfer, the correct embroidery file and a supported transfer method are usually enough.
Checklist Before Pressing Start
Before you begin stitching, take a quick moment to review the setup. This helps prevent avoidable errors and wasted material.
Check that you have:
- Loaded the correct design
- Selected the proper hoop
- Confirmed the design fits the embroidery field
- Checked orientation and center placement
- Reviewed the color sequence
- Prepared the right fabric, stabilizer, needle, and thread
- Completed a test stitch when needed
Final Thoughts
Loading a digitized embroidery design becomes much easier when the file, format, transfer method, and machine settings all match. Whether you use USB, Wi-Fi, a direct cable, or a network system, always check the design size, hoop, placement, and color sequence before stitching.
If your artwork still needs a machine-ready file, Digitizing Buddy can prepare it with the right stitch settings for your project. Contact us today and get a free quote for professional embroidery digitizing.
Frequently Asked Questions
Save the finished design in a format your machine supports. Then move it through a compatible USB drive, wireless connection, network, or direct computer connection. Open the embroidery menu, locate the file, and check its size, hoop, and placement before stitching.
The file may use an unsupported format, exceed the embroidery area, or sit on incompatible USB media. Folder location, corrupted data, and machine-specific design limits can also prevent a file from appearing. Check the requirements for your exact model.
Yes, but regular artwork must become machine-readable stitch data before embroidery. If your design is already digitized in a supported format, you can load it using one of the transfer methods available on your machine.
Not always. If you already have a finished machine-ready embroidery file, you can use supported transfer methods without owning digitizing software. Software becomes useful when you need to digitize, edit, resize, convert, or export a design.
The USB drive may use an unsupported file system or may not be compatible with your machine. A damaged drive or corrupted file can also cause recognition problems. Check the USB requirements listed for your exact machine before reformatting or replacing the drive.