
| Quick Summary |
|---|
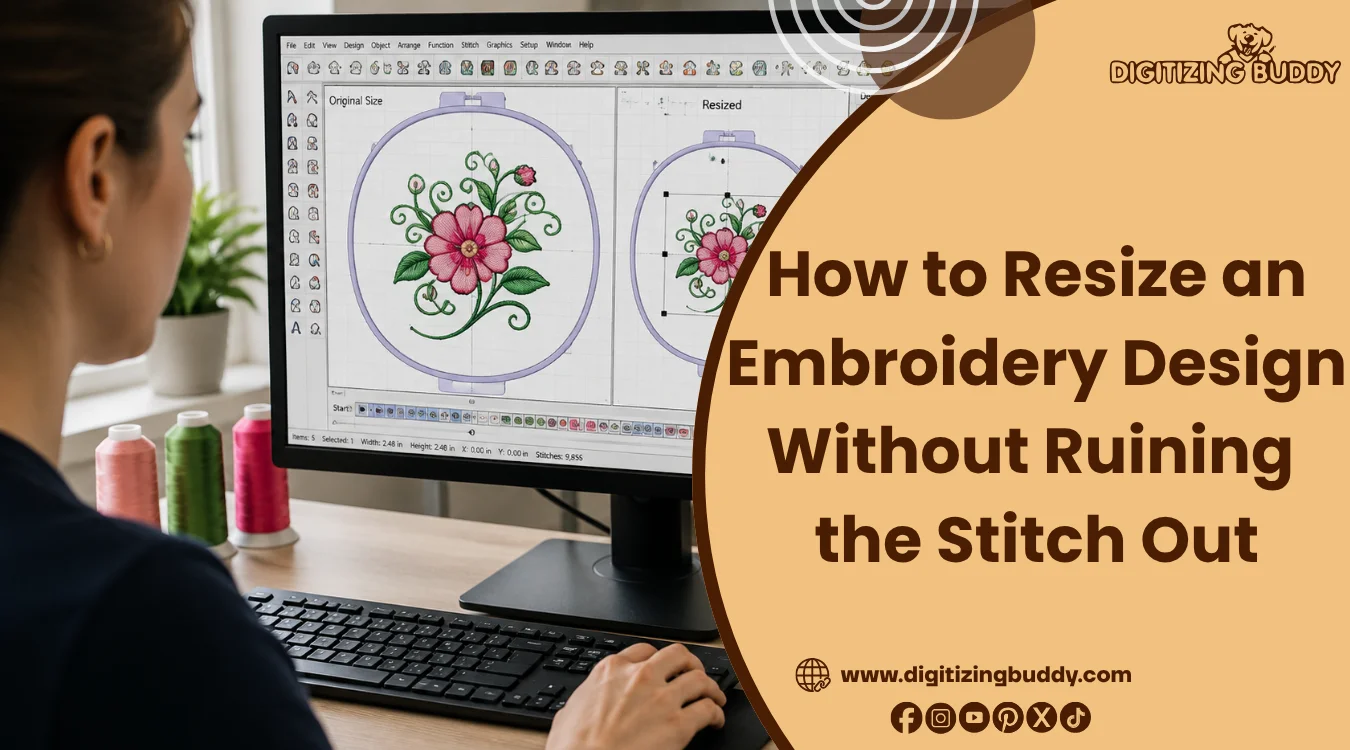
Resizing an embroidery design safely requires more than changing its width and height.
|
You may already have a digitized design, but it is too large for your hoop, too big for a shirt placement, or too small for the space you need to fill. Changing the width and height may look simple, but embroidery files contain stitches, not ordinary image pixels.
However, changing the size can affect stitch density, stitch count, lettering, and small details. Bigger changes may even require redigitizing. For major size changes, professional embroidery digitizing services can rebuild the design for your exact dimensions and help keep the final stitch-out clean.
- Quick Answer: Can Embroidery Designs Be Resized Without Losing Quality?
- Why Isn't Resizing an Embroidery Design the Same as Resizing an Image?
- How Much Can You Change an Embroidery Design’s Size Safely?
- What Should You Check Before Changing the Design Size?
- How to Resize Embroidery Designs Correctly?
- What Happens When You Make an Embroidery Design Smaller or Larger?
- Does Resizing a Design Automatically Change the Stitch Count?
- When Should You Resize, Edit, or Redigitize the Design?
- What If the Embroidery Design Is Too Large for Your Hoop?
Quick Answer: Can Embroidery Designs Be Resized Without Losing Quality?
Yes, many digitized designs can handle modest size changes without losing stitch quality. However, results depend on the file type, design detail, software, and whether stitches are recalculated.
Large reductions or enlargements can affect:
- Stitch density and length
- Small lettering and fine details
- Underlay and fabric coverage
For major changes, editing or redigitizing often gives a cleaner result.
Why Isn’t Resizing an Embroidery Design the Same as Resizing an Image?
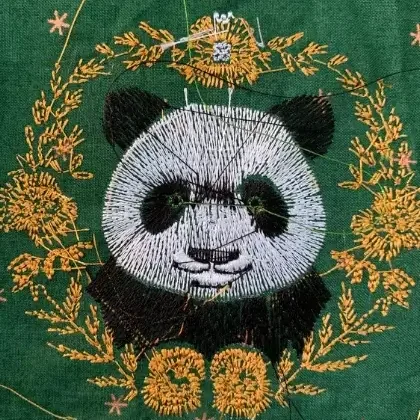
JPG and PNG files store image pixels. An embroidery machine file works differently. It contains stitch coordinates and instructions that guide needle movement and other machine actions.
What Changes When the Size Changes?
Each stitch sits at a specific position. If software only stretches or compresses those positions, stitch spacing and length also change. A smaller design can become too dense, while a larger one can lose coverage.
However, software with stitch recalculation can add or remove stitches to suit new dimensions. A clean screen preview alone does not prove the design will sew well.
Simple Definition
Embroidery design resizing means changing a digitized design’s physical dimensions while keeping its stitch structure suitable for the new size.
How Much Can You Change an Embroidery Design’s Size Safely?
A 10 to 20 percent size change is often used as a general guide, but it does not guarantee a good result. The safe limit depends on how the design was digitized and how the software handles its stitches.
Important factors include original quality, file type, stitch density, small lettering, satin widths, fine running stitches, fill areas, fabric, and the final size.
Choose the Right Approach
| Situation | General Approach |
|---|---|
| Very small size change | Resizing may be enough |
| Stitch file without stitch regeneration | Keep changes conservative |
| Software recalculates stitches | More control is available |
| Major size change | Inspect and edit the design |
| Extreme reduction or enlargement | Redigitizing is usually safer |
Therefore, treat percentages as a starting point. No single percentage works safely for every embroidery design.
What Should You Check Before Changing the Design Size?
Before changing the size, review the design carefully. A quick check can prevent stitch density problems, lost details, and poor placement later.
Pre-Resize Checklist
- Original width and height
- Required final size
- Maximum embroidery field
- File type and stitch count
- Small lettering and fine outlines
- Satin stitch widths and fill areas
- Fabric or product type
- Hoop size and placement
- Availability of the editable source file
Also, save an untouched copy before making changes.
Meanwhile, think about the final use. A design created for a large jacket area may not work well on a small cap or pocket logo without further editing or redigitizing.
How to Resize Embroidery Designs Correctly?
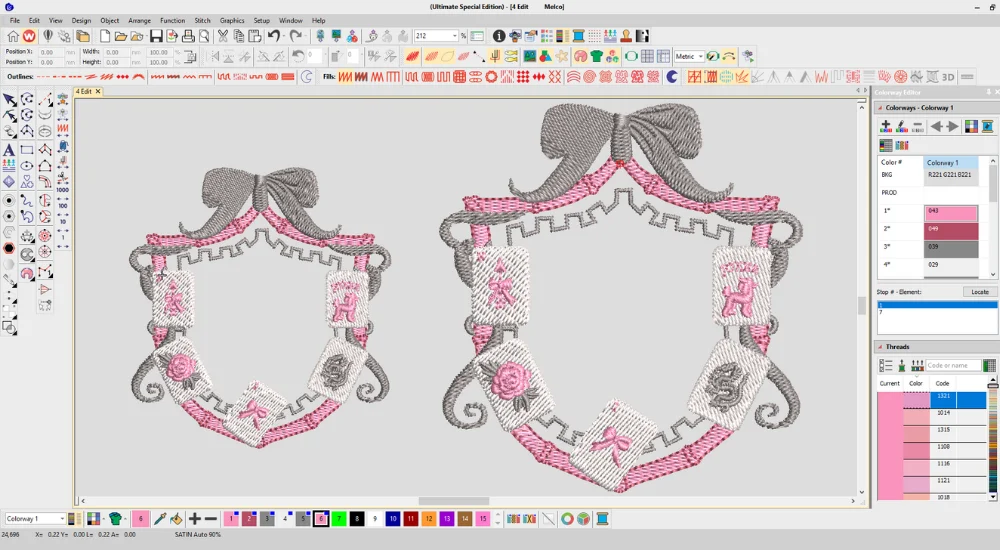
Changing the size safely takes more than dragging a corner.
1. Keep a Copy of the Original File
Save the original file before editing. Store the resized version under a new name so you can return to the original stitch data if needed.
2. Open the Design in Embroidery Software
Use software made for embroidery files. A machine file contains stitch information, so ordinary image tools cannot manage it correctly.
3. Enter the Required Size
Set the exact finished width or height instead of resizing by eye. Keep the aspect ratio locked unless you need to change the shape.
4. Use Stitch Recalculation When Available
Resizing and recalculating are different actions. Software with stitch regeneration can add or remove stitches as dimensions change, helping maintain suitable spacing.
5. Check Stitch Count and Density
Compare the new stitch count with the original. A large change does not always mean failure, but it tells you to inspect the design closely.
6. Inspect Key Stitch Areas
Check:
- Density and underlay
- Satin stitch widths
- Running stitch lengths
- Small lettering and fine details
- Pull compensation
- Outlines and registration
- Overlapping areas
7. Preview the Stitch Sequence
Use the stitch simulator or sequence preview. Watch how each section sews instead of judging only the finished image on screen.
8. Save and Test Stitch
Export the correct machine-readable format. Then test on a similar fabric with the planned stabilizer and thread. A test sew can reveal density, coverage, registration, or detail problems before the final item.
If your design needs a major size change, Digitizing Buddy can adjust or redigitize it for the required dimensions and help you get a cleaner stitch-out.
Watch this short and helpful video to see how embroidery designs can be resized correctly while protecting stitch quality and avoiding common resizing problems.
What Happens When You Make an Embroidery Design Smaller or Larger?
Changing the size affects more than the outer dimensions. If the software only moves existing stitch points, the stitch structure can become too tight or too loose.
When You Make a Design Smaller
Without proper stitch recalculation, the stitches move closer together. This can cause:
- Higher stitch density
- Tiny or crowded stitches
- Small lettering to close up
- Fine gaps and details to disappear
- More thread or needle breaks
- Puckering or stiff embroidery
Shrinking a design is not the same as removing unnecessary stitches. The stitch count and spacing still need proper control.
When You Make a Design Larger
Meanwhile, spreading the same stitches over a larger area can create other problems, such as:
- Thin fill coverage
- Fabric showing through
- Satin stitches becoming too wide
- Running stitches becoming too long
- Borders losing their intended shape
- Registration problems becoming more visible
For this reason, software that recalculates stitches can produce better results than simple scaling alone.
Does Resizing a Design Automatically Change the Stitch Count?
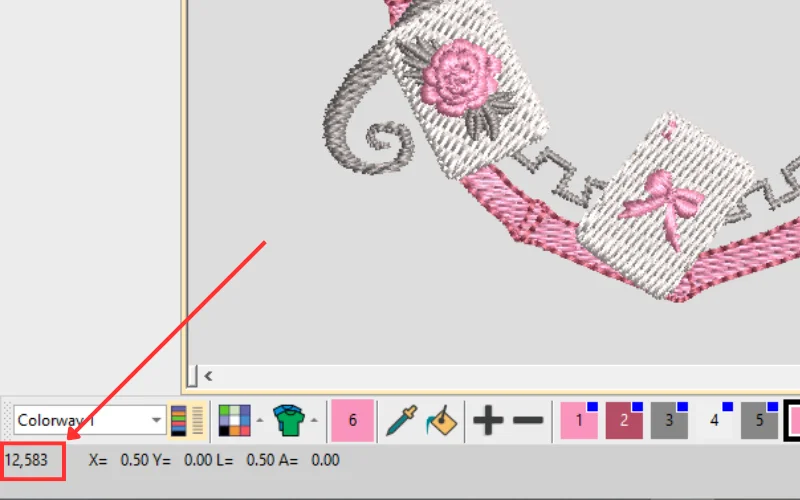
Not always. The stitch count depends on how the embroidery software handles the file during the size change.
Scaling Only
With simple scaling, the software moves the existing stitch points closer together or farther apart. The stitch count may stay the same even though the design becomes smaller or larger.
Stitch Recalculation
However, software with stitch recalculation can add or remove stitches to maintain better spacing and coverage at the new size. This can change the total stitch count.
Editable or native design files usually give you more control because they retain information about stitch objects and settings. Finished machine files mainly contain stitch data, so the software has less original design information to work with.
When Should You Resize, Edit, or Redigitize the Design?
The right choice depends on how much the size changes and whether the original stitch structure still works at the new dimensions.
| Choose | Best Situation |
|---|---|
| Resize | Small changes and stitches remain suitable |
| Resize and edit | A few stitch settings or details need correction |
| Redigitize | Major change requires a new stitch plan |
When Is Redigitizing the Better Choice?
Consider redigitizing when:
- Tiny lettering becomes unreadable
- Thin details disappear
- Satin columns become unsuitable
- The size changes significantly
- A detailed logo must stay accurate
- Fabric or product type changes
- A large design becomes a small chest or cap logo
- Density or registration problems become severe
Redigitizing does more than change dimensions. It lets a digitizer rebuild stitch types, density, underlay stitches, sequence, compensation, and details for the final size. Digitizing Buddy can help when the existing file needs this level of adjustment.
What If the Embroidery Design Is Too Large for Your Hoop?
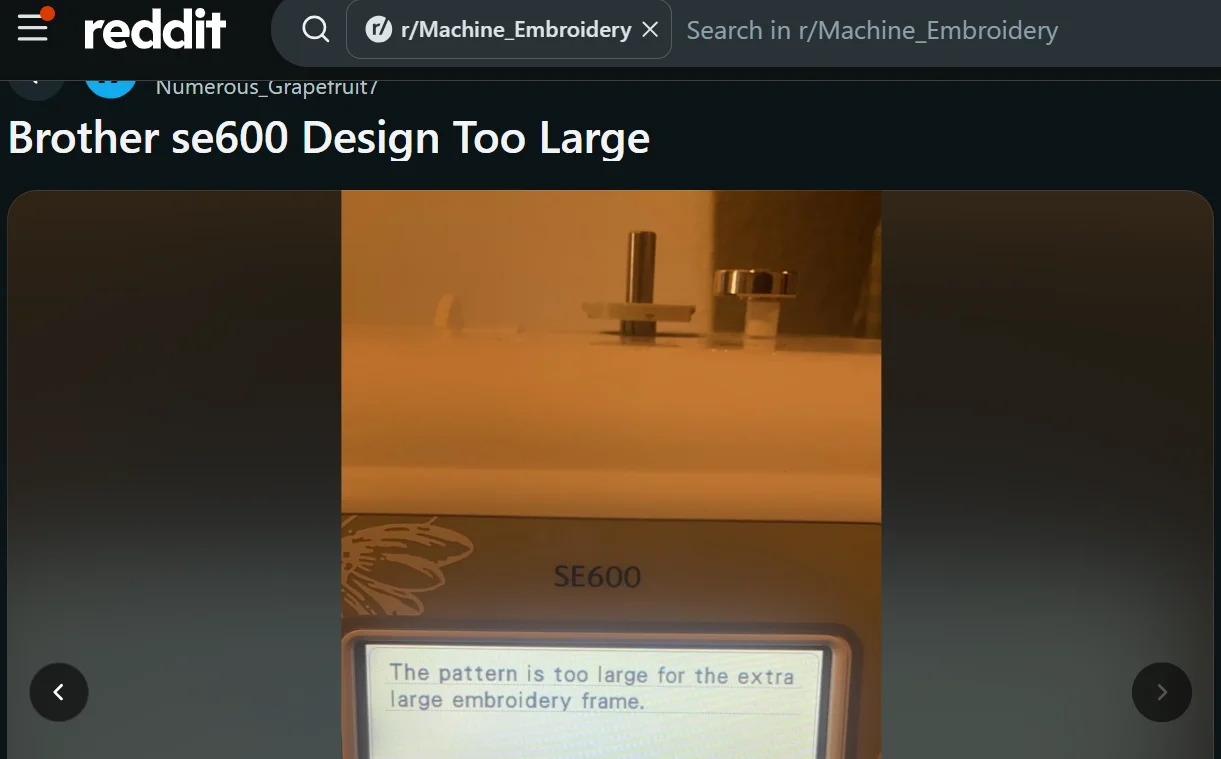
If a design does not fit the hoop, shrinking it should not be your automatic solution. Start by checking the machine’s usable embroidery field and the design’s orientation.
Check These Options
- Confirm the actual sewing area
- Rotate the design if placement allows
- Use another supported hoop when possible
- Make a small size reduction only if the stitches remain suitable
- Split the design for multiple hoopings when practical
- Redigitize the artwork at the required size if needed
However, the amount of change matters. A design slightly outside the sewing field may need only a minor adjustment. Forcing a 10-inch design into a 4-inch area usually requires major editing or complete redigitizing.
Why Does My Embroidery Look Bad After Resizing?
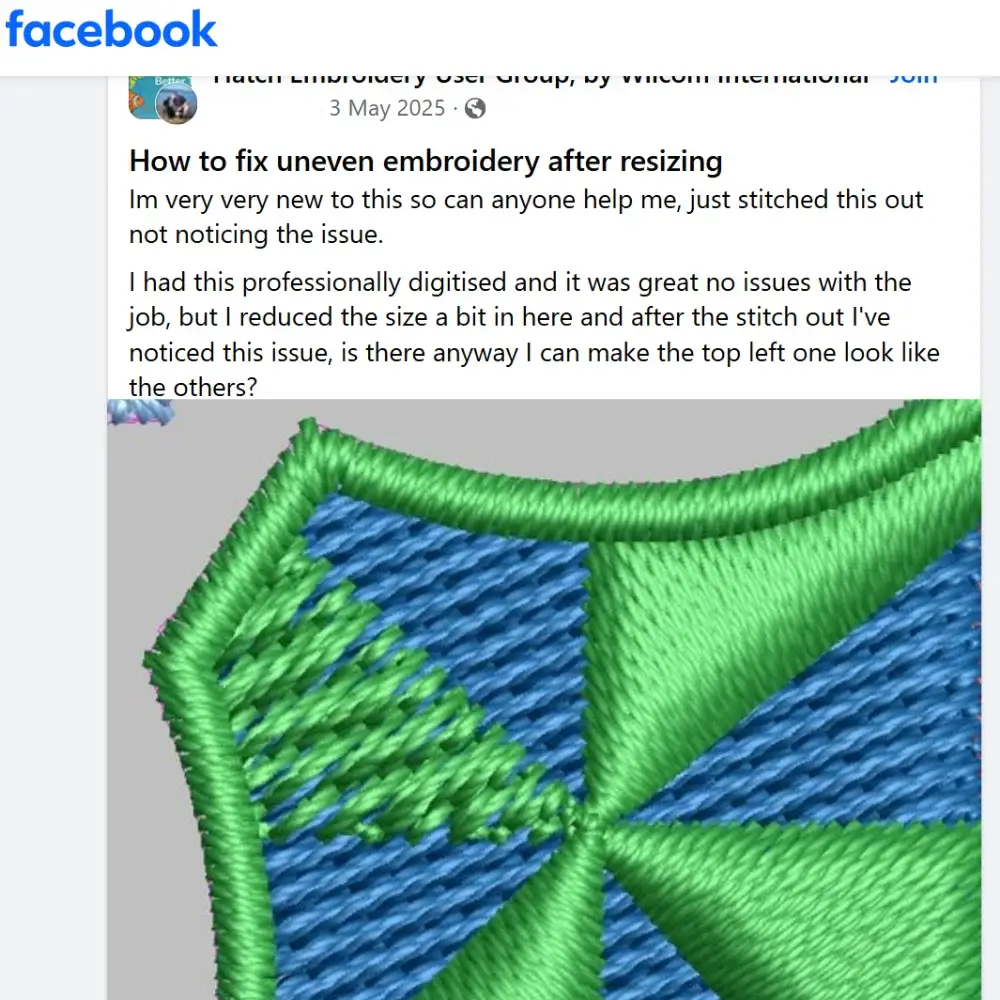
A design can look fine on screen but stitch poorly after its size changes. This usually happens because density, stitch length, spacing, or registration no longer suits the new dimensions.
Common Problems After Resizing
| Problem | What to Check |
|---|---|
| Fabric puckers | Excessive density, underlay, stabilizer, and fabric support |
| Thread keeps breaking | Dense areas, tiny stitches, and repeated needle penetration |
| Fabric shows through | Fill spacing may be too open |
| Design feels stiff | Too much thread packed into a smaller area |
| Small text fills in | Letters may be too small for clean stitching |
| Outline no longer lines up | Registration, pull compensation, and fabric movement |
| Satin areas look wrong | Columns may be too narrow or too wide |
| Machine rejects the file | Final dimensions or sewing field may exceed machine limits |
However, do not blame the machine right away. If the design stitched well before the size change, compare the resized stitch structure with the original file. This can reveal whether the problem started with density, spacing, stitch length, or another design setting.
Should You Resize the File on the Machine or in Embroidery Software?
Some embroidery machines offer basic size controls, but their limits and functions vary by model. A machine may let you change the percentage or dimensions without giving you full control over the stitch structure.
For larger or more technical changes, embroidery software gives you more ways to inspect:
- Final dimensions
- Stitch count
- Density
- Stitch lengths
- Sewing sequence
- Individual design areas
However, do not assume that a machine resize setting automatically rebuilds every stitch property. When quality matters, software usually gives you more control before you send the file to the machine.
Final Checklist Before You Stitch the Resized Design
Before stitching the final item, review the resized file one more time. This quick check can catch problems before they reach the machine.
Final Check
- Confirm the final dimensions
- Make sure it fits the embroidery field
- Keep the proportions correct
- Check density and very short stitches
- Review satin areas and small text
- Confirm underlay and outline registration
- Export the correct machine file
- Keep the original file separately
- Complete a test sew on similar fabric
Conclusion
Changing the size of a digitized file takes more than adjusting its width and height. You also need to check stitch density, lettering, satin widths, underlay, registration, hoop limits, and final fabric. Small changes may work well, but major changes often need editing or redigitizing.
Always keep the original file and run a test sew before using the final product. If your design needs a new stitch plan, contact Digitizing Buddy for professional embroidery digitizing and get a free quote!
FAQs
There is no safe percentage for every design. Small changes often work better, while larger changes can affect density, stitch length, lettering, and coverage. The design structure and resizing method matter more than one fixed percentage.
Yes, embroidery software can change the size of PES and DST files. However, finished stitch files offer less editing control than original object-based files. Large changes may require stitch recalculation, manual editing, or redigitizing.
It depends on the resizing method. Simple scaling can keep the same stitches and only change their spacing. Software with stitch recalculation can add or remove stitches to maintain suitable density and coverage.
Some machines provide built-in scaling or resizing controls, but their functions vary. For larger or complex changes, embroidery software usually gives you more control over stitch count, density, dimensions, and other stitch properties.
Shrinking stitches too closely together can create excessive density and repeated needle penetrations. This can lead to puckering, stiff embroidery, thread breaks, or needle problems. Check the resized stitch structure and test sew before stitching the final item.