
| Quick Summary |
|---|
|
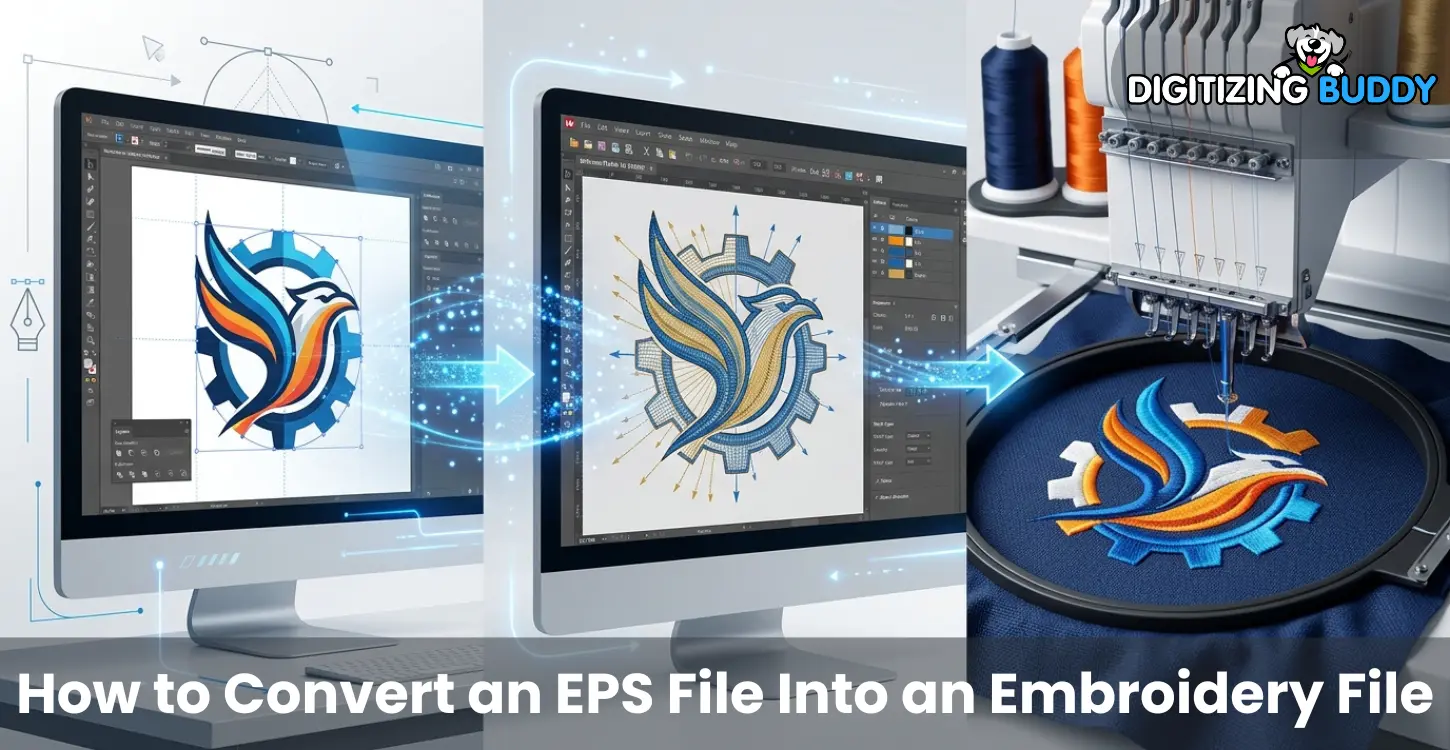
An EPS file is a common vector artwork format. Designers use it for logos, graphics, and print designs. It keeps artwork sharp and scalable, so it works well as a starting point for embroidery digitizing.
However, you cannot use an EPS file directly on an embroidery machine. Embroidery machines do not read normal artwork files. They need stitch instructions, not just shapes and colors.
A digitizer must convert the EPS artwork into stitches. This process includes stitch type, stitch direction, density, underlay, thread colors, and machine pathing.
After digitizing, you can save the final design in embroidery formats such as DST, PES, JEF, EXP, VP3, or XXX. The correct format depends on the embroidery machine.
For the best result, send your EPS artwork to an experienced embroidery digitizer. A properly digitized file will run more smoothly on your machine.
What Is an EPS File?
EPS stands for Encapsulated PostScript. Designers often use EPS files for logos, graphics, illustrations, and print artwork.
An EPS file works well for embroidery preparation because it keeps the artwork clean, sharp, and scalable. You can resize the design without losing quality, which gives the digitizer a better starting point.
EPS files are commonly used for:
- Logos
- Brand graphics
- Vector artwork
- Print designs
- Simple illustrations
However, an EPS file is not an embroidery file. It only contains artwork shapes and design details. It does not tell the embroidery machine how to stitch the design.
An embroidery machine needs stitch information, such as:
- Stitch type
- Stitch direction
- Thread colors
- Stitch density
- Underlay
- Machine pathing
That is why you must digitize an EPS file before using it for embroidery.
Can You Directly Convert EPS to Embroidery?
No, you cannot directly convert an EPS file into an embroidery file like a normal image conversion.
An EPS file only contains artwork. It may show shapes, lines, text, and colors, but it does not include the stitch instructions that an embroidery machine needs.
Embroidery files require important stitch details, such as:
- Stitch paths
- Stitch types
- Stitch direction
- Stitch density
- Underlay
- Trims
- Thread colors
- Machine sequencing
This is why EPS to embroidery is not just a simple file conversion. The artwork must go through embroidery digitizing.
During digitizing, a professional digitizer studies the EPS artwork and manually creates the stitch plan. They decide how each part of the design should sew, where the machine should start and stop, and how the final embroidery should look on fabric.
So, while an EPS file gives you a clean artwork base, it still needs proper digitizing before you can use it on an embroidery machine.
How to Convert an EPS File Into an Embroidery File: Step-by-Step Process
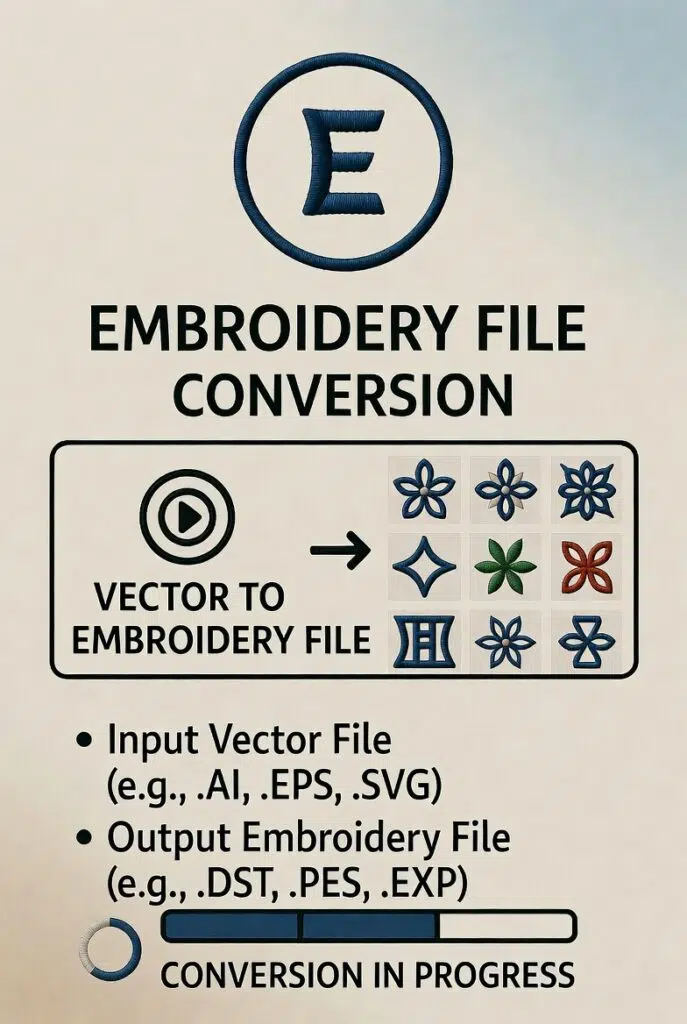
Step 1: Prepare the EPS Artwork
Start by opening the EPS file in vector software such as Adobe Illustrator, CorelDRAW, or another design program. Check the artwork carefully before sending it for embroidery digitizing.
A clean EPS file helps the digitizer create a better embroidery file. If the artwork has too many small details like text, rough edges, or unclear shapes, the final embroidery may not sew cleanly.
Before digitizing, check these points:
- Make sure the logo or design looks clean and clear.
- Remove unnecessary small details that may not stitch well.
- Check all text for readability.
- Look for thin outlines that may need adjustment.
- Simplify gradients, shadows, and effects.
- Fix overlapping shapes if they create confusion.
- Convert fonts to outlines if needed.
Embroidery works differently from printing, so every tiny detail may not translate well into thread. Preparing the EPS artwork properly gives the digitizer a cleaner base and helps the final embroidery file run better on the machine.
Step 2: Decide the Embroidery Size
Choose the final embroidery size before digitizing the EPS file. Size plays a major role in how the design will look after stitching.
A larger design can hold more detail, while a smaller design needs cleaner shapes and fewer tiny elements. If you shrink a detailed logo too much, small text, thin lines, and tight spaces may not sew clearly.
The embroidery size affects:
- Stitch count
- Detail level
- Text readability
- Thread coverage
- Fabric stability
- Final sewing quality
You should also consider where the design will be used. A left chest logo design, cap logo, sleeve design, jacket back, and patch all need different sizing and digitizing adjustments.
For example, small text may work on a jacket back but may not sew well on a cap or left chest design. Fine outlines may also need to be thickened so they remain visible after stitching.
Deciding the size early helps the digitizer plan the stitch type, density, and level of detail correctly.
Step 3: Import the Artwork Into Embroidery Digitizing Software
Next, import the EPS artwork into embroidery digitizing software. You can use professional software such as Wilcom, Hatch, Pulse, Embrilliance, or another similar program.
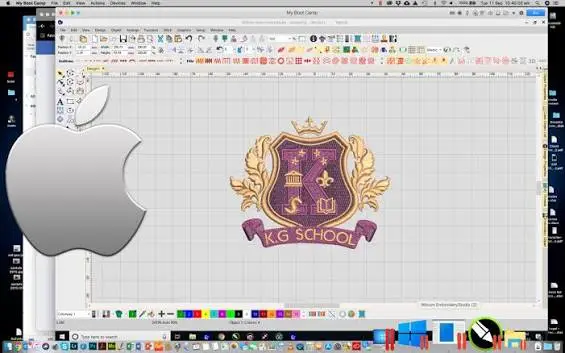
The EPS file works as a visual guide inside the software. It shows the digitizer where the shapes, text, borders, and colors should appear.
At this stage, the software does not automatically create a perfect embroidery file. The digitizer still needs to build the stitch plan manually.
The digitizer uses the EPS artwork to create:
- Stitch paths
- Satin stitches
- Fill stitches
- Running stitches
- Borders and outlines
- Color sections
- Sewing sequence
This step connects the original artwork with the embroidery process. A clean EPS file makes it easier to trace the design, follow the correct shapes, and create a file that will sew properly on fabric.
Step 4: Digitize the Design Into Stitches
Now the real digitizing work begins. The digitizer creates stitch paths over the EPS artwork and decides how each part of the design should sew.
This step turns the artwork into machine-readable embroidery instructions. The digitizer does not just trace the design. They plan the stitch flow, direction, order, and structure so the design looks clean on fabric.
Common stitch types include:
- Satin stitch for text, borders, and narrow shapes
- Fill stitch for larger solid areas
- Running stitch for fine lines, outlines, and small details
The digitizer also sets important stitch details, such as:
- Stitch direction
- Sewing sequence
- Layering order
- Start and stop points
- Thread trims
- Color changes
Underlay stitches are also added under the main stitches. Underlay helps stabilize the fabric, supports the top stitches, and improves the final shape of the design.
Good stitch planning makes the embroidery smoother, cleaner, and easier for the machine to sew.
Step 5: Adjust Stitch Density and Pull Compensation
After creating the stitch paths, adjust the stitch density and pull compensation. These two settings help control how the design sews and how it looks on fabric.
Stitch density means how close the stitches are to each other. The right density gives the design proper coverage without making it too heavy.
If the density is too high, the design can become:
- Too stiff
- Too thick
- Hard to sew
- More likely to cause thread breaks
- More likely to pucker the fabric
If the density is too low, the design may show:
- Gaps between stitches
- Poor coverage
- Weak colors
- Uneven embroidery
Pull compensation in digitizing is also important. When stitches sew into fabric, they can pull slightly and change the shape of the design. Pull compensation adjusts the stitch area so the final embroidery keeps its correct shape after stitching.
Good density and pull compensation make the embroidery look cleaner, smoother, and more professional.
Step 6: Assign Thread Colors
After setting the stitches, assign thread colors to the design. Match the colors in the EPS artwork with real embroidery thread colors as closely as possible.
Screen colors and thread colors do not always look the same. A color that looks bright on a monitor may look slightly different when stitched with thread. Fabric color, lighting, and thread shine can also affect the final look.
When choosing thread colors, check:
- Logo brand colors
- Thread shade availability
- Fabric color
- Contrast and visibility
- Customer color requirements
- Number of color changes
Popular embroidery thread brands include Madeira, Isacord, Robison-Anton, and other commercial thread lines. If the customer provides specific thread codes, use those codes for better accuracy.
Good color matching helps the final embroidery look closer to the original artwork and gives the design a more professional finish.
Step 7: Save the File in the Right Embroidery Format
After digitizing the design, save or export the file in the correct embroidery format. The right format depends on the embroidery machine you want to use.
Each machine reads specific file types. If you save the design in the wrong format, the machine may not open it or may not sew it correctly.
Common embroidery file formats include:
- DST for Tajima and many commercial embroidery machines
- PES for Brother and Baby Lock machines
- JEF for Janome machines
- EXP for Bernina and Melco machines
- VP3 for Husqvarna Viking and Pfaff machines
Watch this short video to learn the basics of embroidery file formats.
Always check your machine model before exporting the final file. This helps you avoid format errors and production delays.
You should also keep the original editable digitizing file. This file makes future changes easier, such as resizing the design, changing thread colors, adjusting density, or editing small details.
Saving both the machine file and the editable file gives you more flexibility for future embroidery orders.
Step 8: Test Stitch the Design
Before starting full production, run a test stitch of the embroidery file. This helps you see how the design actually sews on fabric.
A design may look perfect on screen, but embroidery can behave differently on the machine. Fabric type, stabilizer, thread, needle, and machine speed can all affect the final result.
During the test stitch, check for:
- Thread breaks
- Gaps in the design
- Fabric puckering
- Poor registration
- Uneven borders
- Small text clarity
- Incorrect color sequence
- Unnecessary trims
If you notice any issues, adjust the file before production. You may need to change stitch density, pull compensation, underlay, stitch direction, or small design details.
A test stitch helps prevent wasted garments, poor results, and production delays. It is one of the most important steps when converting an EPS file into an embroidery file.
Common Mistakes When Converting EPS to Embroidery
Many people think they can convert an EPS file into an embroidery file with one click. This is one of the biggest mistakes. Automatic conversion may create stitches, but it usually does not produce clean, production-ready embroidery.
Embroidery needs proper planning. The digitizer must adjust the design for fabric, size, stitch type, and machine performance.
Common mistakes include:
- Expecting automatic conversion to give perfect results
- Keeping too many small details in the design
- Using very thin lines that may not stitch clearly
- Not adjusting small text for embroidery
- Ignoring the fabric type
- Using the wrong stitch density
- Skipping the test stitch
- Saving the file in the wrong machine format
Small details that look fine in an EPS file may disappear or become messy when stitched. Thin outlines, tiny letters, gradients, shadows, and complex effects often need to be simplified before digitizing.
Fabric type also matters. A design for caps may need different settings than a design for polo shirts, jackets, towels, or patches.
To avoid these problems, always prepare the artwork properly, digitize the file carefully, and test stitch the design before production.
Why Professional Digitizing Gives Better Results
A clean EPS file gives you a strong starting point, but it does not guarantee good embroidery. The final result depends on how well the artwork is digitized.
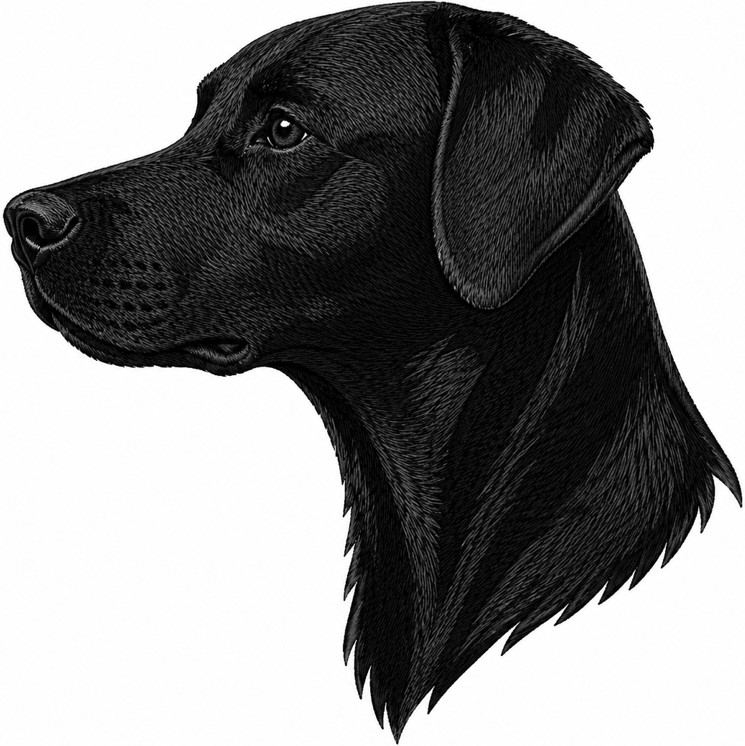
Professional digitizers understand how stitches behave on different fabrics. They know how to adjust stitch direction, density, underlay, pull compensation, trims, and sewing sequence so the design runs smoothly on the machine.
Good digitizing helps improve:
- Design clarity
- Stitch flow
- Text readability
- Fabric stability
- Thread coverage
- Machine performance
- Final embroidery quality
Poor digitizing can cause thread breaks, puckering, gaps, uneven borders, and messy small details. Even a high-quality EPS logo can look bad if the stitch file is not prepared correctly.
Professional digitizing turns the artwork into a clean, machine-ready embroidery file. It helps the design sew better, look sharper, and last longer on garments, caps, patches, bags, and other fabric items.
Conclusion
EPS files are a great starting point for embroidery digitizing because they are clean, sharp, and scalable. They help the digitizer see the artwork clearly and create a better stitch plan.
However, an EPS file cannot run directly on an embroidery machine. It must be professionally digitized into a stitch-based embroidery format before production.
The final embroidery file should also be tested before use. A test stitch helps check the quality, fix any issues, and make sure the design sews properly on the selected fabric.
Before production, make sure your file is saved in the correct format for your machine, such as DST, PES, JEF, EXP, VP3, XXX, or another required format.
Need to convert your EPS logo into an embroidery-ready file? Send us your artwork today at Digitizing Buddy and get a clean, machine-ready embroidery file prepared for your required machine format.
FAQS
No. An embroidery machine cannot read an EPS file directly. You need to digitize the EPS artwork into an embroidery file format such as DST, PES, JEF, EXP, VP3, or XXX.
Yes. EPS is a good starting file because it usually contains clean vector artwork. It keeps the logo sharp and scalable, which helps the digitizer create a better stitch file.
Some software offers auto-digitizing, but it rarely gives perfect results. A professional digitizer still needs to adjust stitch type, density, direction, underlay, trims, and pull compensation.
The format depends on your embroidery machine. DST works for many commercial machines, PES works for Brother and Baby Lock, JEF works for Janome, EXP works for Bernina and Melco, and VP3 works for Husqvarna Viking and Pfaff.
Small text can lose clarity when stitched. The digitizer may need to increase the size, change the stitch type, adjust spacing, or simplify the letters so they sew clearly.
Not always. Screen colors and thread colors can look different. A digitizer matches the artwork with the closest available thread shades from brands like Madeira, Isacord, or Robison-Anton.
The time depends on the design size and complexity. Simple logos can often be digitized quickly, while detailed artwork may take more time to prepare, digitize, and test.