
| Quick Summary |
|---|
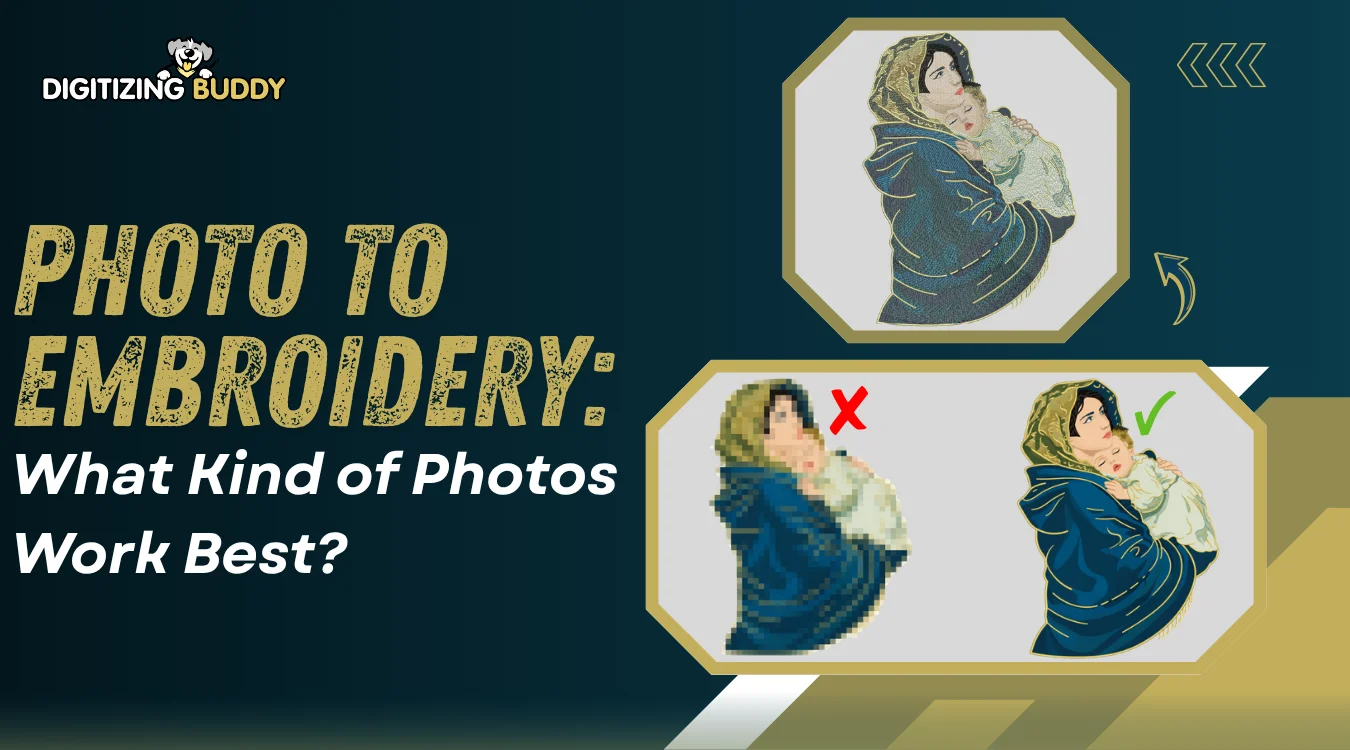
Clear photos help create cleaner embroidery, but a skilled digitizer can also work with complex images.
|
Photos can make beautiful embroidery, but embroidery does not work like photo printing. A machine cannot stitch every pixel, soft shadow, skin tone, fur strand, or busy background exactly as it appears on screen.
Instead, the photo needs careful planning. A digitizer must simplify it into thread colors, stitch paths, density, underlay, and fabric-safe details that sew cleanly.
In this guide, you will see what kind of photos work best, what to avoid, and how a trusted embroidery digitizing service can help you get a cleaner stitch-out without wasting time.
- Quick Answer: What Photos Work Best for Embroidery?
- What Makes a Photo Easy to Turn Into Embroidery?
- Best Types of Photos for Embroidery Digitizing
- Which Photos Are More Difficult to Digitize?
- Do Online Photo-to-Embroidery Converters Work?
- How Professional Digitizers Prepare a Photo for Embroidery
- Simple Checklist Before Sending a Photo
- Final Thoughts
- FAQs
Quick Answer: What Photos Work Best for Embroidery?
Clear, bright, and sharp photos usually make the embroidery digitizing process easier. A close subject, visible edges, good lighting, and strong contrast help the digitizer plan thread colors, stitch paths, and detail placement with more control.
Helpful Photo Features
- Clear subject
- Good lighting
- Sharp focus
- Visible edges
- Balanced contrast
- Usable image size
However, crowded or complex photos are not always a problem. A skilled digitizer can simplify them when needed, and some detailed images can still stitch well with the right plan.
What Makes a Photo Easy to Turn Into Embroidery?
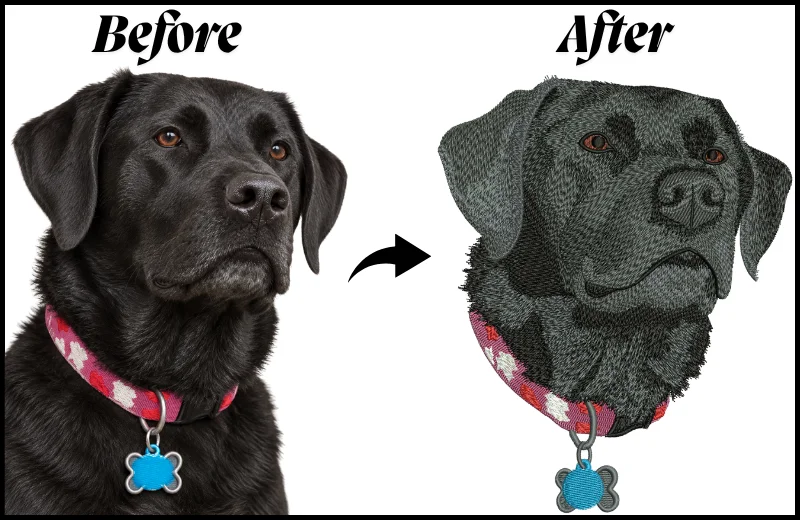
A photo becomes easier to digitize when the main subject is clear, sharp, and easy to separate from the background. Good lighting helps show face lines, fur texture, product edges, and shadow areas without making the design too muddy.
Photo Details That Help
- One clear subject
- Good lighting
- Sharp focus
- Strong contrast
- Clean edges
- Enough image size
- Limited color areas
- Simple background when possible
However, a busy background does not always mean the photo cannot work. A digitizer can remove, reduce, or reshape extra details when needed. Also, a detailed image can still stitch well without major changes.
In addition, contrast matters because many photo-stitch tools read light and dark areas to build stitch texture. Clear contrast gives the digitizer more control over depth, thread colors, and stitch direction.
Best Types of Photos for Embroidery Digitizing
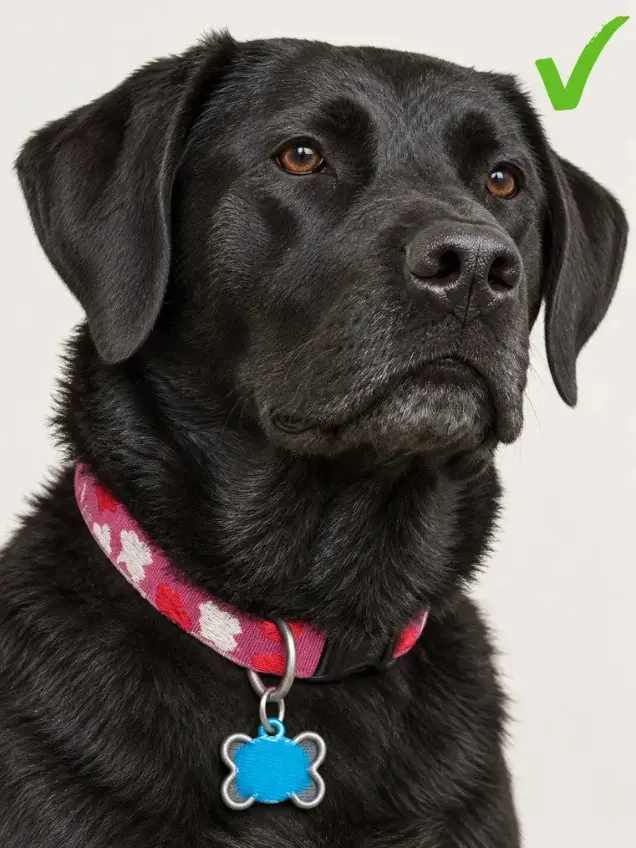
Different photo styles can work for embroidery, as long as the digitizer can read the important details. Clear photos often save time, but complex images can also work with smart stitch planning.
Close-Up Portraits
A sharp, well-lit face gives the digitizer clean areas for eyes, hair, shadows, and skin tone changes. The face should not look too small in the frame.
Pet Photos
Pet photos work well when the animal faces the camera. Clear eyes, visible fur direction, and balanced light help the design keep its natural look.
Product or Object Photos
Product photos, keepsake items, and brand-related images can work well when the object has clear edges. A simple background helps, but it is not always required.
High Contrast Black and White Photos
These photos fit sketch-style or single-color embroidery. However, the digitizer still needs enough detail to plan clean stitches.
Which Photos Are More Difficult to Digitize?
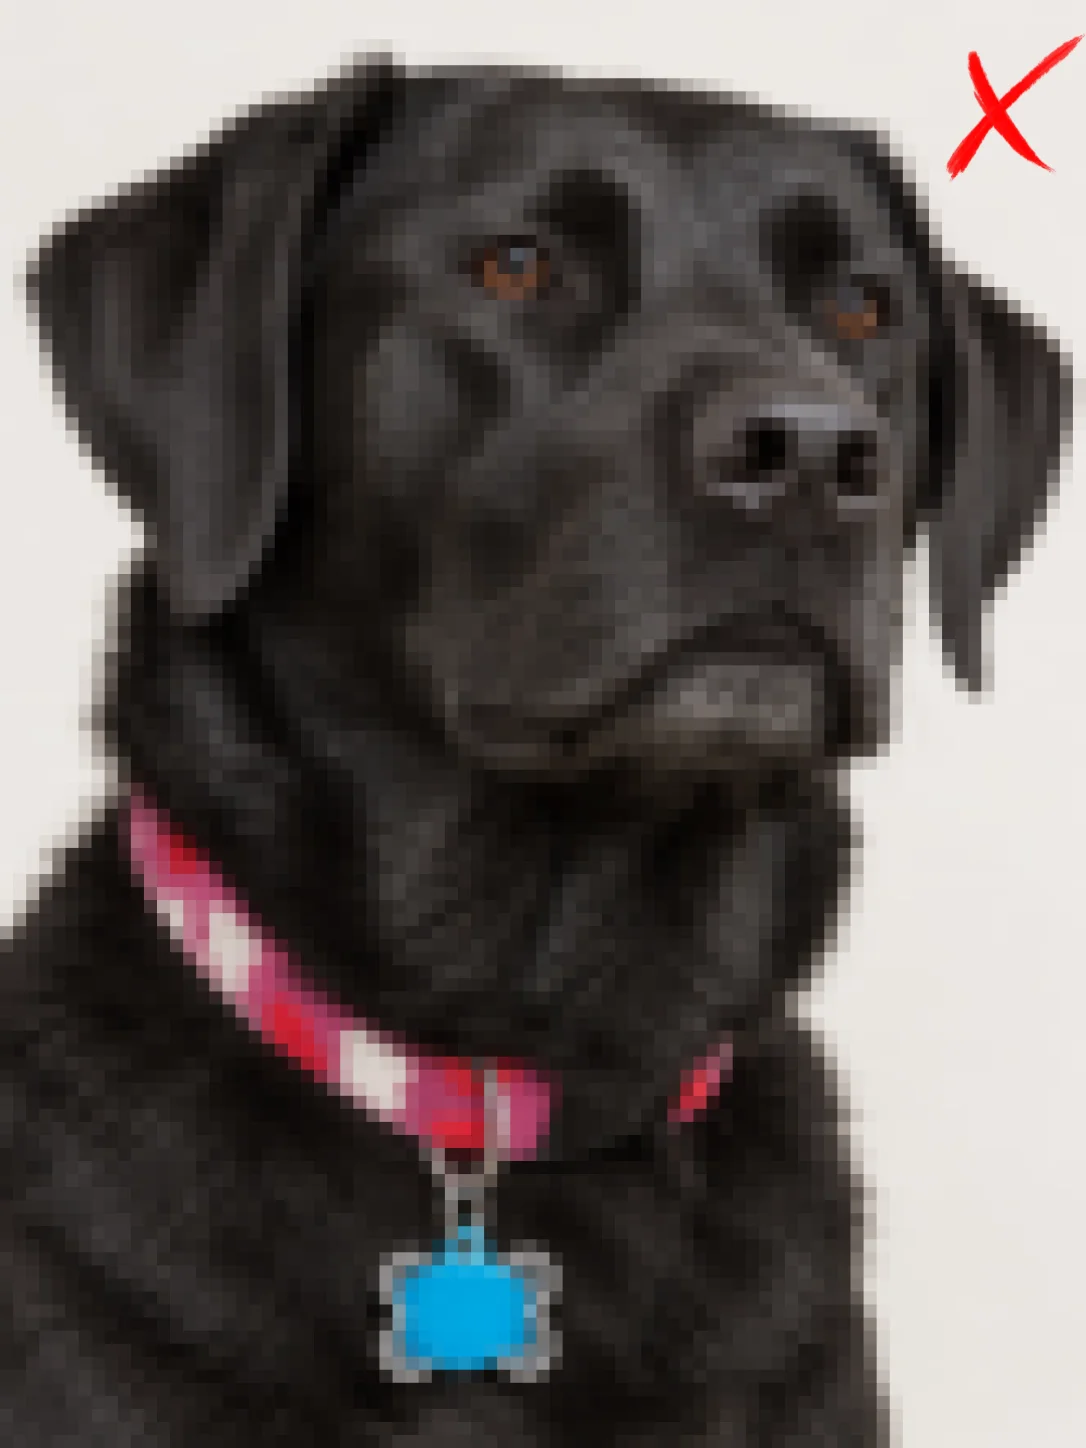
Some photos need more preparation before they become clean embroidery. This does not mean they cannot be digitized. It only means the digitizer may need to crop, clean, sharpen, simplify, or adjust the stitch plan.
Photos That May Need Extra Work
- Blurry images
- Dark indoor photos
- Strong backlight
- Far-away subjects
- Messy backgrounds
- Low-resolution screenshots
- Heavy filters
- Tiny faces or small text
- Too many soft shadows
- Smooth color gradients
However, many complex photos can still work. A skilled embroidery digitizer can remove background noise, rebuild weak edges, reduce extra colors, or focus on the main subject.
Also, the final result depends on size, fabric, thread colors, and stitch style. A difficult photo may stitch well when the design plan supports it.
Need a clearer path before stitching? Digitizing Buddy can review your photo and prepare a stitch file that fits your fabric, size, and machine format.
Do Online Photo-to-Embroidery Converters Work?
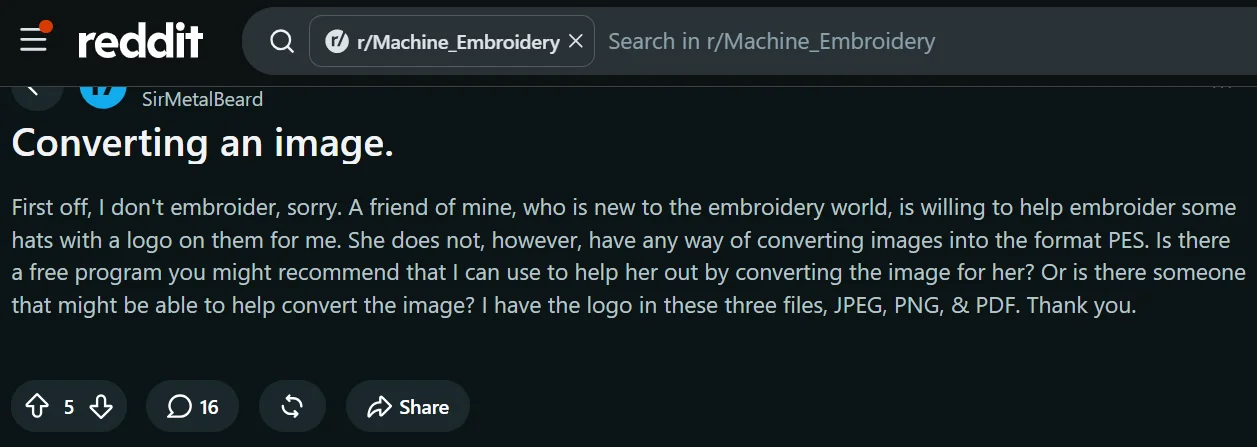
Online converters may help with very simple shapes, but they do not replace real digitizing. A photo still needs stitch choices, not just a new file name. The design must tell the machine where to stitch, how dense to stitch, when to trim, and how to handle fabric pull.
Where Converters Struggle
- Faces
- Fur texture
- Soft shadows
- Busy backgrounds
- Small details
- Thread blending
- Underlay
- Stitch order
- Trims
However, these tools can sometimes create a rough starting point for basic artwork. They often fall short on detailed photos because embroidery must simplify the image into thread.
Also, embroiderers often warn that image files still need digitizing decisions. A good stitch file needs planning, not just automatic embroidery conversion.
How Professional Digitizers Prepare a Photo for Embroidery
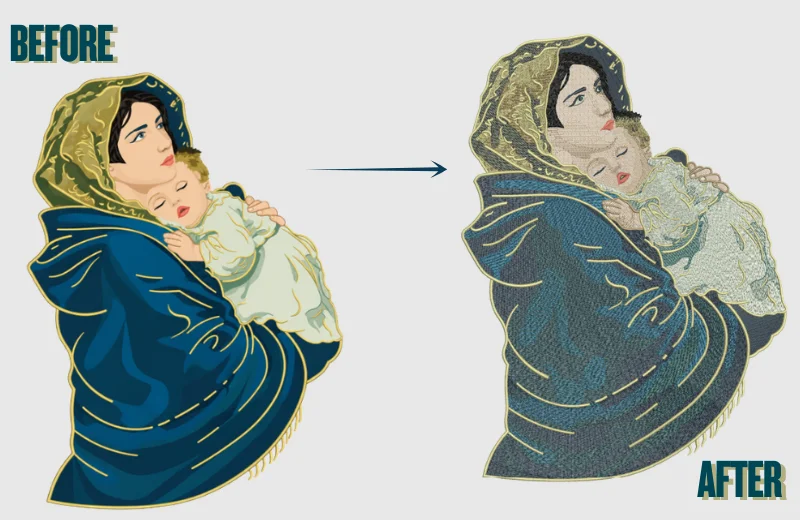
A professional digitizer does more than open a photo and save it as a machine file. They study the subject, fabric, size, and final use before planning the stitches.
Key Preparation Steps
- Crop the main subject
- Remove or simplify the background
- Improve light and contrast
- Reduce extra colors
- Choose the stitch style
- Plan underlay and density
- Set stitch direction
- Adjust for fabric and size
- Review or test the sew-out
However, the goal is not always to remove every detail. Some photos need a cleaner layout, while others can keep more texture with the right stitch path and thread plan.
Simple Checklist Before Sending a Photo
Before you send your image for digitizing, check the parts that affect stitch quality. A better photo helps the digitizer plan cleaner details, but even difficult photos can work with the right edits.
Quick Photo Check
- Is the subject clear enough?
- Does the photo have enough light?
- Are the edges easy to see?
- Is the face, logo, pet, or object large enough?
- Are there too many colors or shadows?
- Do you want a realistic look or a cleaner stitched style?
- What fabric and final size will you use?
Also, send the best version you have when possible.
Final Thoughts
A good embroidery result starts with the right photo, but it does not depend on a perfect image only. Clear lighting, sharp focus, visible edges, and enough size can help the digitizer plan cleaner stitches. However, complex photos can still work when the design is cropped, simplified, adjusted, or carefully planned for the fabric.
The best approach is to send the clearest version you have and share your final size and fabric details.
Ready to prepare your image for stitching? Contact Digitizing Buddy and get a free quote today.
FAQs
Yes, a clear photo can be turned into an embroidery file through digitizing. The digitizer converts the image into stitch paths, thread colors, underlay, density, and machine-readable instructions.
No, a JPG or PNG cannot become a proper PES or DST file by changing the extension. The image must be digitized so the embroidery machine can read the stitch data.
Threads cannot copy every pixel, shadow, skin tone, or tiny detail. The digitizer must simplify the photo into stitch-friendly shapes, colors, and textures.
Online tools may help with simple shapes or rough previews. However, detailed faces, fur, shadows, fabric pull, density, trims, and stitch order usually need professional digitizing.