ARTlink 9 helps users inspect, adjust, convert, and transfer embroidery designs with simple tools.
|
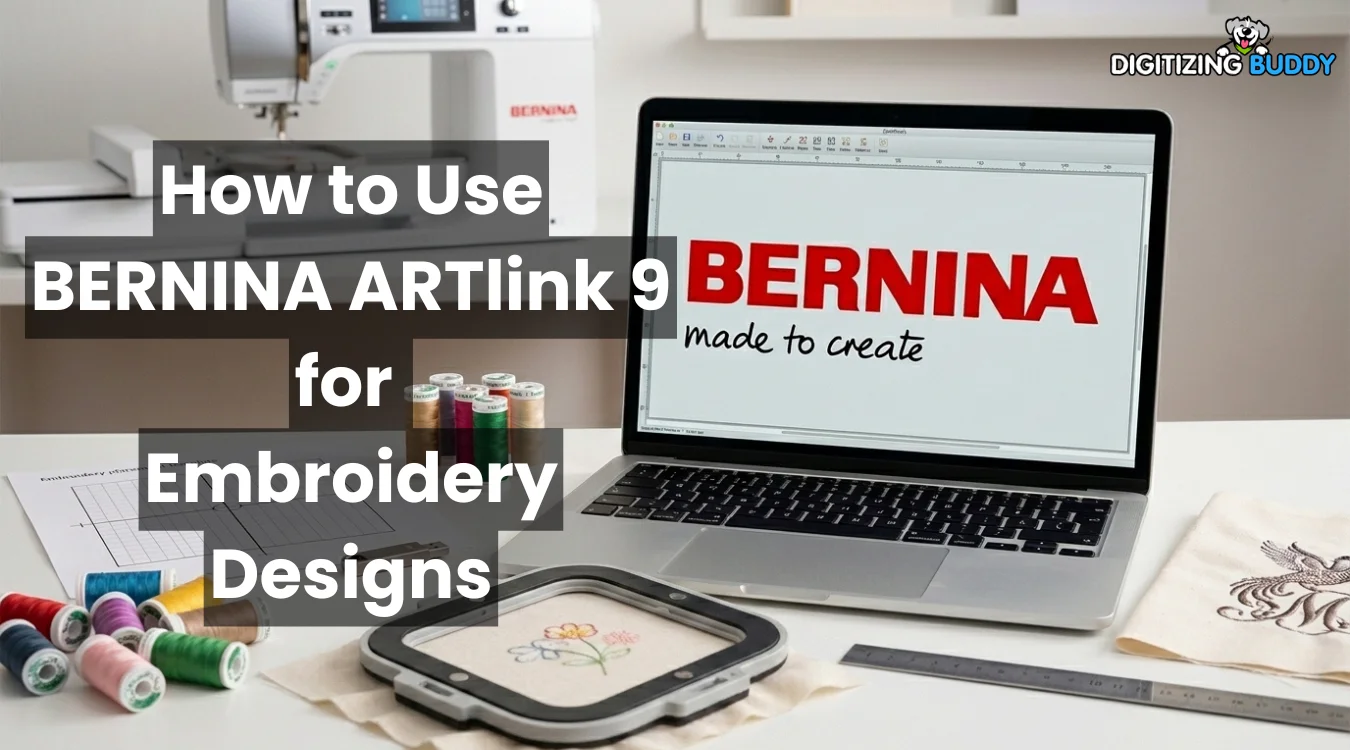
BERNIA ARTlink 9 helps you open, view, resize, rotate, and convert embroidery designs before sending them to your machine. It gives beginners a simple way to check design size, hoop fit, stitch order, and file format without using advanced software.
However, the program cannot turn a JPG, PNG, or logo into a clean stitch file. You still need proper digitizing for smooth shapes, balanced density, and better results on fabric.
Therefore, this guide will show you each basic step in a clear order. When your artwork needs a machine-ready file, Digitizing Buddy provides the best online embroidery digitizing service for logos, lettering, patches, and custom designs with reliable, fast support.
- What Can You Do With BERNINA ARTlink 9?
- What Is ARTlink 9, and Is It Still Available?
- What Do You Need Before Using ARTlink 9?
- How to Open and View an Embroidery Design?
- How to Select the Correct Machine, Hoop, and Template?
- How to Resize, Rotate, Mirror, or Skew a Design?
- How Can You Check Colors and Stitching Before Export?
- How to Print a Full-Size Placement Template?
- How to Convert and Export a Design to a Machine or USB?
What Can You Do With BERNINA ARTlink 9?
This software helps embroiderers view, adjust, check, and transfer existing embroidery files. It does not create stitch files from regular images, but it makes basic design setup much easier.
Main Tools You Can Use
- Open embroidery files and inspect stitch details, colors, and design size.
- Resize, rotate, mirror, or skew a design to improve its placement.
- Choose your embroidery machine, select a matching hoop, and print a full-size template.
- Convert machine formats, export finished files, and send designs to a machine or USB device.
What Is ARTlink 9, and Is It Still Available?

ARTlink 9 was the basic level of BERNINA Embroidery Software 9. However, BERNINA has discontinued it, so new users can no longer download it from the official website.
What Is It Used For?
The program gives embroiderers simple tools for working with existing stitch files. Users can:
- Open and view embroidery designs
- Make basic size and position changes
- Convert files into supported machine formats
- Send designs to a machine or USB device
However, it is not full embroidery digitizing software. It cannot turn a regular JPG, PNG, or logo into a complete stitch design.
Is the Program Still Supported?
BERNINA now lists the software as discontinued and unavailable. In addition, its current compatibility page shows no official support for Windows 10, Windows 11, or Mac.
Therefore, this guide is for readers who already have a working installation. Avoid downloading unofficial copies, since they may contain outdated, broken, or unsafe files.
What ARTlink 9 Can and Cannot Do
This software handles basic design viewing, editing, and file conversion. However, it does not include full embroidery digitizing tools.
| Task | Can Do It? | Important Note |
|---|---|---|
| Open embroidery files | Yes | Supports several common machine formats |
| Resize or rotate designs | Yes | Results depend on the source file |
| Convert machine formats | Yes | Use the Export Machine File option |
| Print placement templates | Yes | Print at 100 percent actual size |
| Digitize a JPG or logo | No | Requires digitizing software or a professional service |
| Create complex embroidery objects | No | The program provides only basic editing tools |
What Do You Need Before Using ARTlink 9?
Prepare a few basic items before opening your design. This will make editing, checking, and file transfer much easier.
Items to Prepare
- A working software installation
- An existing embroidery stitch file
- Your embroidery machine model
- The correct hoop size
- A compatible USB stick or transfer method
- A backup copy of the original design
However, keep the original file unchanged. If resizing, conversion, or export causes a problem, you can return to the clean copy.
Also, your design must already contain stitch data. A JPG, PNG, PDF, or regular logo image is not a ready-to-sew embroidery file.
How to Open and View an Embroidery Design?

Follow these steps to open your file and check the stitch details before making changes.
Step 1: Open the Design
- Launch the software.
- Select File, then Open.
- Browse to the folder that holds your design.
- Choose the correct format from the file-type menu.
- Select the file and click Open.
Also, use Open Recent File to quickly reopen a design you used earlier.
Step 2: Choose a Viewing Mode
Artistic View shows a realistic preview of the finished stitches. However, Design View displays the stitch structure and paths more clearly.
Step 3: Inspect the Design
Use these tools for a closer check:
- Zoom to 100 percent to view the actual size.
- Choose Zoom to Fit to see the full design.
- Use Pan to move around the workspace.
- Turn on Show Needle Points to inspect each needle entry.
Finally, check for long jumps, gaps, unusual stitches, or misplaced details before editing.
How to Select the Correct Machine, Hoop, and Template?

Select your machine and hoop before resizing or exporting a design. These settings help you avoid size errors and confirm that the design fits the usable sewing area.
Choose the Machine and Hoop
- Open the Show Hoop settings.
- Select your embroidery machine model.
- Choose the correct hoop size.
- Select the matching embroidery foot.
- Confirm the settings.
The machine and foot choices control the available embroidery area. Therefore, always match them with your real setup.
Use the Viewing Guides
- Show Template displays the machine’s positioning template.
- Show Grid helps align the design.
- Show Ruler checks the width and height.
- Hoop boundaries show whether the design fits.
However, a design may appear inside the visible hoop and still exceed the sewing area. Always check the selected machine and foot limits before exporting.
How to Resize, Rotate, Mirror, or Skew a Design?
Select the design before editing. The resize, rotate, mirror, and skew tools become active only after you click the design.
Resize the Design
You can change the size in three ways:
- Use Scale Up or Scale Down.
- Drag a corner handle.
- Enter an exact width, height, or percentage.
Keep proportional scaling locked to protect the original shape. However, unlocking it changes the width and height separately. This may distort logos, lettering, circles, and borders.
Rotate the Design
Use the rotate tool to turn the design in 45-degree steps. You can also enter a specific angle for exact placement.
In addition, drag a corner rotation handle when you need a quick visual adjustment.
Mirror the Design
Horizontal mirroring flips the design from left to right. Meanwhile, vertical mirroring turns it from top to bottom.
These tools help when you need a reversed layout or a matching design for the opposite side of a garment.
Skew the Design
Enter a skew value or drag the skew handle to slant the design. However, too much skewing may damage lettering and satin-stitch details.
Resize With Care
Native design files hold more editing information than DST, EXP, PES, and similar machine embroidery files. Therefore, large size changes may reduce stitch quality. Make small adjustments and always run a test sew-out.
How Can You Check Colors and Stitching Before Export?

Review the design before exporting to catch problems that may affect the sew-out. These tools help you check stitch order, thread colors, and placement.
Preview the Stitch Sequence
Stitch Player simulates how the design will sew from start to finish. Watch the preview for:
- The order of color changes
- Unexpected jump stitches
- Repeated travel across the design
- Sections that sew too early or too late
- Poor starting or ending positions
However, the preview does not replace a real test sew-out.
Review the Thread Colors
The color palette shows the planned thread sequence. You can also check the available thread charts and match each displayed shade with the thread you own.
Still, screen colors may look different because monitors use different settings. Therefore, compare the design with a physical thread chart when exact color matching matters.
Check the Start and End Points
Auto Start and End controls where the first and last stitches sit. Good placement can improve hoop alignment, reduce unwanted travel, and make machine setup easier.
How to Print a Full-Size Placement Template?
A full-size template shows the real design size and helps you plan accurate placement before hooping.
Print the Template
- Select File, then Print Preview.
- Open Print Options.
- Choose 100 percent of actual size.
- Turn on the hoop template, center marks, guides, or design details you need.
- Select Print Now.
You can place the printed sheet on shirts, caps, towels, bags, quilt blocks, and other items. Therefore, it becomes easier to check the center point, angle, and distance from seams.
However, do not select Fit to Page. This setting may shrink or enlarge the template and cause incorrect placement.
How to Convert and Export a Design to a Machine or USB?
You can save an editable design, export a machine file, or transfer it to a supported device. However, always keep a backup before changing the format.
Save an Original ART Design
Open File and select Save As to save an edited ART design under a new name.
However, changing the extension of an EXP, DST, or PES file does not turn it into a complete native ART design. The source file still holds less editing information.
Export a Machine Format
- Open the embroidery design.
- Select File.
- Choose Export Machine File.
- Select the required format.
- Choose a destination folder.
- Name and save the file.
The program supports common formats such as EXP, DST, PES, VP3, VIP, HUS, and SEW. Therefore, select the format your machine can read.
Transfer the Design
Use “Write to Card or Machine” to open the Device Selection window. Then, choose your USB stick or compatible embroidery machine and select the correct machine model.
Many BERNINA machines use EXP files. In addition, a complete BERNINA EXP set may include:
- EXP for stitch data
- BMP for the preview image
- INF for thread color details
Keep these companion files together when your machine needs the full set.
Final Thoughts
ARTlink software gives existing users a simple way to open, inspect, resize, rotate, and convert embroidery designs. It also helps you select the right hoop, review stitch order, check thread colors, print placement templates, and transfer files to a machine or USB device.
However, basic editing cannot fix poor stitch paths, wrong density, or artwork that has not been digitized. Therefore, always keep the original file and test the design on similar fabric before production.
Need a clean, machine-ready embroidery file? Contact Digitizing Buddy for professional embroidery digitizing services and get a free quote today.
Frequently Asked Questions
It previously worked as the free basic version after the full software trial ended. However, BERNINA now lists the program as discontinued and no longer offers an official download.
Yes. It can export designs into common machine formats such as EXP, DST, PES, VP3, VIP, HUS, and SEW.
Yes. You can change the width, height, or scale percentage. However, large changes may reduce stitch quality, especially in machine files such as DST, EXP, and PES.
No. It can open and edit existing stitch files, but it cannot convert a regular image into a complete embroidery design.
Open the design, choose Write to Card or Machine, select the USB device, and export the correct format for your embroidery machine.