
| Quick Summary |
|---|
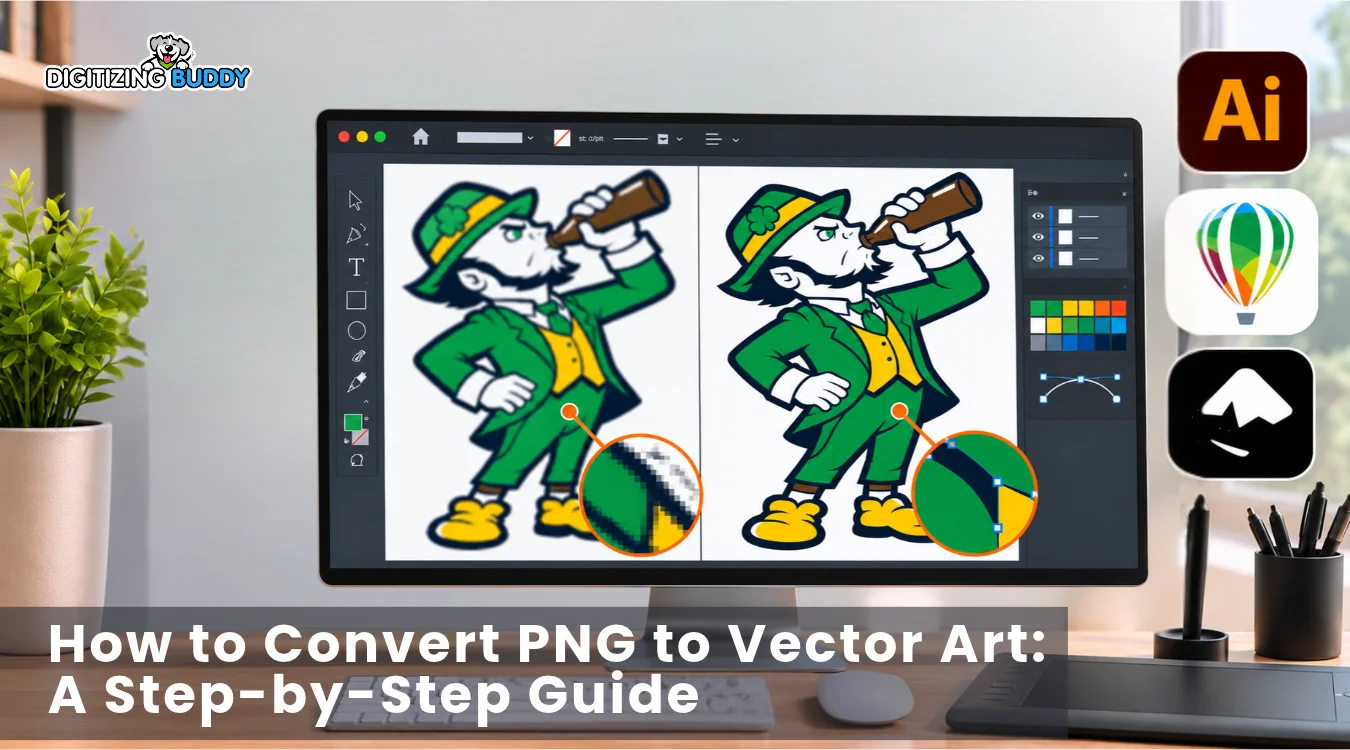
PNG to vector conversion turns pixel images into editable shapes that stay sharp at any size without losing quality.
|
Your PNG logo looks sharp on your screen. But when you enlarge it for a banner, sign, or printed shirt, the edges turn blurry. That can make even a great design look unprofessional.
Vector tracing fixes this by turning pixels into smooth, scalable shapes. You can resize the artwork without losing its clean edges. However, the final result depends on your original image and the method you choose.
In this guide, you’ll see how to convert artwork using Adobe Illustrator, CorelDRAW, and free tools. If your logo needs extra care, consider a reliable logo to vector conversion service for a clean, print-ready result. Let’s start with the basics.
- Quick Answer: How Do You Convert a PNG to Vector Art?
- What Is a PNG File, and Why Convert It?
- Preparing Your PNG for Vector Conversion
- How to Convert PNG to Vector Using Adobe Illustrator
- PNG to Vector Conversion in CorelDRAW
- Free Ways to Convert PNG to Vector
- Automatic Tracing vs. Manual Vector Tracing
- Best Vector File Formats: AI, EPS, SVG, and CDR
- Common Mistakes When Converting PNG Images
Quick Answer: How Do You Convert a PNG to Vector Art?
To convert a PNG to vector art, use tracing software to turn pixels into editable paths. Then refine the shapes and save them in a suitable vector format.
Five Simple Steps to Convert PNG to Vector
- Open your PNG in Adobe Illustrator, CorelDRAW, or Inkscape.
- Choose Image Trace, PowerTRACE, or Trace Bitmap.
- Adjust colors, edges, and path settings for cleaner shapes.
- Expand the trace when needed, then remove unwanted points and shapes.
- Save your finished artwork as SVG, AI, EPS, or another suitable vector format.
However, automatic tracing may distort tiny text or detailed logos. Manually redraw problem areas to keep lines smooth and accurate.
What Is a PNG File, and Why Convert It?
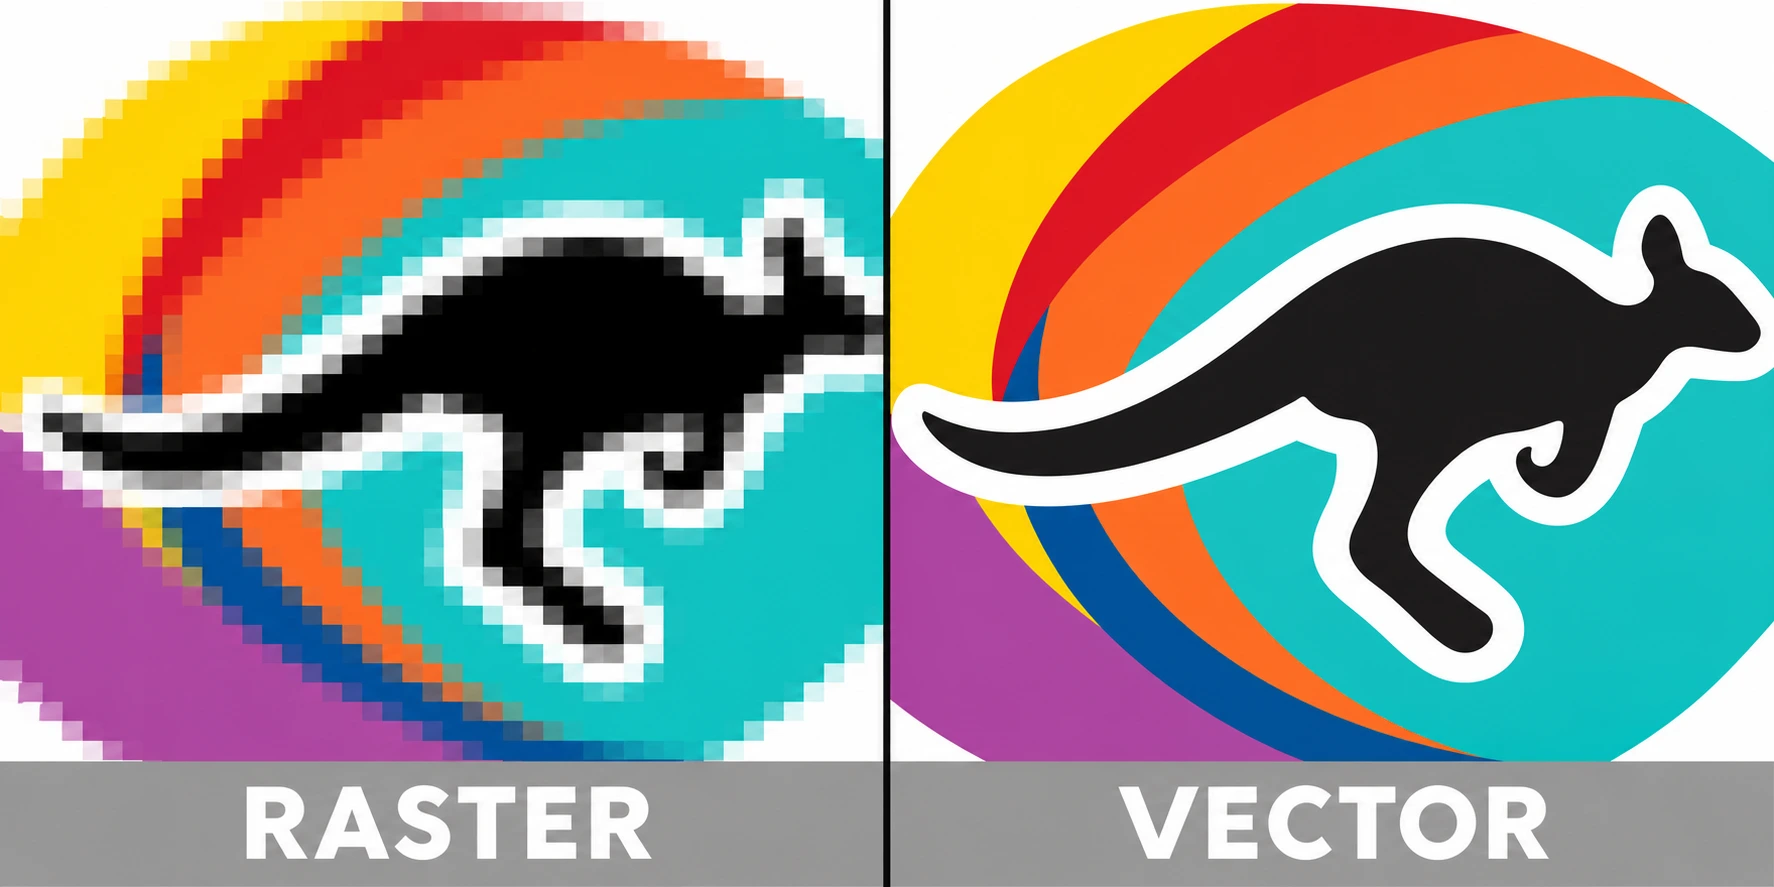
A PNG is an image file often used for logos and graphics with clear backgrounds. It looks sharp at its original size, but enlarging a small PNG can make edges look rough.
PNG vs. Vector Graphics
PNG stands for Portable Network Graphics. It stores images as colored pixels and supports transparency. Vector artwork uses editable lines, curves, and shapes instead of pixels.
As a result, vector designs stay sharp at any size. This makes them useful for different projects.
Common Uses of Vector Artwork
Businesses often use vector files for:
- Logos and brand graphics
- Screen printing on clothing
- Vinyl cutting and decals
- Business signs and banners
- Promotional products
- Custom packaging and product labels
With clean vector artwork, you can resize and reuse your designs across different products without losing sharpness or detail.
Preparing Your PNG for Vector Conversion
Clean source artwork usually creates smoother vector paths. Before tracing your PNG, check its edges, colors, and fine details. Better image quality means less cleanup later.
Simple Preparation Checklist
- Use the clearest original PNG available. Avoid blurry screenshots or low-quality copies.
- Remove unwanted backgrounds, stray marks, and extra pixels around the design.
- Improve contrast so the software can separate nearby shapes and colors.
- Check tiny lettering, thin lines, and complex details that might trace poorly.
- Simplify shadows, gradients, or special effects when they are not needed.
However, simply increasing a blurry PNG’s resolution will not restore missing details. If edges remain unclear, consider redrawing those areas for better results.
How to Convert PNG to Vector Using Adobe Illustrator
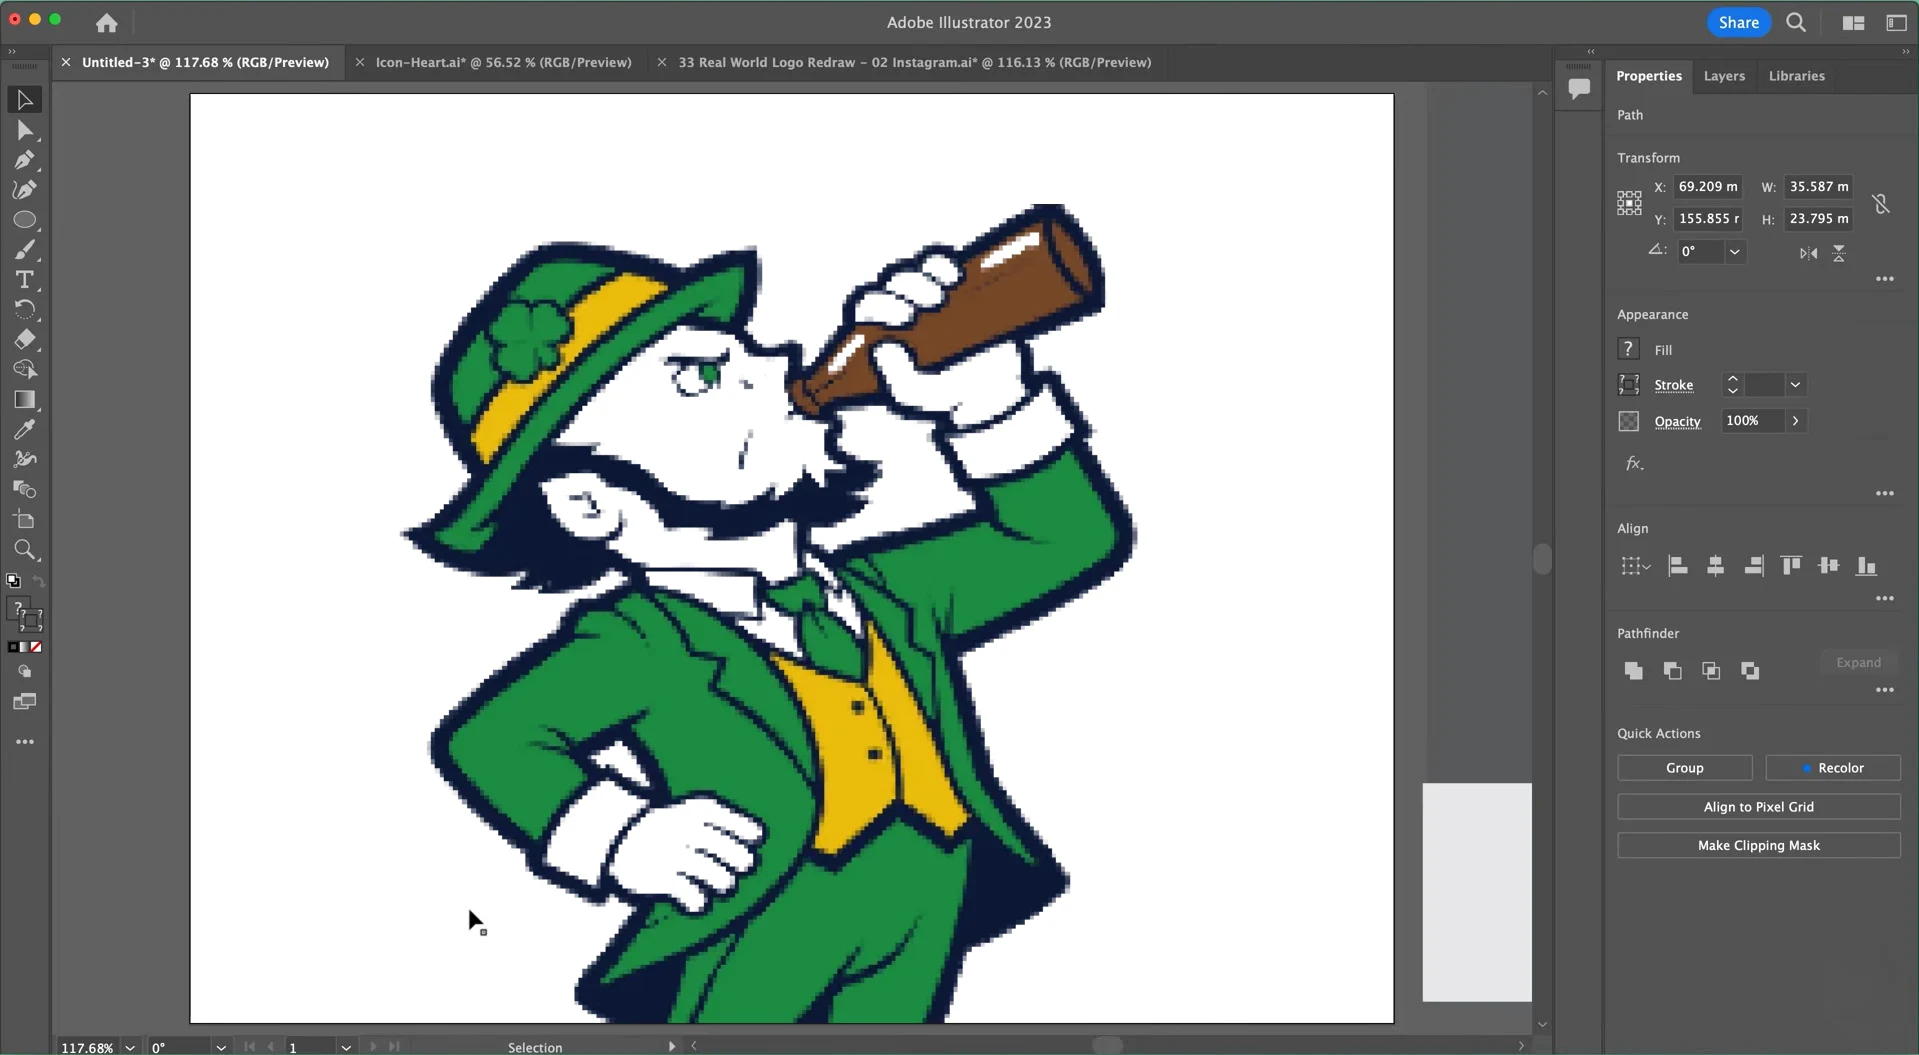
Adobe Illustrator’s Image Trace tool turns a PNG into editable vector shapes. It works well for clean logos, icons, and simple artwork. However, the right settings matter because an automatic trace can produce rough edges or too many points.
Step-by-Step Conversion With Image Trace
- Open your file: Launch Illustrator, create a document, and then choose File> Place. Select your PNG and click to place it on the artboard.
- Open Image Trace: Select the image with the Selection tool. Go to Window, Image Trace to view the full tracing controls.
- Choose a preset: Use Black and White for one-color artwork. Try Auto-Color for multicolor designs. Enhanced presets may offer better shape and transparency handling.
- Fine-tune the trace: Adjust paths to control how closely edges follow the image. Increase Corners for sharp angles. Adjust Noise to remove tiny unwanted shapes. Check the color count if needed.
- Handle the background: Turn on Transparency for a transparent PNG when available. Or use Ignore Color to exclude a solid background color. Preview the result before moving on.
- Make the shapes editable: Click Expand. Then ungroup the result if needed. Delete unwanted pieces and use Object, Path, and Simplify to reduce extra anchor points.
- Save your vector: Save the working file as AI. Export an SVG for sharing online, or save an EPS copy when your printer requests it.
Tips for Cleaner Vector Results
Zoom in and inspect small letters, corners, thin lines, and overlapping shapes. Compare the trace with the original PNG. If letters look uneven, redraw them or replace them with accurate text.
Finally, always keep an editable AI copy. Tracing settings cannot be changed after you expand the artwork.
Want to see the conversion process in action? Watch this step-by-step Adobe Illustrator tutorial to see how Image Trace turns a PNG into editable vector artwork, from adjusting colors and shapes to saving the finished file.
PNG to Vector Conversion in CorelDRAW
CorelDRAW uses PowerTRACE to turn PNG images into editable curves. It works best with clear edges and solid colors. PowerTRACE also lets you control detail, smoothing, and background removal.
Step-by-Step Guide Using PowerTRACE
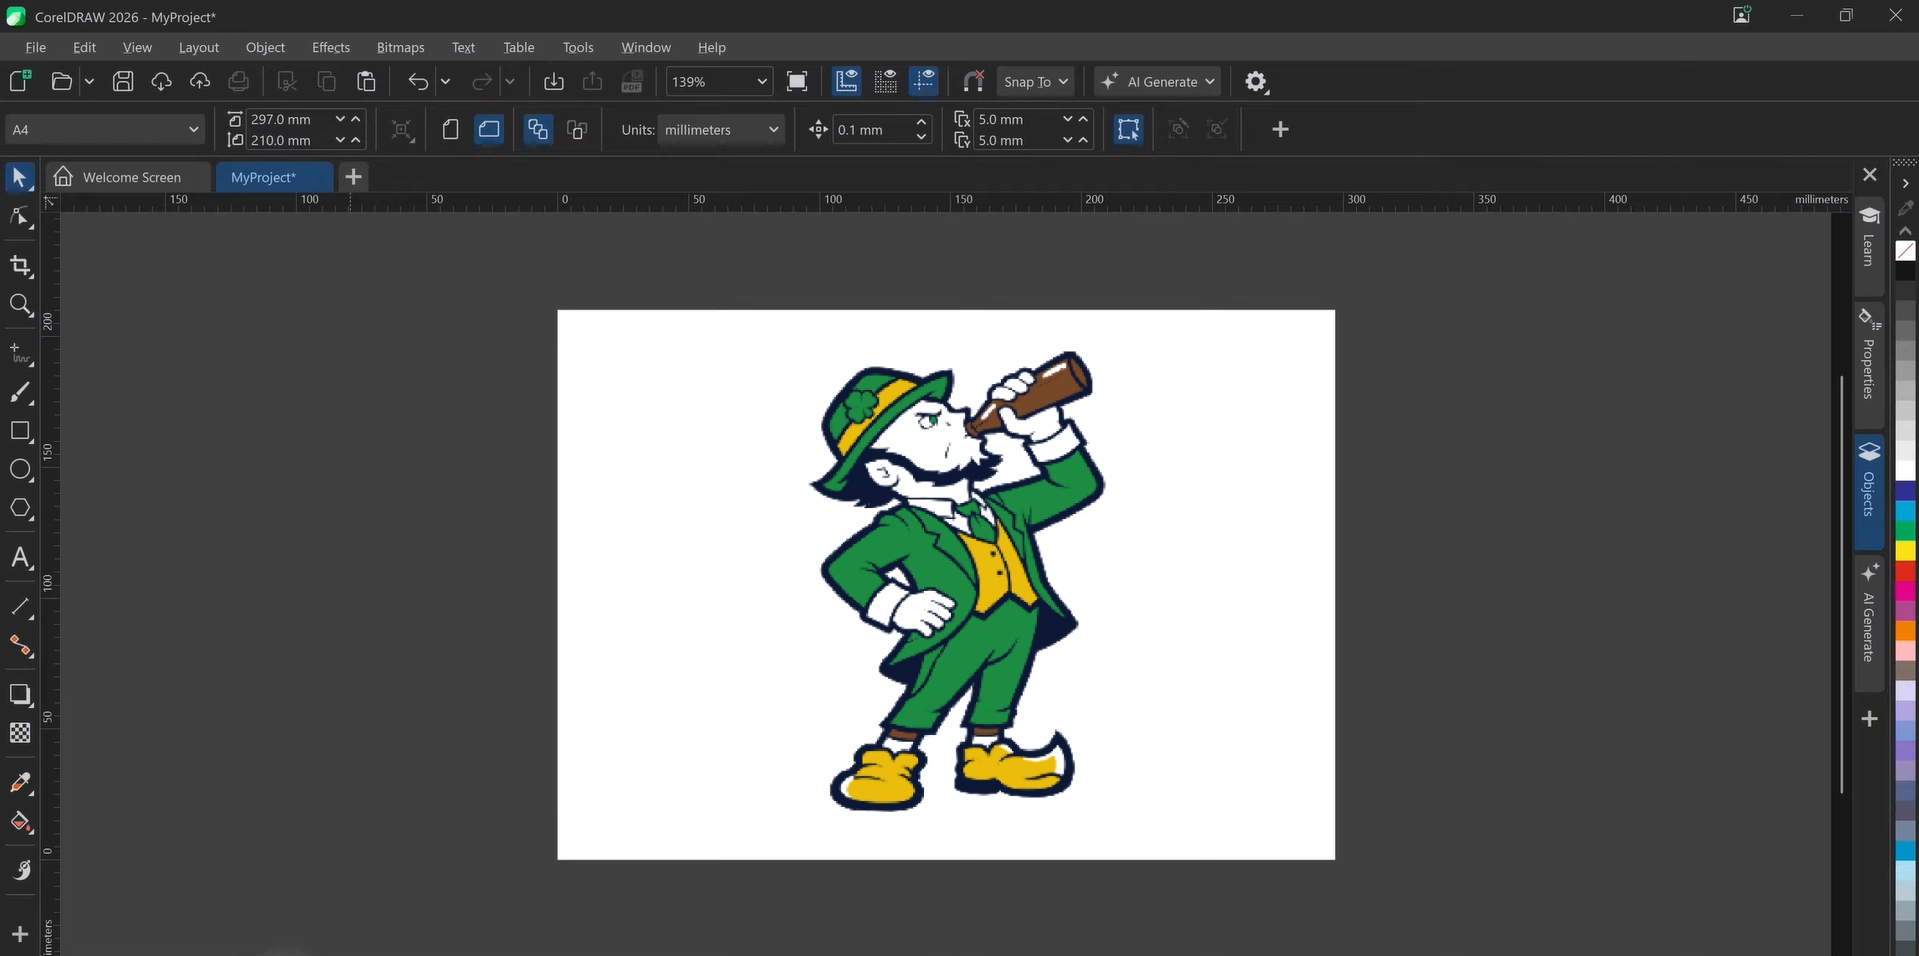
- Import your image: Open CorelDRAW and choose File, then Import. Select your PNG and place it on the page. Use the Pick tool to select it.
- Open tracing options: Click Trace Bitmap on the property bar. You can also find tracing commands under the Bitmaps menu.
- Pick a preset: Choose Outline Trace, then Logo for simple graphics with few colors. Use Detailed Logo for more complex artwork. PowerTRACE will show a preview.
- Refine the result: Adjust Detail to keep important shapes. Use Smoothing to reduce rough curves and extra nodes. Check the Colors tab to limit unwanted colors. Higher Detail may keep unwanted specks, while too much smoothing can round sharp corners. Make small changes and compare the preview with your original image.
- Clear the background: Use automatic background removal or select a color with the eyedropper. Check white areas inside letters before removing that color from the entire image. Click OK, then move the traced group away from the original PNG. Ungroup the result if you need to edit individual curves.
- Save the finished file: Inspect edges and lettering at high zoom. Save an editable CDR copy. Use File, then Export for SVG or EPS when a client or printer requests those formats.
Quick Trace or PowerTRACE?
Quick Trace works for simple artwork when speed matters. However, PowerTRACE gives you more control over curves, colors, and small details.
If your logo still looks uneven, send your PNG or JPG to our team. We provide professional vector tracing and redraw services to turn blurry logos and complex designs into sharp, print ready vector files.
Free Ways to Convert PNG to Vector
You do not need paid software to turn a PNG into vector paths. Free tools work well for simple logos, icons, and flat illustrations.
1. Inkscape: Free Desktop Vector Tracing
Inkscape gives you control over tracing. Import your PNG using File> Import, then select it. Open Path, Trace Bitmap.
Choose Single Scan for black-and-white shapes or Multiple Scans and Colors for multicolor artwork. Check the preview, apply the trace, and move the new paths aside to inspect them. Delete the original image, clean rough edges, and save as SVG.
2. Free Online PNG to SVG Converters
Adobe Express offers a simple PNG to SVG converter for quick results. Vectorizely traces PNG files into editable SVG paths in your browser.
However, inspect small letters and curves before using either result. Some tools may place a raster image inside an SVG instead of tracing it. Check privacy terms before sharing confidential artwork. Free features and limits may change.
Automatic Tracing vs. Manual Vector Tracing
Both methods turn PNG images into scalable artwork, but they work differently. Automatic tracing uses software to detect edges, while manual tracing gives designers direct control over shapes and details.
| Automatic Tracing | Manual Tracing |
|---|---|
| Faster for clean, simple logos | Better control over fine details |
| Software detects image edges | Designer redraws shapes and lines |
| May produce uneven curves | Allows precise curve correction |
| Suitable for basic artwork | Better for complex logos and lettering |
Which Method Should You Choose?
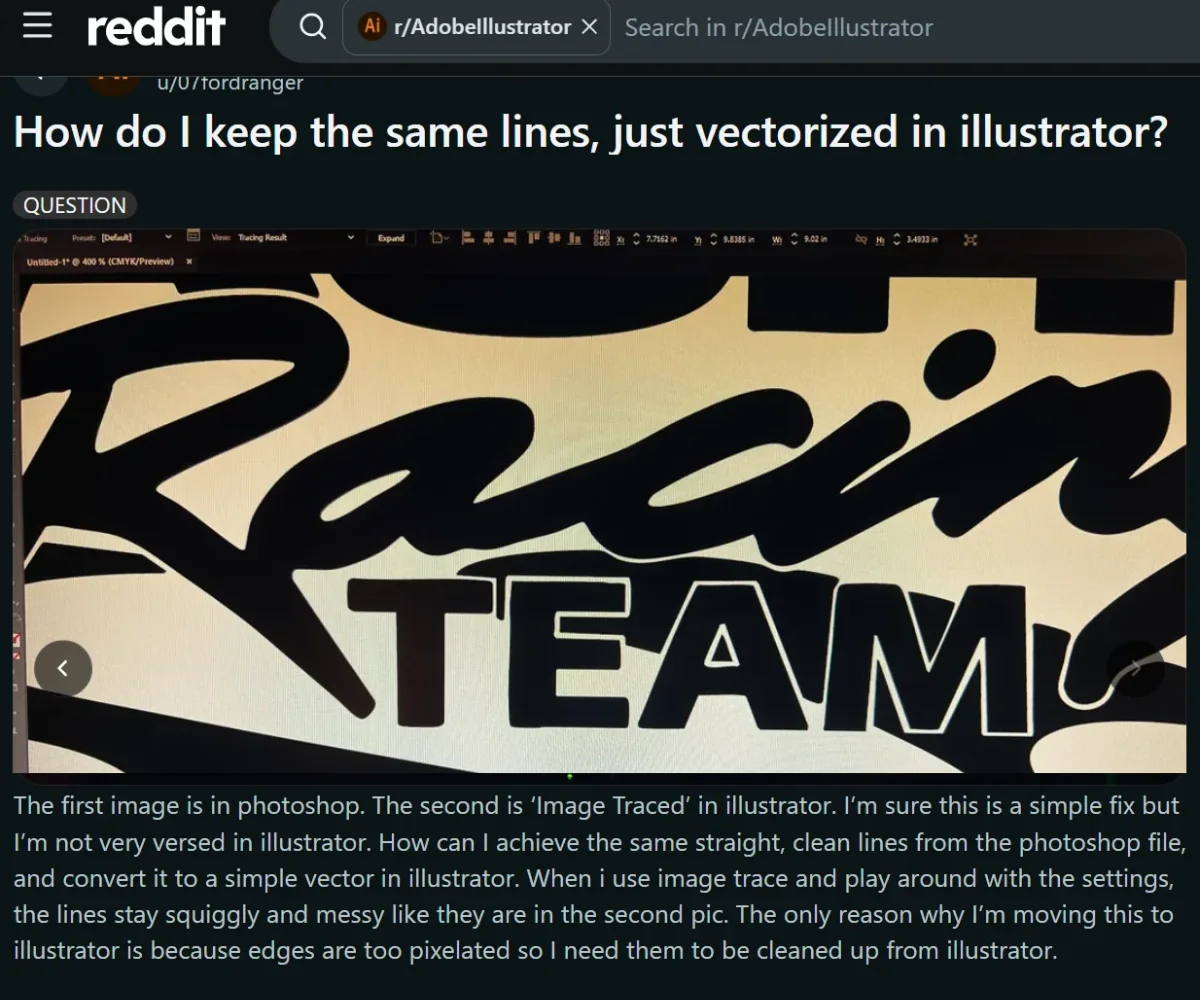
A similar problem appeared in a Reddit discussion where a designer struggled with uneven lines after using Illustrator’s Image Trace. This shows that automatic tracing does not always produce smooth, accurate results. For complex logos and lettering, manual vector tracing gives better control over shapes, curves, and details.
Automatic tracing works well for simple designs with clear edges. However, blurry logos, small text, and detailed artwork often need manual tracing for accurate results.
You can also combine both methods. Trace simple shapes automatically, then manually fix rough edges, letters, and corners. This approach saves time while keeping important details accurate.
Best Vector File Formats: AI, EPS, SVG, and CDR
Choosing the right file format depends on how you plan to use your artwork. Some formats work better for editing, while others suit printing or sharing.
| Format | Best Use |
|---|---|
| AI | Editable Adobe Illustrator projects |
| EPS | Professional file sharing and older print workflows |
| SVG | Scalable web graphics and digital designs |
| CDR | Editable CorelDRAW projects |
Can a PDF Be a Vector File?
Yes, a PDF can contain vector shapes, text, and raster images. However, saving a PNG as a PDF does not make it vector artwork.
Therefore, always check that your file contains actual vector paths. Also, confirm which format your printer or designer requires.
Common Mistakes When Converting PNG Images
Even a finished trace can hide problems that affect printing or resizing. Check these mistakes before you export your artwork.
Five Mistakes and Simple Fixes
- Blurry PNG: Use the clearest original image, not a screenshot.
- Distorted letters: Retype the words or redraw them accurately.
- Too many nodes: Simplify paths to smooth rough curves.
- Unwanted shadows: Remove shadows and backgrounds before tracing.
- Fake vector files: Open the SVG and check for editable paths.
Also, don’t assume a file is vector art just because it has an SVG extension. Some SVG files simply contain a PNG image. Zoom in and inspect the actual shapes before sending your design to print.
When Should You Choose Professional Vector Conversion?
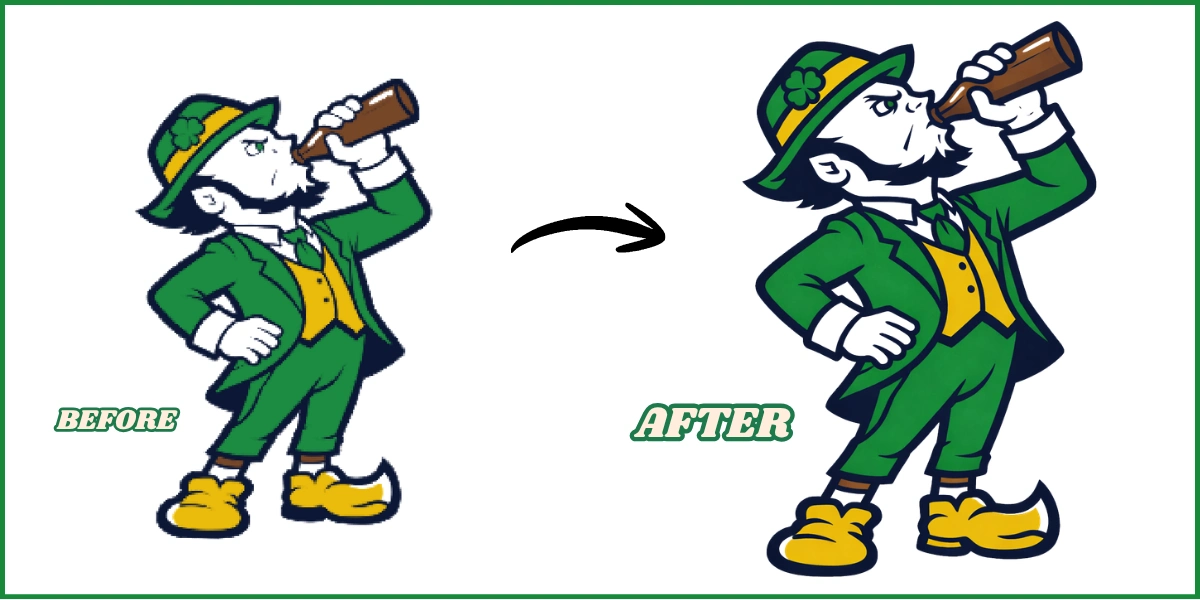
Free tracing tools work for basic artwork, but complex files often take more time. Paid software costs money, and fixing rough curves takes practice.
Professional vector artists rebuild shapes with care. They check colors, outlines, and small details for real-world use. Meanwhile, you can focus on customers, orders, and other business tasks.
Artwork That Needs Expert Attention
A professional redraw is worth considering for blurry company logos, detailed graphics, and custom lettering that must match the original. It also makes sense for screen printing, business signs, printed patches, and branded clothing, where uneven lines become easy to spot.
Instead of spending hours fixing a difficult trace, send your existing logo to our team for a clean, accurate vector redraw.
Final Thoughts
Converting a PNG into vector art is a great way to create sharp, scalable designs for printing, signage, and branding. However, the best method depends on your artwork’s quality and complexity.
Adobe Illustrator and CorelDRAW offer advanced tracing tools, while Inkscape and free online converters work well for simpler designs. For detailed logos or custom lettering, manual tracing often gives better results.
Before using your finished file, check the curves, colors, and editable paths to avoid printing problems.
Don’t let blurry artwork slow down your projects. Contact Digitizing Buddy for professional manual vector conversion, and get a free quote today!
Frequently Asked Questions
Yes. You can use Inkscape to trace PNG images and save them as SVG files. Some online converters also offer free options.
Open your PNG in Inkscape, select Path, then Trace Bitmap. Adjust the settings, apply the trace, and save the vector artwork as SVG.
Not always. Proper vector tracing creates scalable shapes, but it cannot restore missing details from a blurry or low-quality original image.
Image Trace follows pixel edges, which may create uneven letters and curves. Manual tracing or retyping text usually produces cleaner results.
AI, EPS, and vector PDF files are common choices for professional printing. However, always ask your print provider which format they prefer.