| Summary |
|---|
How to Create Custom Embroidered Patches
|
Introduction
Cu embroidered patches use stitched designs on fabric for uniforms, jackets, hats, bags, teams, clubs, brands, and personal projects. They may look simple when finished, but you need proper planning from the beginning to create a clean and professional patch.
Before you start stitching, you need to prepare the artwork, digitize it, and convert it into a machine-readable embroidery file. The right size, fabric, thread colors, stitch types, border style, and backing all affect the final result. If you do not plan these steps correctly, the patch may come out with rough edges, thread breaks, puckering, unreadable text, or poor stitch quality.
In this guide, we will explain how to create custom embroidered patches step by step. We will start with the patch digitizing process, then move to stitching, and finally cover patch finishing for a clean and durable result. If you want to avoid trial and error, an expert embroidery digitizing service can help you get a cleaner, production-ready file from the start.
Start with Patch Digitizing
Digitizing your patch design is the first step in creating high quality embroidered patches. It means converting your artwork, logo, image, or text into a machine-readable embroidery file. An embroidery machine cannot stitch a normal image file like JPG, PNG, PDF, or SVG directly. You must first convert it into stitch instructions.
A digitized embroidery file tells the machine:
- Where to start stitching
- Where to stop stitching
- Which stitch direction to follow
- Which stitch type to use
- When to change thread colors
- Where to place trims and jumps
- How the patch border should be stitched
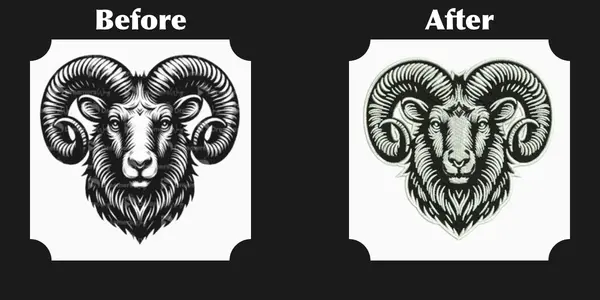
Good digitizing helps the patch stitch smoothly and reduces common problems such as thread breaks, gaps, puckering, rough edges, and unreadable small text. Poor digitizing can make even a good design look weak after stitching.
Preparing the Artwork
Before digitizing starts, the digitizer should check and clean the artwork. A clear, high-quality image gives the digitizer a better base for creating a clean embroidery file.
Important artwork checks include:
- Image quality: Avoid blurry images, screenshots, or low-resolution files.
- Patch size: Confirm the final patch size before digitizing.
- Text clarity: Make sure the letters are large enough to stitch clearly.
- Small details: Check thin lines, tiny shapes, shadows, and gradients because they may not stitch well.
- Design simplification: Adjust complex artwork when needed for better embroidery results.
A design may look good on screen but may not work well in thread. The digitizer may need to thicken lines, clean edges, or remove tiny details so the patch stitches better. The goal is not to change the design, but to make it suitable for embroidery.
Choosing Stitch Types
After preparing the artwork, the digitizer selects the right stitch types for each part of the patch.
Common stitch types include:
- Satin stitch: Works well for borders, lettering, outlines, and narrow shapes.
- Fill stitch: Covers larger areas with solid thread coverage.
- Running stitch: Creates fine details and outlines.
- Underlay stitch: Supports the main stitches and improves stability.
The digitizer also controls stitch density, stitch direction, pull compensation, and trim points. These settings help prevent gaps, thread breaks, stiffness, distortion, and messy extra threads.
When the digitizer plans stitch types and settings correctly, the embroidery machine can create a cleaner, stronger, and more professional custom patch.
Choose the Right Software
Embroidery software is used to turn artwork into stitch files that embroidery machines can read. It helps the digitizer control stitch types, stitch direction, density, underlay, pull compensation, trims, color changes, and final machine file formats.
Popular embroidery digitizing software includes:
- Wilcom Embroidery Studio
- Tajima DG/ML
- Hatch Embroidery
- Chroma
- Embrilliance
- Ink/Stitch
Free vs. Paid Software
Free embroidery software options like Ink/Stitch can be useful for beginners who want to learn the basics of embroidery digitizing. It may work for simple designs, basic editing, and learning how stitch files are created. However, free software often requires more practice and may not offer the same level of control needed for professional patch production.
Paid software is usually better for commercial work because it gives more control over:
- Stitch density
- Satin borders
- Fill stitches
- Lettering
- Underlay
- Pull compensation
- Trims and jumps
- Machine-ready file output
For professional patches, this control is important. Poor stitch settings can cause thread breaks, gaps, rough edges, puckering, or unreadable small text.
Beginner vs. Professional Use
Beginners can start with simple tools to understand how embroidery files work. But professional patch digitizing usually needs advanced software and real stitching experience.
For business orders, complex logos, clean borders, and small lettering, professional software or a reliable digitizing service is often the safer choice. It saves time, reduces trial and error, and helps create a cleaner patch file for production.
Check out this short and helpful tutorial below:
Use the Correct Embroidery File Format
After the patch design is digitized, you need to save it in the correct embroidery file format. This file tells the embroidery machine how to stitch the design, including stitch placement, color changes, trims, and sewing order. Using the wrong format can delay production because different machines read different file types.
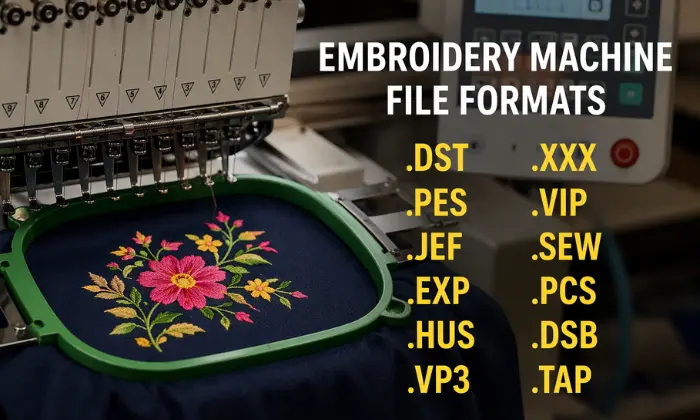
Common machine embroidery formats include:
- DST: Common for commercial embroidery machines
- PES: Often used for Brother machines
- JEF: Used by Janome machines
- EXP: Used by Melco, Bernina, and some other machines
- HUS: Used by Husqvarna Viking machines
- VP3: Used by Pfaff and Husqvarna Viking machines
Editable artwork files are also useful for future changes. These may include EMB, AI, CDR, PDF, and SVG.
You use machine ready file formats for stitching, while editable files help you resize the design, change colors, make revisions, and prepare repeat orders. For clean stitch out, always confirm the required machine format before production starts.
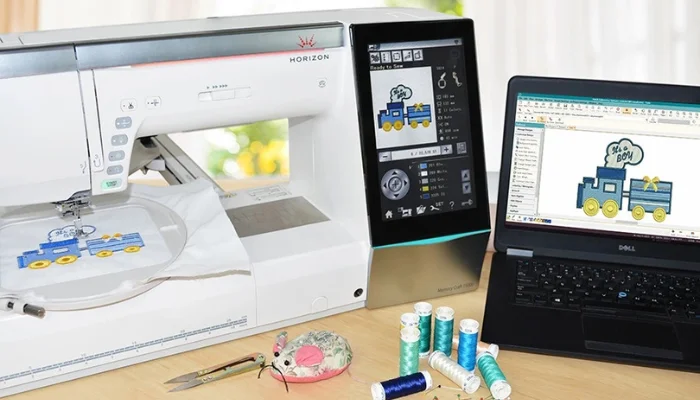
Follow the Stitching Process
Once the digitized file is ready, the machine operator loads it into the embroidery machine, selects the thread colors, prepares the fabric and choose the right stabilizer, and starts stitching. This is the stage where the digital design becomes a real embroidered patch.
A good digitized file helps the machine follow the correct stitch path, but the final result also depends on fabric choice, stabilizer support, hooping, thread tension, and machine setup.
Select Fabric and Stabilizer
Choose a strong base fabric that can handle dense embroidery. Common patch fabrics include:
- Twill
- Felt
- Canvas
- Polyester fabric
- Cotton fabric
Twill is a popular choice because it is smooth, stable, and works well for detailed stitching. Felt gives a softer look, while canvas creates a stronger and heavier patch style.
The operator should also place stabilizer under the fabric to support the stitches. Proper stabilizer support helps prevent fabric shifting, puckering, uneven stitching, misaligned borders, and poor shape retention.
Hoop the Fabric
Hoop the fabric and stabilizer firmly before stitching. The fabric should stay tight enough to remain stable, but not so tight that it stretches or distorts.
Proper hooping helps prevent design shifting, crooked stitching, uneven borders, registration issues, and misaligned details. If the fabric moves during stitching, the text, outlines, and borders may not line up correctly.
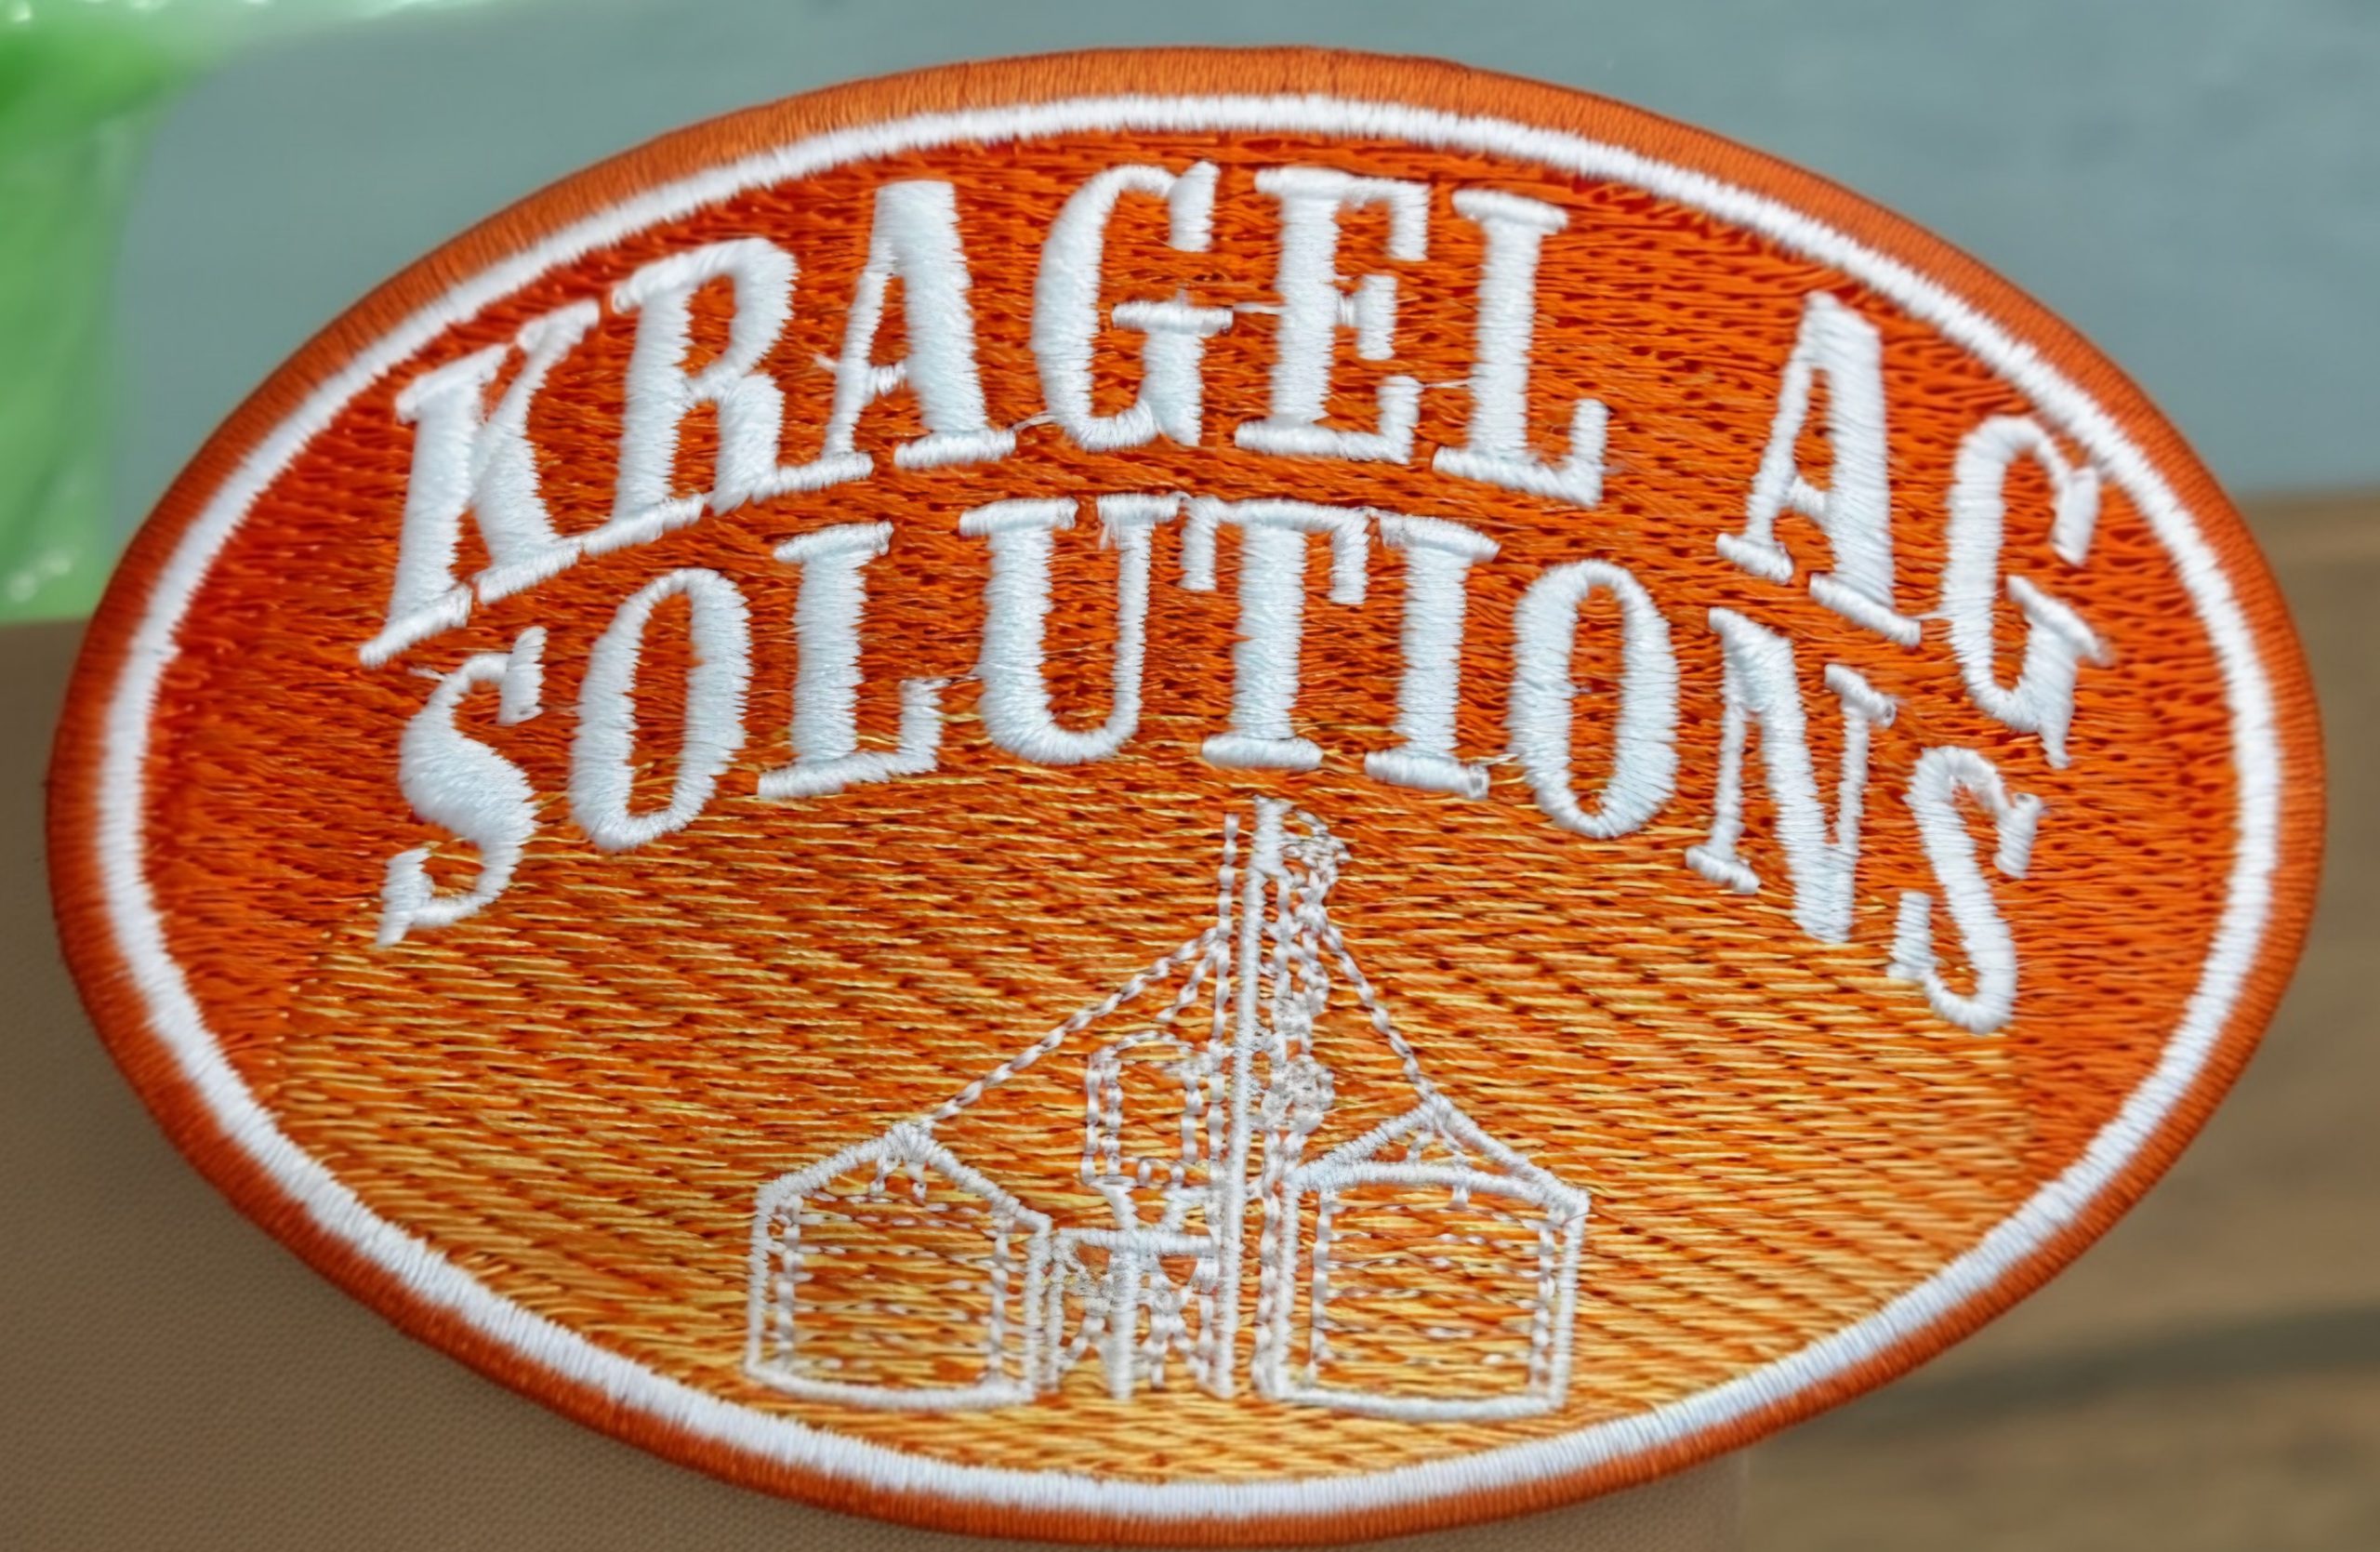
Stitch the Design
After hooping the fabric and loading the file, the machine starts stitching the patch. A typical patch stitching process may include:
- Placement stitches to mark the design area
- Underlay stitches to support the fabric
- Background fill stitches for larger areas
- Main design details such as shapes, icons, or patterns
- Lettering for names, slogans, or brand text
- Final border stitches to complete the patch edge
The operator should monitor the machine during stitching to catch thread breaks, color mistakes, loose stitches, or fabric movement. Careful stitching helps create a cleaner and more professional embroidered patch.
Finish the Embroidered Patch Properly
After stitching, you need to finish the patch before use or delivery. This includes trimming loose threads, cutting the final shape, adding backing, and checking the overall quality. Good finishing gives the patch a clean and professional look.
Trimming and Cutting
Trim extra threads, jump stitches, and loose ends carefully after stitching. Then cut the patch into its final shape using hand cutting, die cutting, laser cutting, or heat cutting.
Clean trimming and cutting help avoid rough edges, loose threads, uneven shapes, and messy borders.
Adding Backing
Choose the backing based on how you will use the patch. Common options include:
- Sew-on backing: Durable for uniforms, jackets, and long-term use
- Iron-on backing: Easy to apply with heat
- Velcro backing: Good for removable patches and uniforms
- Adhesive backing: Useful for temporary use
- Plastic backing: Adds stiffness and shape support
Quality Check
Before delivery, check the patch size, colors, borders, backing, loose threads, missing stitches, and overall stitch quality. A final inspection helps ensure the patch looks clean, durable, and ready to use.
Why Professional Embroidery Digitizing Services Help
Professional services save time and reduce trial and error. Instead of learning complex software and stitch settings, you get a machine-ready file from an experienced digitizer.
They help you avoid wasted thread, fabric, repeated test runs, thread breaks, poor borders, unclear small text, and production delays.
A well-digitized patch file stitches more smoothly and gives more reliable results. For businesses, this means cleaner patches, faster production, and fewer costly mistakes.
Conclusion
Creating machine readyembroidered patches takes more than just stitching a design on fabric. A good patch starts with proper embroidery digitizing, continues with careful fabric selection and stitching, and ends with clean trimming, backing, and quality checking.
When each step is done correctly, the final patch looks cleaner, lasts longer, and gives a more professional result. For clean, machine-ready patch digitizing, Digitizing Buddy can help you turn your artwork into a reliable embroidery file for smooth production.
FAQs
The first step is embroidery digitizing. Your artwork, logo, or image must be converted into a machine-readable stitch file before it can be embroidered on fabric.
No, JPG and PNG files cannot be stitched directly by an embroidery machine. They must first be digitized into embroidery file formats such as DST, PES, JEF, EXP, HUS, or VP3.
DST is one of the most common formats for commercial embroidery machines. However, the best format depends on your embroidery machine. Brother machines often use PES, while Janome machines commonly use JEF.
Twill is one of the most common fabrics used for embroidered patches because it is smooth, stable, and works well with dense stitching. Felt, canvas, polyester, and cotton fabrics can also be used depending on the patch style.
Stabilizer supports the fabric during stitching. It helps prevent shifting, puckering, uneven stitches, and misaligned borders, especially when the patch has dense embroidery.
Common backing options include sew-on backing, iron-on backing, Velcro backing, adhesive backing, and plastic backing. The right choice depends on how the patch will be used.
Digitizing controls stitch type, density, underlay, stitch direction, pull compensation, trims, and border stitching. If the file is poorly digitized, the patch may have thread breaks, gaps, rough edges, or unclear text.
Free software can help beginners learn the basics, but professional patch production usually needs better stitch control. For business orders, complex logos, small text, and clean borders, professional software or a digitizing service is usually safer.
Professional embroidery digitizing services save time, reduce wasted thread and fabric, and help create cleaner machine-ready patch files. They also reduce trial and error, especially for complex artwork, borders, and small lettering.
Start with clean artwork, confirm the correct patch size, use proper digitizing, choose the right fabric and stabilizer, hoop the fabric firmly, and finish the patch with clean trimming, backing, and final quality checking.
Yes, Digitizing Buddy provides both ready-to-use embroidered patches and embroidery files for patch production. You can order finished custom patches, or you can get a machine-ready embroidery file if you want your own embroiderer or patch manufacturer to stitch the patches.