Why Auto-Digitizing Software Is Risky for Home Machines
Auto-digitizing software looks attractive because it promises instant results. Upload a logo, click a button, and get a stitch file in seconds. But for home users, this shortcut often creates more problems than it solves. If you want the best digitizing for home embroidery machines, you cannot rely purely on automation.
Over-Density Issues
Auto software frequently generates designs that are too dense. It stacks stitches on top of each other without properly adjusting for fabric type or machine capability.
On home machines, this leads to puckering, thread breaks, stiff designs, and even needle strain. What looks fine on screen can become a mess on fabric because the stitch count is simply too heavy.
No Fabric-Specific Compensation
Different fabrics behave differently. Cotton pulls differently than fleece. Caps react differently than flat garments. Auto-digitizing tools rarely apply proper pull compensation or adjust underlay based on material.
The result is gaps in borders, outlines that do not align, and designs that shrink or distort after stitching. True control requires manual adjustment based on how the fabric will respond.
Poor Sequencing
Good sequencing is not random. It follows a logical path that reduces trims, stabilizes the design, and prevents shifting.
Auto-generated files often jump around the design inefficiently. This increases stops, increases the chance of misalignment, and makes manual thread changes more frustrating on a single needle machine.
Jump Stitch Overload
Another common issue is excessive jump stitches. Automated files tend to create unnecessary thread jumps between elements.
On home machines, that means more trimming, more cleanup, and more chances for birdnesting underneath the hoop. A clean, professionally structured file minimizes jumps and keeps the run smooth.
What Professional Digitization Does Differently
Professional digitizing is built for how home machines actually stitch, not just how the artwork looks.
-
Optimized stitch density: Sets the best stitch density for home embroidery machine results by avoiding heavy buildup, reducing layering, and keeping designs clean without stiffness or breaks.
-
Proper underlay: Adds the right foundation so stitches do not sink, edges stay crisp, and lightweight fabrics stay stable.
-
Accurate pull compensation: Prevents gaps, misaligned outlines, and unreadable small text by accounting for fabric pull.
-
Clean color sequencing: Groups stitch paths smartly to reduce manual stops, trims, and alignment issues on single needle machines.
5. File Formats for Single Needle Machines
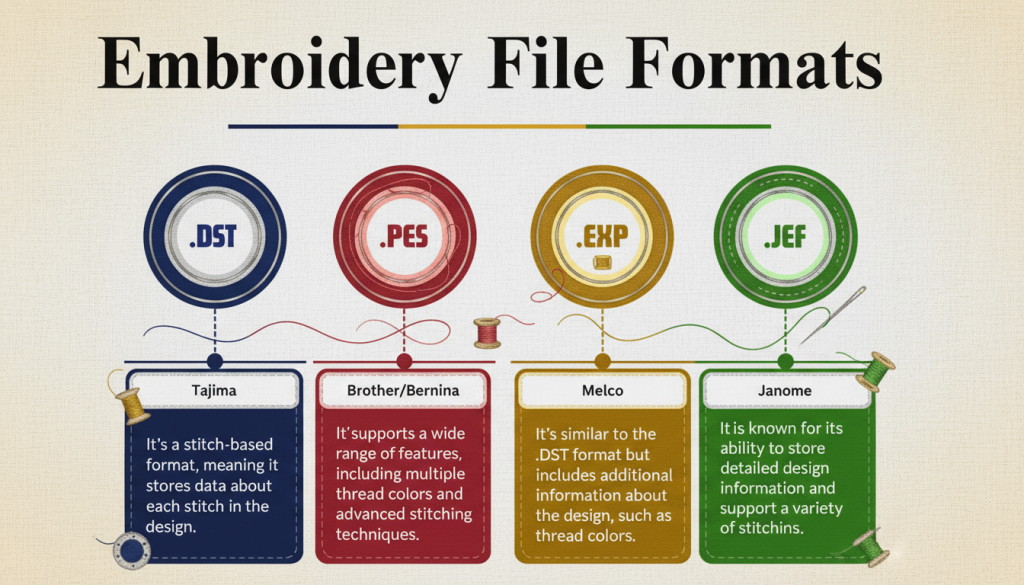
Choosing the correct file format is critical when working with home embroidery machines. But simply “saving as” a format is not enough. True PES file digitizing for single needle machine use involves structuring the stitches correctly before export, not just converting the extension.
PES (Brother)
PES is the native format for most Brother home machines. It supports color information, stitch data, and machine instructions.
However, proper PES preparation means adjusting density, trims, jump stitches, and sequencing specifically for how Brother machines handle tension and thread changes. Direct auto-export without refinement often results in heavy, inefficient files.
JEF (Janome)
JEF is commonly used in Janome embroidery machines. While similar in function to PES, Janome machines interpret certain stitch behaviors differently, especially trims and color stops.
Professional preparation ensures the design runs cleanly without unnecessary stops or excessive jump threads after conversion.
VP3
VP3 is used by Husqvarna Viking and some other brands. It carries rich stitch and color data but still depends on how the file was structured before export.
If the original digitizing was poorly built, converting it to VP3 will not fix density or sequencing problems.
EXP
EXP is a simpler format that does not always carry detailed color information the way PES or VP3 does. Because of this, sequencing and trims must already be optimized before exporting.
If not structured properly, the machine may require extra manual thread changes or cleanup.
DST
DST is one of the most universal embroidery formats. It is widely compatible but limited in color and advanced data.
Because DST is more basic, it demands even cleaner stitch structure. There is less room for correction once exported.
Why Proper Format Conversion Is Not Just Exporting
Many users believe format conversion is just a technical step. In reality, conversion does not improve stitch quality. It only translates the file into a machine-readable language.
If density is too high, sequencing is messy, or jump stitches are excessive, those problems remain no matter what format you save it in. True optimization happens before export.
That is why professional digitizing adjusts stitch density, trims, compensation, and sequencing based on the specific machine type first, and only then prepares the final format. Conversion is the last step, not the solution.
Common Problems Solved by Professional Digitization
Most home embroidery users assume their machine is the problem when something goes wrong. In reality, the stitch file is often the real cause. Clean, professionally structured digitizing solves many of the issues people struggle with daily.
Thread Breaks
Many users searching why my single needle embroidery machine keeps breaking thread are actually facing density and underlay errors.
When stitches are stacked too tightly or when short, choppy stitch paths are used, the thread experiences excessive friction. Professional digitizing reduces unnecessary stitch buildup, smooths transitions, and balances density so the design runs without constant interruptions.
Puckering
If you have ever wondered why does my embroidery pucker on lightweight fabric, the issue is rarely just stabilizer. Overly dense fills and poor underlay structure pull the fabric inward.
Proper digitizing controls stitch direction, spacing, and foundation layers. This allows the design to sit smoothly instead of bunching the fabric around it.
Outlines Misaligned
A common complaint is why are my embroidery outlines not lining up. This usually happens when pull compensation is ignored or poorly calculated.
Fabric naturally shifts and pulls during stitching. Professional files anticipate that movement, adjusting borders and columns so outlines stay clean and properly aligned after the design is finished.
Design Shrinking
Some users ask why does my embroidered design come out smaller than the original file. This is a classic sign of missing compensation and excessive stitch tension.
Without proper adjustments, shapes tighten and shrink as stitches form. Skilled digitizing expands elements slightly where needed so the finished result matches the intended size.
Poor Fill Coverage
If fills look patchy or uneven, people often blame thread quality. In reality, poor stitch angles, incorrect density, or lack of proper underlay are usually responsible.
Professional digitizing ensures even coverage, consistent stitch length, and stable support beneath the fill. The result is a design that looks solid and polished instead of thin or inconsistent.
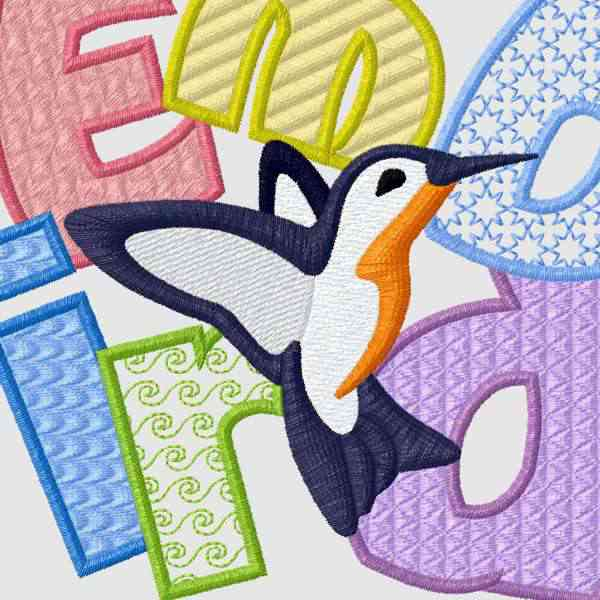
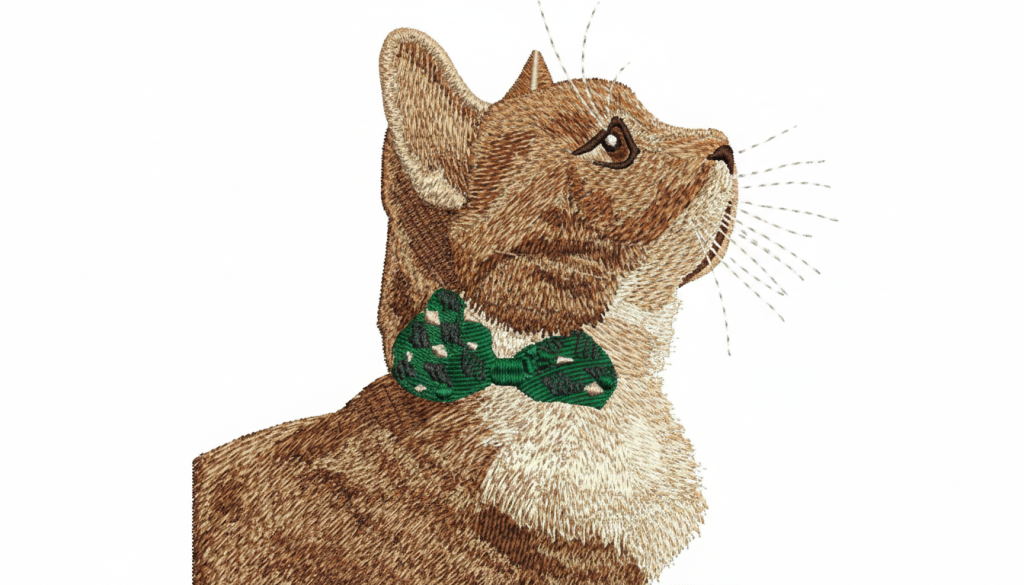
7. Professional Logo Digitizing for Small Businesses
![]()
Many small business owners start with a single needle machine. It is affordable, practical, and perfect for custom orders. But if you plan to sell embroidered products, the quality of your stitch file becomes a business decision, not just a technical one. That is where custom logo digitizing for single needle machine setups makes a real difference.
Left Chest Logos
Left chest logos are the most common request for polos, uniforms, and workwear. These designs are usually small, detailed, and highly visible.
Poor digitizing can cause small elements to close up or borders to misalign. Professional preparation ensures clean satin columns, readable details, and balanced density that runs smoothly even at compact sizes.
Hoodie Backs
Hoodie backs involve larger stitch areas and heavier fabrics. Many home users assume thicker fabric can handle dense designs, but excessive stitching can still cause stiffness and distortion.
A properly structured file manages fill density, layering, and sequencing so the design looks bold without becoming overly heavy or uncomfortable to wear.
Small Text Clarity
Small text is where most home-based businesses struggle. Customers expect crisp lettering, especially for brand names or taglines.
Professional digitizing adjusts stitch type, spacing, and compensation specifically for small lettering. Instead of messy, unreadable text, you get clean lines that hold their shape after stitching.
Repeat Production Reliability
If you are selling embroidered products, consistency matters. The design must stitch the same way every time, not just once.
Well-built files reduce thread breaks, unnecessary trims, and alignment shifts. This means fewer production delays and more predictable results when fulfilling multiple orders.
8. Cost Comparison: DIY vs Professional Embroidery Digitizing Services
At first glance, doing everything yourself seems cheaper. Auto-digitize the logo, load it into your machine, and start stitching. But when you calculate the hidden costs, DIY often becomes more expensive than using professional embroidery digitizing services.
Time Wasted on Editing
Auto-generated files rarely run perfectly the first time. You stitch, adjust tension, restitch, tweak size, test again, and repeat.
Those hours spent troubleshooting could have been used fulfilling orders, marketing your products, or serving customers. Time is not free, especially if you are running a small business.
Stabilizer Waste
Every failed test stitch uses stabilizer. Puckering, shifting, and misalignment mean re-hooping and trying again.
Over time, wasted stabilizer adds up. A properly digitized file reduces trial runs and protects your materials.
Thread Waste
Thread breaks, birdnesting, and density overload consume far more thread than necessary. Not to mention the frustration of constant re-threading on a single needle machine.
Clean stitch structure minimizes unnecessary trims and reduces breakage, saving both thread and machine wear.
Customer Dissatisfaction
If outlines do not align or small text looks messy, customers notice. One poorly stitched logo can damage your reputation, especially if you are selling embroidered products.
Professional files produce consistent, polished results that build trust and repeat business.
Small One-Time Cost vs Long-Term Problems
The cost of professional embroidery digitizing services is usually a one-time investment per design. Once you have a properly structured file, you can use it repeatedly without constant troubleshooting.
Compared to ongoing material waste, time loss, and potential refunds, the upfront digitizing cost is minor. In most cases, the right file pays for itself after just a few successful runs.
Final Thoughts and Next Step
If you are using a home machine to create products, consistency is everything. One clean run is not enough. You need a file that performs the same way every time, without constant tension tweaks, thread breaks, or wasted materials.
That is why professional digitization for a single needle embroidery machine is not just a service. It is production control. It protects your time, your materials, and your customer reputation.
If you want consistent results, professional digitization for a single needle embroidery machine is not an expense. It is production insurance.
Get your instant free quote now at Digitizing Buddy and let’s get started.