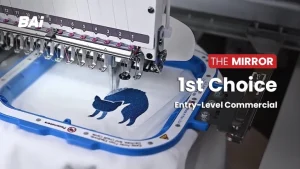
The BAi Mirror embroidery machine has quickly become a favorite among small business owners and embroidery enthusiasts for its smooth stitching, affordability, and professional-quality results. It’s a great machine whether you’re creating custom apparel, team uniforms, or personalized gifts.
Before your design can run on the machine, however, it needs to be digitized, that means converting your regular logo or image into an embroidery-ready format like DST or DSB that the BAi Mirror can understand. Digitizing isn’t as simple as just changing a file type. It requires careful adjustments in stitch direction, density, underlay, and fabric type to ensure clean, accurate stitching.
That’s why many BAi users prefer getting their files prepared by professional digitizing services like Digitizing Buddy. Professionals know how to make designs that stitch perfectly on BAi machines, saving you the hassle of broken threads, uneven stitches, and wasted material.
1. File Formats Supported by BAi Machines
Every embroidery machine requires specific file types to read stitch information correctly. The BAi Mirror embroidery machine is designed to work with professional embroidery file formats that contain stitch data, color changes, and movement commands. If your logo or artwork is not saved in a compatible format, the machine will not be able to sew it properly.
Main File Formats for BAi Mirror Embroidery Machines
The BAi Mirror supports two main embroidery file types: DST and DSB. These formats are widely used in the embroidery industry and can also be recognized by other commercial machines.
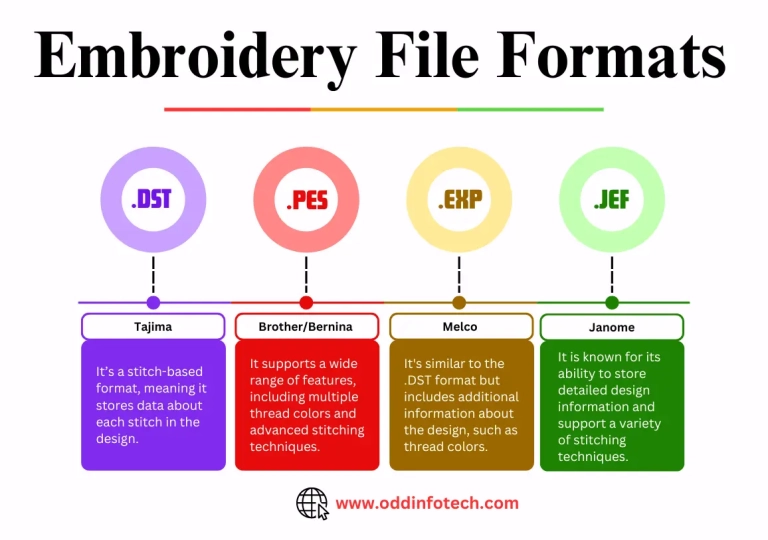
DST Format (Tajima Format)
DST is the most common format used in professional embroidery. It was originally created for Tajima machines but is now accepted by most modern brands such as BAi, Brother, and Ricoma.
The DST file stores all important stitch details including movement, direction, and color changes. It is a universal format that ensures smooth, accurate stitching and minimal compatibility issues.
DSB Format (Barudan Format)
DSB format was originally made for Barudan embroidery machines. It works similarly to DST and is also supported by BAi machines. Although it is less commonly used, some digitizers prefer it for specific projects or when working with certain editing programs.
| File Format | Full Name | Originally Used By | Supported by BAi | Key Features | Recommended Use |
|---|---|---|---|---|---|
| DST | Tajima Stitch File | Tajima Machines | ✔️ Yes | Universal compatibility, precise stitch data, smooth machine performance | Best for all BAi designs |
| DSB | Barudan Stitch File | Barudan Machines | ✔️ Yes | Similar to DST, slightly less common but still reliable | Optional alternative for compatible software |
Which Format Should You Choose
Both DST and DSB formats are supported by BAi, but DST is the preferred choice among professionals. It ensures perfect compatibility, easier editing, and cleaner output. Choosing the correct format avoids machine errors and ensures your design stitches exactly as intended.
Professional Help for File Preparation
When you get your logo digitized by Digitizing Buddy, our expert team prepares it in the correct BAi-compatible format. Each file is tested for accurate stitch density, size, and color order before delivery. You get flawless results that are ready to run on your BAi Mirror embroidery machine the first time, no trial, no error, just perfect stitching.
2. Best Software for BAi Mirror Logo Conversion
To convert a regular logo into a BAi embroidery file, you need an embroidery digitizing software that can create stitch data and export in DST or DSB format. The right software makes a huge difference in the quality of your embroidery output. It determines how clean your stitches look, how efficiently your machine runs, and how realistic your logo appears on fabric.
Below are some of the most commonly used software options for BAi embroidery file conversion, each with its own strengths.
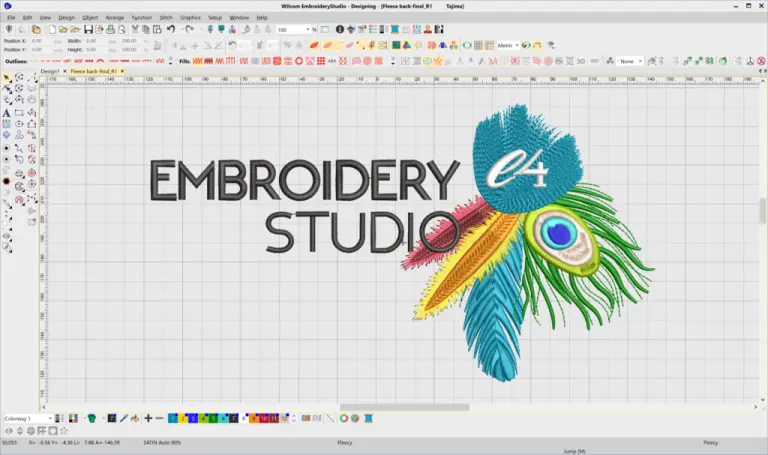
1.Wilcom Embroidery Studio E4
Wilcom is considered the gold standard in professional embroidery digitizing. It offers complete control over stitch types, density, underlay, and sequencing. With Wilcom, you can create complex designs that run smoothly on BAi machines and look consistent across different fabrics.
Professionals at Digitizing Buddy use Wilcom E4 for most logo conversions because of its precision, consistency, and support for multiple embroidery formats.
Key Features:
-
Exports directly in DST and DSB formats
-
Advanced editing tools for pathing, trims, and underlay
-
Excellent for detailed logos and multi-color designs
2. Ricoma Chroma
Chroma is another popular software for embroidery enthusiasts and small business owners. It is simpler to use than Wilcom and has a user-friendly interface, making it a good choice for beginners who want to create their own BAi files.
Although it does not have as many advanced tools as Wilcom, it produces clean and accurate designs for general logo digitizing.
Key Features:
-
Easy-to-learn interface
-
Supports DST output
-
Good for basic logo and text designs
3.Ink/Stitch (Free Option)
Ink/Stitch is a free, open-source embroidery digitizing tool that works as a plugin for Inkscape. It is suitable for hobbyists who want to experiment with embroidery designs without investing in paid software. However, it lacks advanced features like stitch density control and complex underlay management, which are important for BAi logo perfection.
Key Features:
-
Completely free to use
-
Works inside Inkscape (vector graphics editor)
-
Limited tools for commercial-level digitizing
| Software | Best For | Export Formats | Skill Level | Key Advantages | Limitations |
|---|---|---|---|---|---|
| Wilcom E4 | Professional Digitizers | DST, DSB, EMB | Advanced | Precise stitch control, detailed editing, pro tools | Expensive, learning curve |
| Chroma | Small Businesses, Beginners | DST | Intermediate | Easy interface, reliable output | Fewer advanced options than Wilcom |
| Ink/Stitch | Hobbyists and Learners | DST, PES, EXP | Beginner | Free and open-source | Limited accuracy and fewer customization options |
Choosing the Right Software
If you are new to embroidery digitizing, Chroma or Ink/Stitch can help you understand the basics. However, if you want polished, production-ready results for BAi machines, Wilcom Embroidery Studio E4 is the most reliable choice. It provides the control needed for high-quality stitch flow, clean outlines, and minimal thread breaks.
For the best results without the hassle of learning complex software, many BAi users prefer letting professionals handle the conversion. DigitizingBuddy uses industry-leading tools like Wilcom E4 to create accurate and ready-to-stitch files, saving you both time and effort.
4. Step-by-Step: How to Convert a Logo for BAi Mirror Embroidery Machine
Converting a logo into a BAi-compatible embroidery file involves more than just saving it in a new format. The process requires careful setup, stitch planning, and testing to make sure your design runs smoothly on the BAi Mirror machine. Follow these simple steps to understand how professional digitizers at DigitizingBuddy prepare your logo for perfect stitching.
Step 1: Prepare the Artwork
Start with a clean, high-resolution image of your logo. Avoid blurry or pixelated graphics because low-quality artwork leads to rough or jagged stitching.
If possible, use a vector file (AI, EPS, or PDF) because it can be resized without losing quality. This helps in keeping edges sharp and details clear during digitizing.
Step 2: Import the Design into Software
Open your chosen digitizing program, such as Wilcom Embroidery Studio E4, Ricoma Chroma, or Ink/Stitch. Import your logo file and place it within the workspace area that matches your embroidery hoop size. This ensures that the design fits properly within your BAi Mirror’s stitching limits.
Step 3: Set Design Size and Hoop Area
Decide how large or small you want your embroidery to appear on the garment. Enter the correct dimensions according to your hoop and fabric type.
Step 4: Choose Stitch Types
Select the appropriate stitch types for each part of the logo.
-
Satin stitches work best for outlines and lettering.
-
Fill stitches (Tatami) are used for larger areas.
-
Running stitches are used for fine details or connecting sections.
Step 5: Adjust Stitch Density and Direction
Stitch density determines how close the stitches are placed. Too dense, and the fabric may pucker; too light, and the design may look incomplete. Adjusting stitch direction helps threads lay naturally and reflect light properly, giving the design a polished look.
Step 6: Add Underlay Stitches
Underlay stitches act as the foundation of embroidery. They stabilize the fabric and lift the top stitches for a smooth finish. For example, use edge runs or zigzag underlays for logos with thick borders. This small step makes a big difference in the final quality.
Step 7: Set Color Sequence
Assign thread colors to match your logo. Each section should have the correct color sequence to avoid unnecessary thread changes during production. This step ensures your BAi machine follows the correct stitching order and keeps your workflow efficient.
Step 8: Test and Finalize the File
Once your design setup is complete, export it in DST or DSB format. Before using it on final garments, do a test stitch on a similar fabric.
Testing helps identify any thread tension issues or missed trims. Adjust minor settings if needed to achieve clean, balanced stitching.
Step 9: Save and Backup Your File
Save your final BAi embroidery file and keep a backup copy on your computer or cloud storage. Having a backup allows you to make quick changes in the future without starting over.
6. Why Hire Professional Digitizers

Digitizing Is a Technical Skill
Embroidery digitizing is not just about tracing a design or clicking a few buttons. It is a technical skill that requires understanding of stitch logic, fabric behavior, and machine movement. Every stitch in a design must be planned with care to make sure the BAi Mirror embroidery machine runs smoothly and produces clean results.
The Risk of DIY or Auto Conversion
Many beginners try to use free auto-conversion software, but small mistakes can cause big problems. Incorrect stitch density can make the fabric wrinkle, while weak underlay may lead to uneven stitching or loose threads. These errors waste both time and material, especially when working on bulk embroidery orders.
How Professionals Make a Difference
Professional digitizers know how to create designs that are efficient, balanced, and ready to stitch. At DigitizingBuddy, our team ensures:
-
Proper stitch flow and direction for BAi machines
-
Accurate color mapping and thread sequencing
-
Correct stitch density and underlay for smooth results
-
BAi-compatible DST or DSB files that run perfectly every time
7.Get Your BAi Logo Digitized Today
Save Time and Get Professional Results
If you want your BAi Mirror embroidery machine to produce clean, accurate designs without wasted effort, professional digitizing is the smartest choice. Let the experts at DigitizingBuddy handle your logo conversion with precision and care.
Get Started Now!
You can receive your embroidery-ready DST file in just a few hours, starting at only $10. Our process is fast, reliable, and backed by a 100% satisfaction guarantee.
Upload your logo today and get an instant free quote at Digitizing Buddy.