
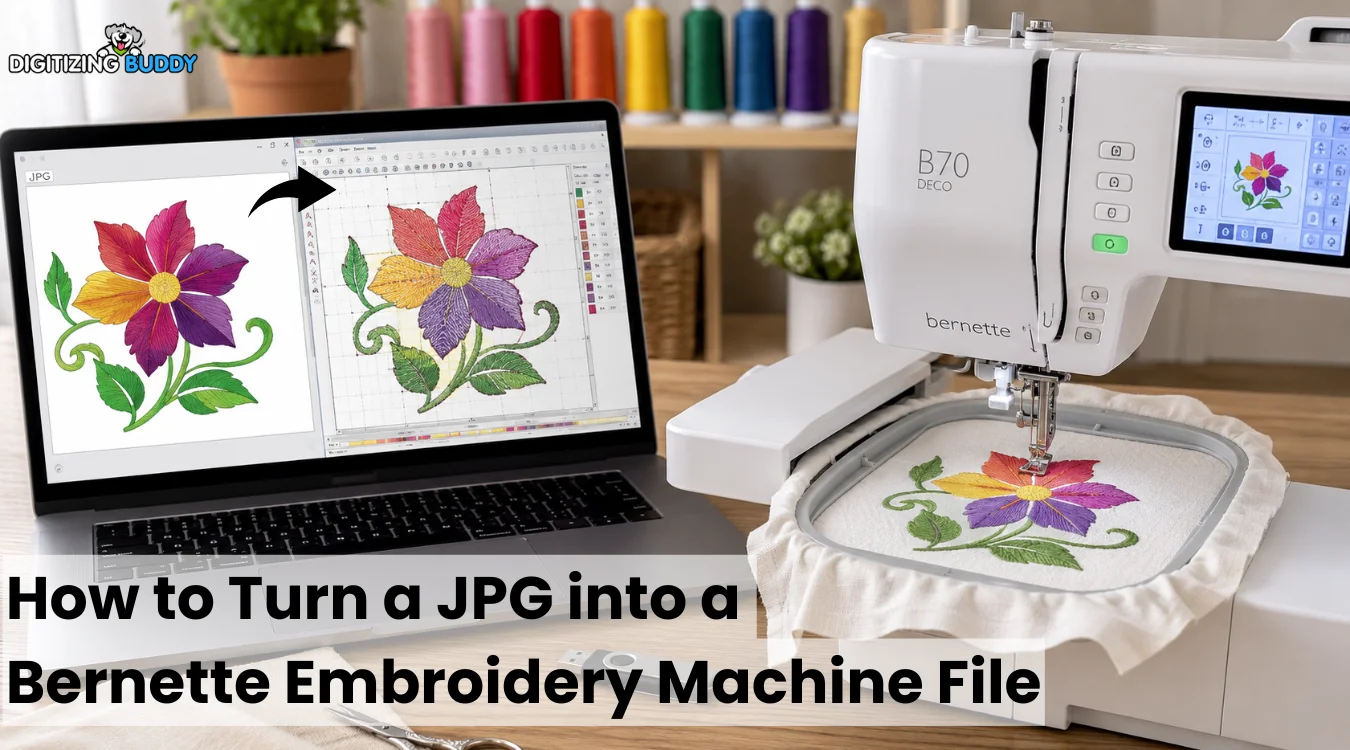
A Bernette machine needs a digitized stitch file, not a JPG image.
|
A JPG may look clear on your screen, but a Bernette machine cannot stitch pixels. It needs a digitized file with commands for stitch type, direction, density, color changes, and sewing order.
First, the artwork must be clear and sized for the final design. Next, each shape needs the right stitches, underlay, and spacing. Simply changing the file extension will not create a safe, machine-ready design.
However, the process becomes easier when you understand each step. This guide explains image preparation, digitizing, file export, USB transfer, testing, and common problems.
For detailed logos or small lettering, Digitizing Buddy provides quality embroidery digitizing services for clean, machine-ready results. Meanwhile, this guide helps you understand what makes a design run smoothly and stitch clearly on your chosen fabric.
- Quick Answer: How to Convert an Image for a Bernette Embroidery Machine?
- What Embroidery File Formats Do Bernette Machines Use?
- Why Can’t a Bernette Machine Read a JPG or PNG?
- What Should You Prepare Before Converting the Image?
- Which Software Can Create a Bernette Embroidery File?
- How to Convert a JPG into Bernette Embroidery Format?
- How Should You Save and Export the Finished Design?
- How to Load the Design onto a Bernette Embroidery Machine?
- Should You Convert the Image Yourself or Hire a Professional Digitizer?
Quick Answer: How to Convert an Image for a Bernette Embroidery Machine?
To convert a JPG or PNG for a Bernette machine, import the artwork into embroidery digitizing software. Then set the final size and hoop, create stitch objects, and adjust underlay, density, direction, and sewing order. Finally, export the design in a supported machine format. EXP is the native format for Bernette embroidery models, while several other stitch formats may work.
What Embroidery File Formats Do Bernette Machines Use?
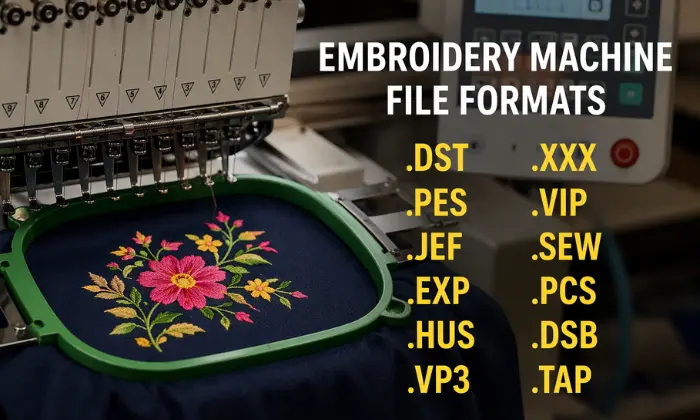
Bernette embroidery machines use BERNINA EXP as their native format. However, they can also read several common stitch files, so an existing embroidery design may not need conversion.
| Bernette model | Machine type | Native format | Other supported formats | Maximum embroidery area |
|---|---|---|---|---|
| b70 DECO | Embroidery only | EXP | VP3, VIP, PEC, HUS, DST, JEF, PES | 260 x 160 mm |
| b79 | Sewing and embroidery | EXP | PES, DST, PEC, JEF, VP3, VIP, HUS, ZHS | 260 x 160 mm |
Is EXP the Only Suitable Format?
No. EXP is the native choice, not the only usable format. Still, compatibility may vary by model or firmware. Therefore, check your manual before transferring a design.
Why Can’t a Bernette Machine Read a JPG or PNG?
JPG and PNG files store pixels, colors, edges, and transparency. They help a screen display the artwork, but they do not tell an embroidery machine where to place stitches.
Embroidery Files Control the Machine
A stitch file contains machine instructions, including:
- Needle movement
- Stitch coordinates
- Color stops
- Stitch direction
- Jump stitches
- Trims
- Sewing sequence
However, conversion and digitizing are different. Changing an existing PES file into EXP is file conversion. Turning a JPG logo into EXP requires digitizing because the original image contains no stitch data.
What Should You Prepare Before Converting the Image?
Confirm Your Bernette Model
Check your exact Bernette model before preparing the file. Supported embroidery formats, hoop options, and transfer methods can vary, so review the machine manual to avoid compatibility problems.
Choose the Final Size and Hoop
Digitize the design at its planned stitch size. Major resizing after export can affect density, lettering, stitch length, and coverage. Also, keep the design within the selected hoop. The largest embroidery area on the B70 DECO and B79 is 260 x 160 mm.
Identify the Fabric
Tell the digitizer whether the design will run on cotton, polos, denim, fleece, towels, caps, stretch fabric, or patches. Fabric affects underlay, density, compensation, and stabilizer needs.
Share the Design Requirements
Finally, provide the artwork, thread colors, placement, required format, and any special instructions. Detailed logos, photos, and complex artwork can be digitized, but they may need careful stitch planning to produce a clear result.
Which Software Can Create a Bernette Embroidery File?
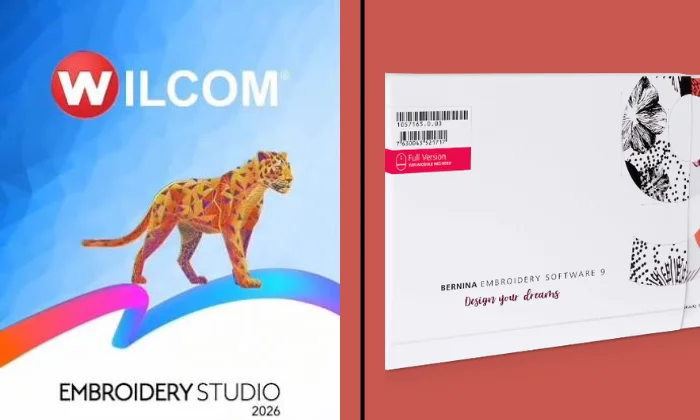
Several tools can build a stitch file for Bernette machines. Your best choice depends on budget, skill, design detail, and how often you digitize.
| Option | Best use | Important limitation |
|---|---|---|
| BERNINA Embroidery Software 9 | Manual and automatic digitizing | Paid and requires practice |
| Ink/Stitch | Free digitizing and EXP export | It takes time to learn |
| Other full digitizing software | Professional creation and editing | Confirm EXP export support |
| Professional digitizer | Logos, small text, caps, patches, and production | Review samples before choosing |
BERNINA Embroidery Software 9 turns artwork into embroidery objects with manual and automatic tools. Meanwhile, Ink/Stitch can export EXP stitch files and matching INF color files.
Can ARTlink Digitize a JPG?
No. ARTlink opens, previews, adjusts, and exports existing embroidery designs. It does not offer the full digitizing tools found in Creator or DesignerPlus. Also, “BERNINA now marks ARTlink 9 as unavailable.”
How to Convert a JPG into Bernette Embroidery Format?
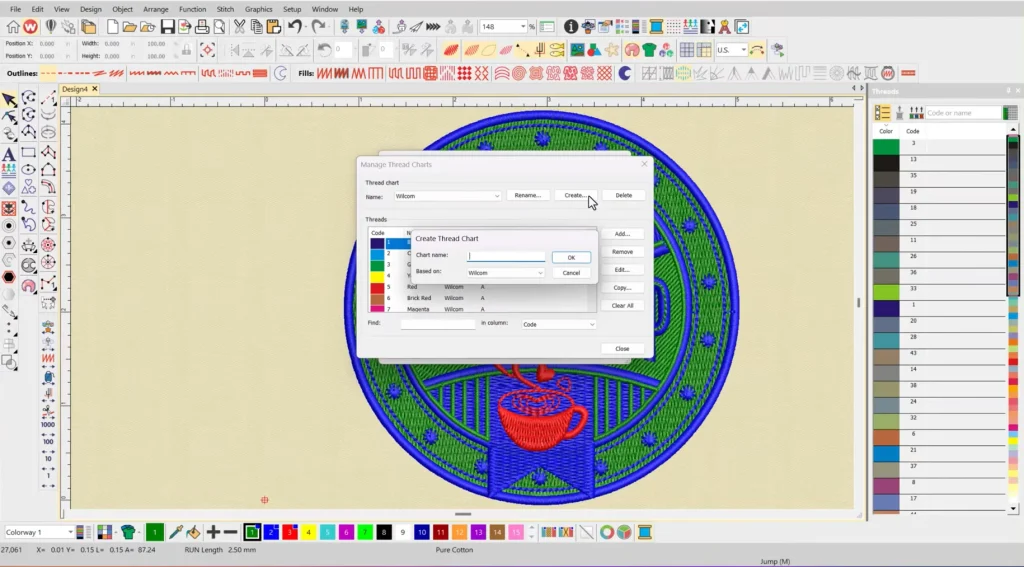
Step 1: Set the Final Size and Fabric Type
Start by choosing the exact width and height of the finished design. Also, decide where it will be placed and which hoop you will use.
Before digitizing, confirm:
- Garment or product
- Fabric type
- Thread type
- Design placement
- Required level of detail
These choices affect density, underlay, stitch length, and compensation.
Step 2: Import and Prepare the Artwork
Import the JPG, PNG, BMP, SVG, or another image file into embroidery digitizing software.
Any artwork can be digitized. However, the digitizer may adjust some visual details so they stitch clearly. This may include separating overlapping shapes, enlarging tiny text, removing the background, or simplifying very small elements.
Step 3: Trace the Main Shapes
The digitizer creates embroidery objects over each part of the image. Pixels do not automatically become stitches.
Therefore, every shape must receive clear boundaries, stitch directions, entry points, and exit points. Careful tracing also helps the finished design keep its original proportions.
Step 4: Assign Suitable Stitch Types
Each design area needs a stitch type that matches its size and shape.
| Design area | Common stitch choice |
|---|---|
| Thin outlines and small details | Running stitch |
| Borders and medium lettering | Satin stitch |
| Large solid areas | Fill or tatami stitch |
| Loose fabric pieces | Appliqué sequence |
Still, the final choice may change based on fabric, design size, and the desired texture.
Step 5: Set the Main Stitch Controls
Several settings shape how the design looks and runs:
- Underlay supports the top stitches.
- Density controls stitch spacing and coverage.
- Stitch direction affects texture and fabric movement.
- Pull compensation helps borders and shapes stay aligned.
- Stitch length affects smoothness and thread stress.
As a result, these controls should match the fabric instead of using one setting for every project.
Step 6: Plan the Stitch Order
A good sewing sequence reduces long jumps, extra trims, unnecessary color changes, and fabric distortion.
Meanwhile, the digitizer should avoid repeated movement across completed areas. The design should usually stitch from stable inner sections toward outer details when the artwork allows it.
Step 7: Preview and Inspect the File
Before export, review:
- Total dimensions
- Hoop fit
- Stitch count
- Color order
- Small lettering
- Gaps and overlaps
- Long stitches
- Trims
- Start and end points
Finally, save an editable master file before exporting the Bernette-compatible machine version. For detailed artwork or production designs, Digitizing Buddy can prepare a clean file built around your fabric, size, and stitching needs.
How Should You Save and Export the Finished Design?
Save two versions of the design before transferring it to the machine.
Editable Design File
This file keeps embroidery objects, lettering, stitch settings, colors, and other design properties. Therefore, you can reopen it later and make changes without starting again.
Machine File
This is the exported stitch file that your Bernette machine reads. Always confirm the design size, hoop fit, color order, and file format before export.
For native EXP output, the software may create three matching files:
- business-logo.exp
- business-logo.bmp
- business-logo.inf
Keep all three files together with the same base name. The EXP file stores the stitches, the BMP file provides the preview, and the INF file carries thread color information.
How to Load the Design onto a Bernette Embroidery Machine?
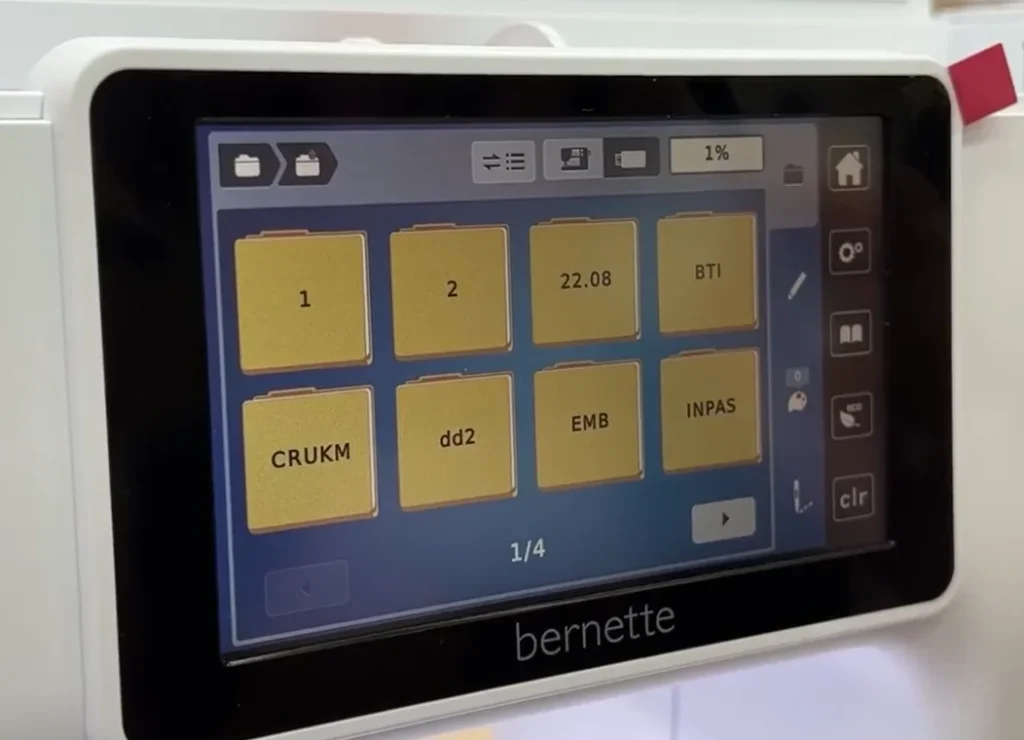
Use a USB flash drive to move the finished stitch file to your machine.
- Save the supported embroidery file to the USB drive.
- Insert the drive into the Bernette machine.
- Open the design selection screen.
- Select the USB folder.
- Choose your embroidery design.
- Confirm the hoop and finished dimensions.
- Review the thread color sequence.
- Adjust the design position.
- Finally, run a test stitch on similar fabric before embroidering the final item.
Should You Convert the Image Yourself or Hire a Professional Digitizer?
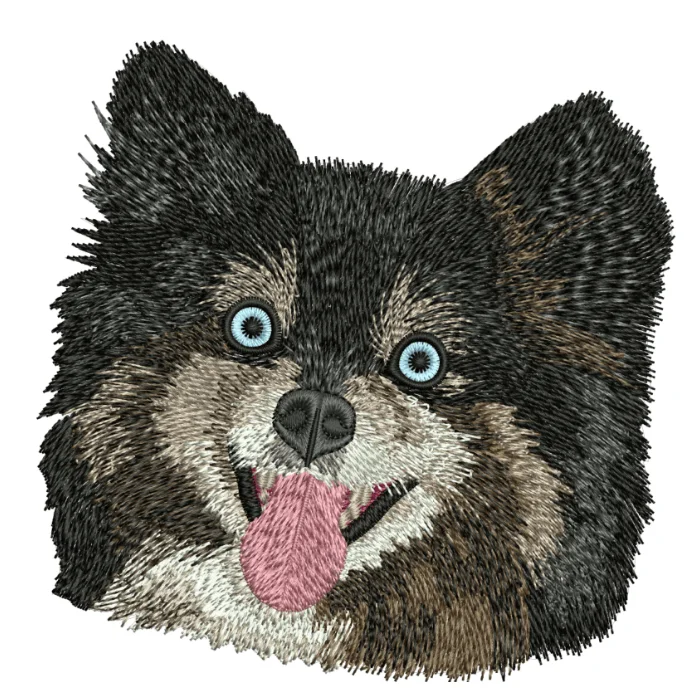
When DIY May Work
You can digitize simple shapes and basic designs if you want to learn the process. However, embroidery software can be costly, and it takes time to understand stitch density, underlay, stitch order, and compensation.
DIY work may save money on small practice projects. Still, mistakes can lead to thread breaks, puckering, wasted fabric, and repeated test runs.
When Professional Help Makes Sense
A professional digitizer is often better for:
- Business logos
- Small lettering
- Detailed artwork
- Caps and patches
- Large production orders
- Difficult fabrics
Although you pay for the service, you can avoid software costs and hours of trial and error. As a result, you can spend that time on orders, customer service, marketing, or other productive work.
Therefore, choose DIY for learning and simple designs. Hire a professional when quality, speed, and reliable production matter more.
Why Is the Bernette Machine Not Showing or Stitching the Design?
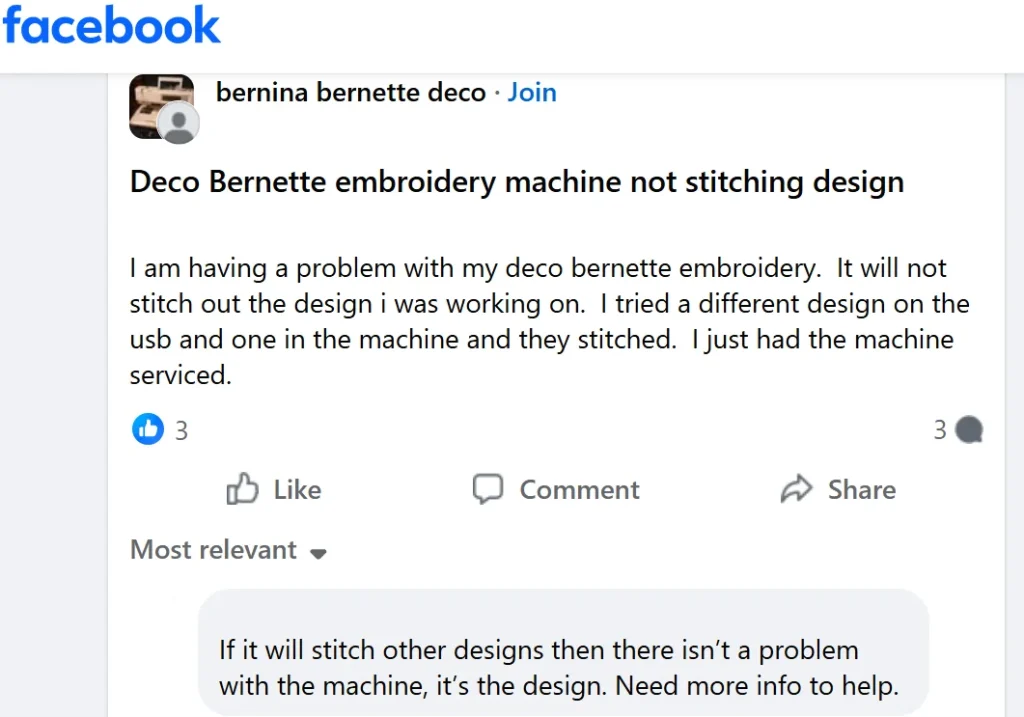
A Bernette machine user shared this issue in a Facebook embroidery group. Their machine stitched other designs correctly, but one file would not run. This suggests the problem may come from the design file rather than the machine itself.
Why Is the File Missing from the USB Screen?
The machine may not show the design because the format is unsupported or the file was not copied fully. Also, check for a damaged USB drive, an unusual filename, an incorrect folder, or a design larger than the selected hoop.
Why Are the Design Colors Wrong?
The INF file may be missing from the EXP package. The stitch order can stay correct, but the machine may display standard colors instead of the intended thread shades. Therefore, keep the EXP, BMP, and INF files together.
Why Is the Design Too Large?
Check the dimensions of the finished stitch file, not the original JPG. The complete embroidery design must fit inside the selected hoop and available stitching area.
Why Does the Design Stitch Poorly?
Common digitizing problems include:
- Excessive density
- Weak underlay
- Poor stitch direction
- Missing pull compensation
- Too many short stitches
- Unclear small lettering
- Poor stitch order
- Long untrimmed jumps
Why Does Auto Digitizing Create a Messy File?
Auto digitizing may struggle with photos, gradients, shadows, textured backgrounds, and tiny details. However, careful manual editing can improve stitch types, direction, spacing, and design order.
Final Thoughts
Turning a JPG into a file your Bernette machine can read takes more than changing the extension. The image must be digitized with the right size, stitch types, underlay, density, direction, and sewing order.
Also, the finished design should match the hoop, fabric, and supported machine format. Saving the editable file, keeping EXP package files together, and running a test stitch can help prevent color, sizing, and sewing problems.
However, detailed logos and production designs often need stronger stitch control. Digitizing Buddy can prepare a clean, machine-ready file for your project. Contact us today to discuss your design and get a free quote.
Frequently Asked Questions
Can a Bernette embroidery machine read a JPG file directly?
No. A JPG stores pixels, colors, and visual details, but it does not contain stitch commands. The artwork must be digitized and exported in a machine-supported embroidery format before your Bernette can stitch it.
EXP is the native embroidery format used by many Bernette machines. However, some models also support PES, DST, JEF, VP3, and other stitch files. Always check your machine manual before exporting the design.
No. Changing the extension does not create stitches. You need embroidery digitizing software or a professional digitizer to assign stitch types, density, underlay, direction, color changes, and sewing order.
The file may use an unsupported format, exceed the hoop size, have an unusual filename, or be copied incorrectly. Also, check the USB drive and confirm that the complete design fits within the available embroidery area.
Professional help is useful for detailed logos, small lettering, caps, patches, and production orders. A skilled digitizer can create a smoother-running file while reducing puckering, thread breaks, gaps, and unnecessary stitches.