
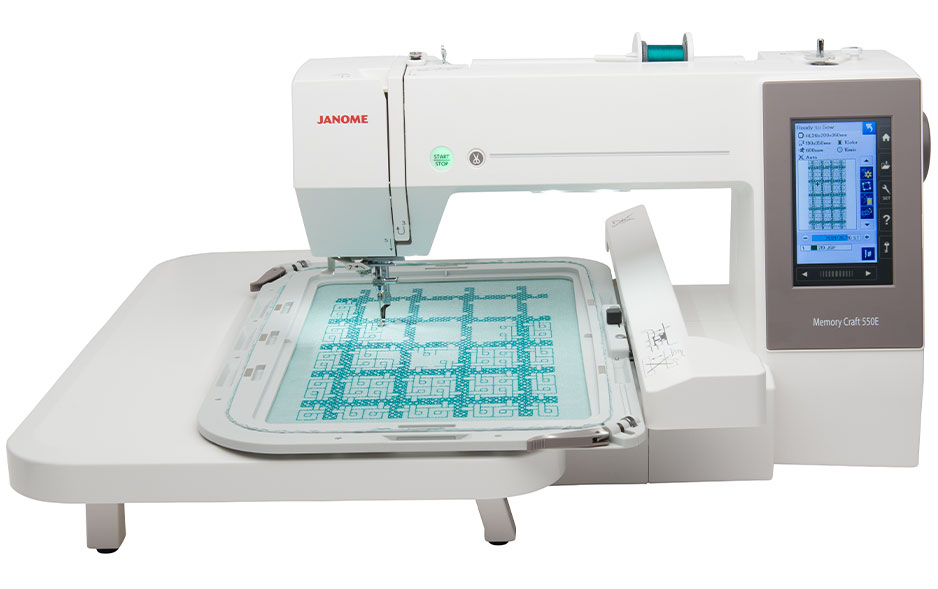
Ever wondered how a simple image becomes a stunning embroidery design on your Janome machine? Whether it’s your business logo or a cute pet photo, turning a regular picture into stitches takes more than just hitting a convert button. For Janome machines, the magic happens through a special file format called JAN. It’s the language your machine understands to sew every detail perfectly.
In this blog, we’ll walk you through the exact process of converting a regular image (like JPG or PNG) into a ready-to-use JAN embroidery file. You’ll learn what tools you need, common mistakes to avoid, and when it’s best to hire a professional.
Janome machines are loved by hobbyists, home crafters, and small business owners for their quality and ease of use. So, if you’re ready to bring your design ideas to life on a Janome, this guide is your perfect starting point.
What is a JAN File?
A JAN file is a proprietary embroidery file format specifically created for Janome embroidery machines. Unlike common image formats such as JPG or PNG, which display visual pixels, a JAN file contains detailed stitch data—like stitch type, direction, density, and color information. This data tells the Janome machine exactly how to move the needle and thread to recreate the design on fabric.
JAN files are not image files, they’re machine-readable embroidery instructions. That’s why you can’t simply upload a photo to your machine; it needs to be digitized and saved in the JAN format first.
To create or edit JAN files, you’ll need compatible software such as Janome Digitizer MBX, which allows you to import artwork, assign stitch types, and save the final design as a JAN file. Some other embroidery software may support JAN export, but MBX is the most reliable option for full compatibility.
Using the correct file format is crucial for smooth stitching, accurate design reproduction, and avoiding machine errors. If you use the wrong format or a poorly digitized file, your machine may skip stitches, distort the design, or fail to read the file at all.
Can You Directly Convert a JPG or PNG into JAN?
Short Answer: No, Not Directly
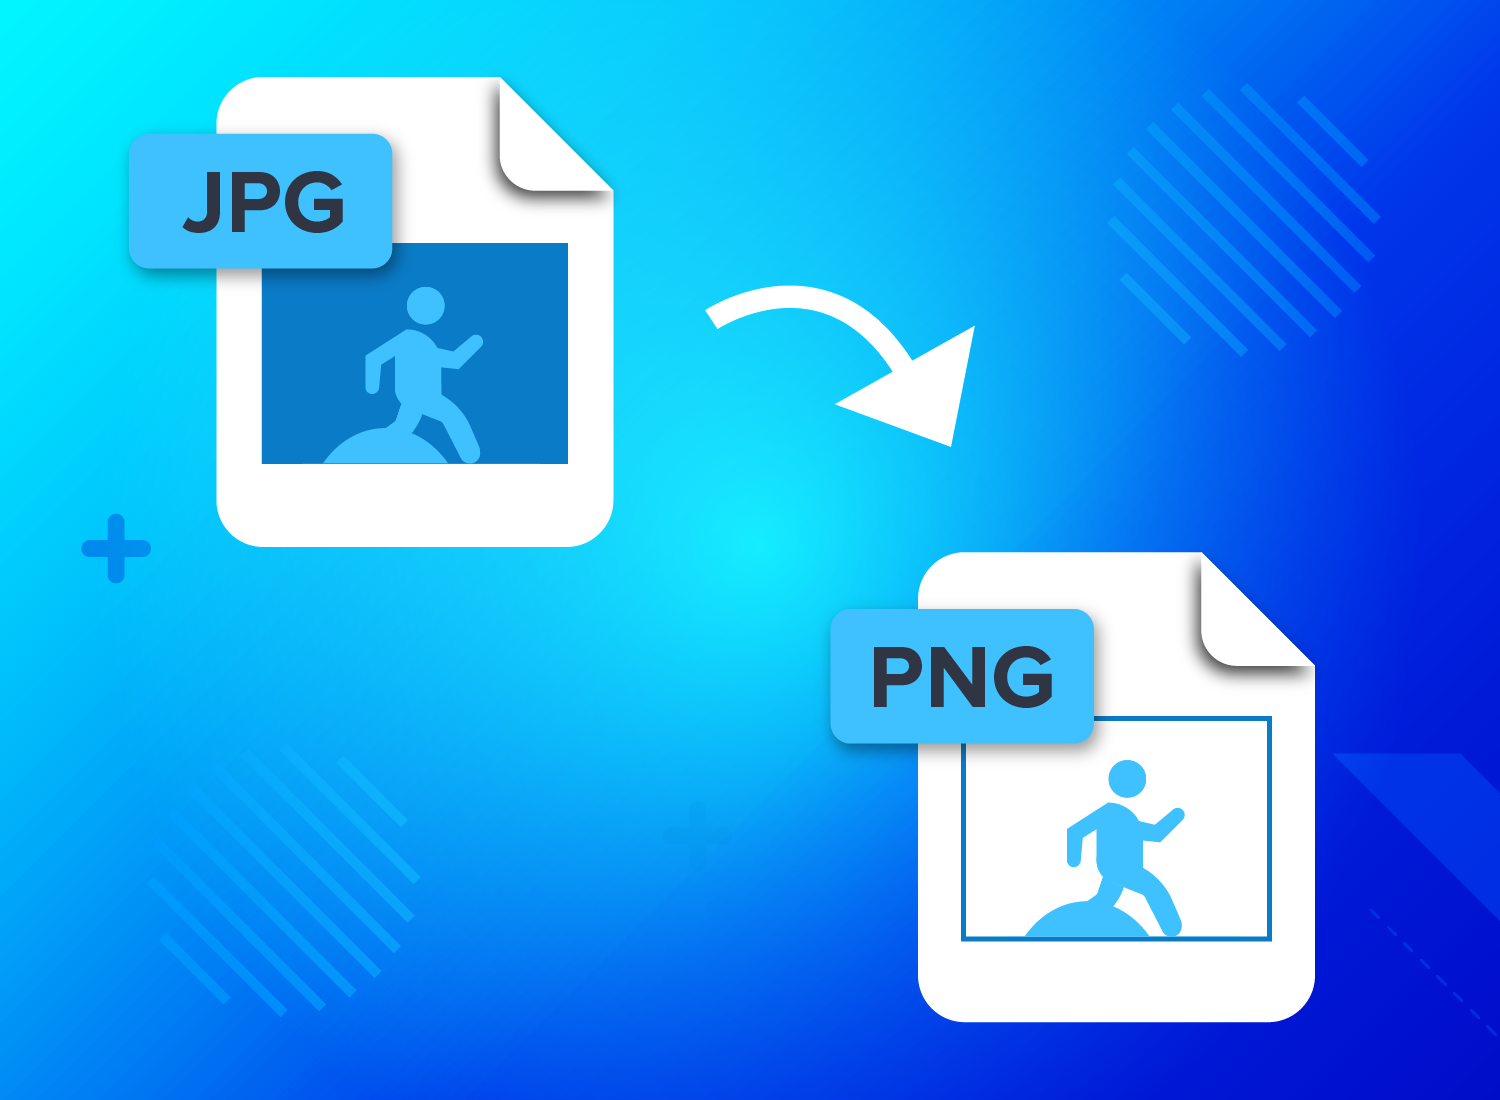
You can’t simply upload a JPG or PNG image to your Janome embroidery machine and expect it to stitch out perfectly. These file types are raster images, designed for visual display—not for embroidery. Meanwhile, JAN files are specialized stitch files that contain precise instructions your machine needs to sew a design.
Why JPG/PNG and JAN Are Different
A JPG or PNG image is made up of tiny pixels that show shapes and colors. But embroidery machines can’t read pixels, they need a path for the needle to follow. That’s where a JAN file comes in. It maps out each stitch, its direction, type, and length to create a design on fabric.
What Is Digitizing?
To turn a regular image into a JAN file, you need to go through a process called digitizing. This involves using embroidery software to manually or automatically assign stitches to different parts of the image. Think of it as converting a flat picture into an embroidery-friendly blueprint.
Automatic Tools Aren’t Perfect
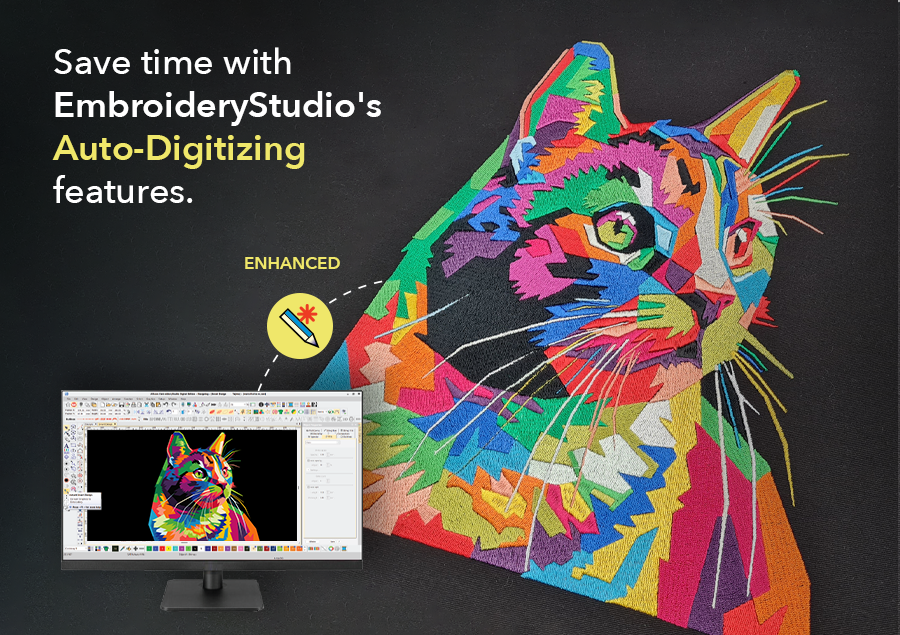
Some software offers auto-digitizing, but the results often need fixing. Without manual adjustments to stitch type, density, and pathing, you might end up with broken outlines, gaps, or thread bunching. For best results, a combination of software tools and human expertise is usually required.
Step-by-Step: How to Convert an Image to JAN
Turning an image into a JAN embroidery file may sound technical, but by breaking it into manageable steps, it becomes much easier. Here’s a simple step-by-step guide to help you convert a JPG or PNG image into a JAN file using embroidery software.
Step 1: Choose the Right Image
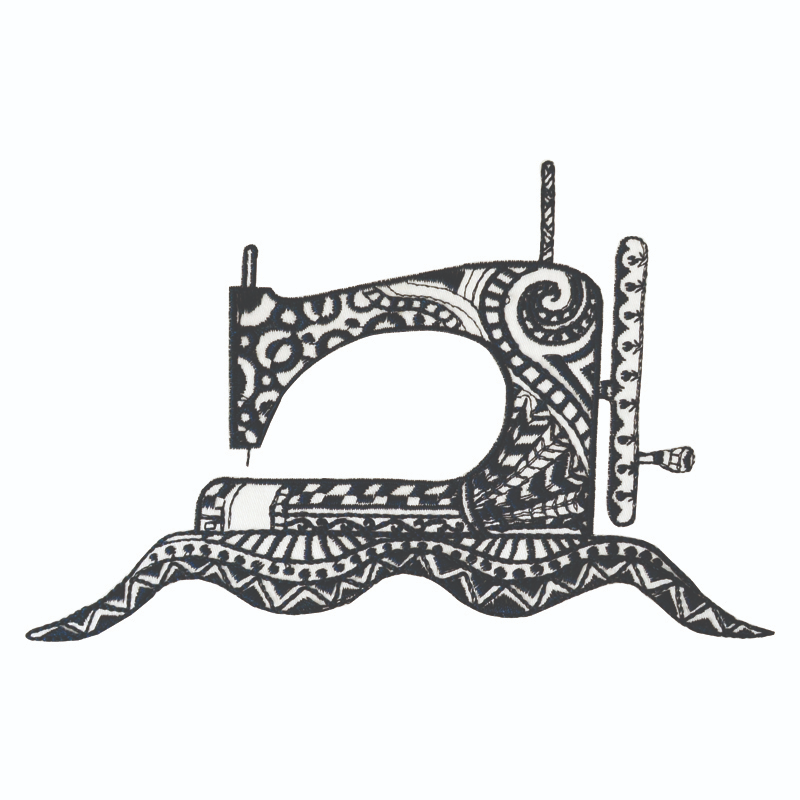
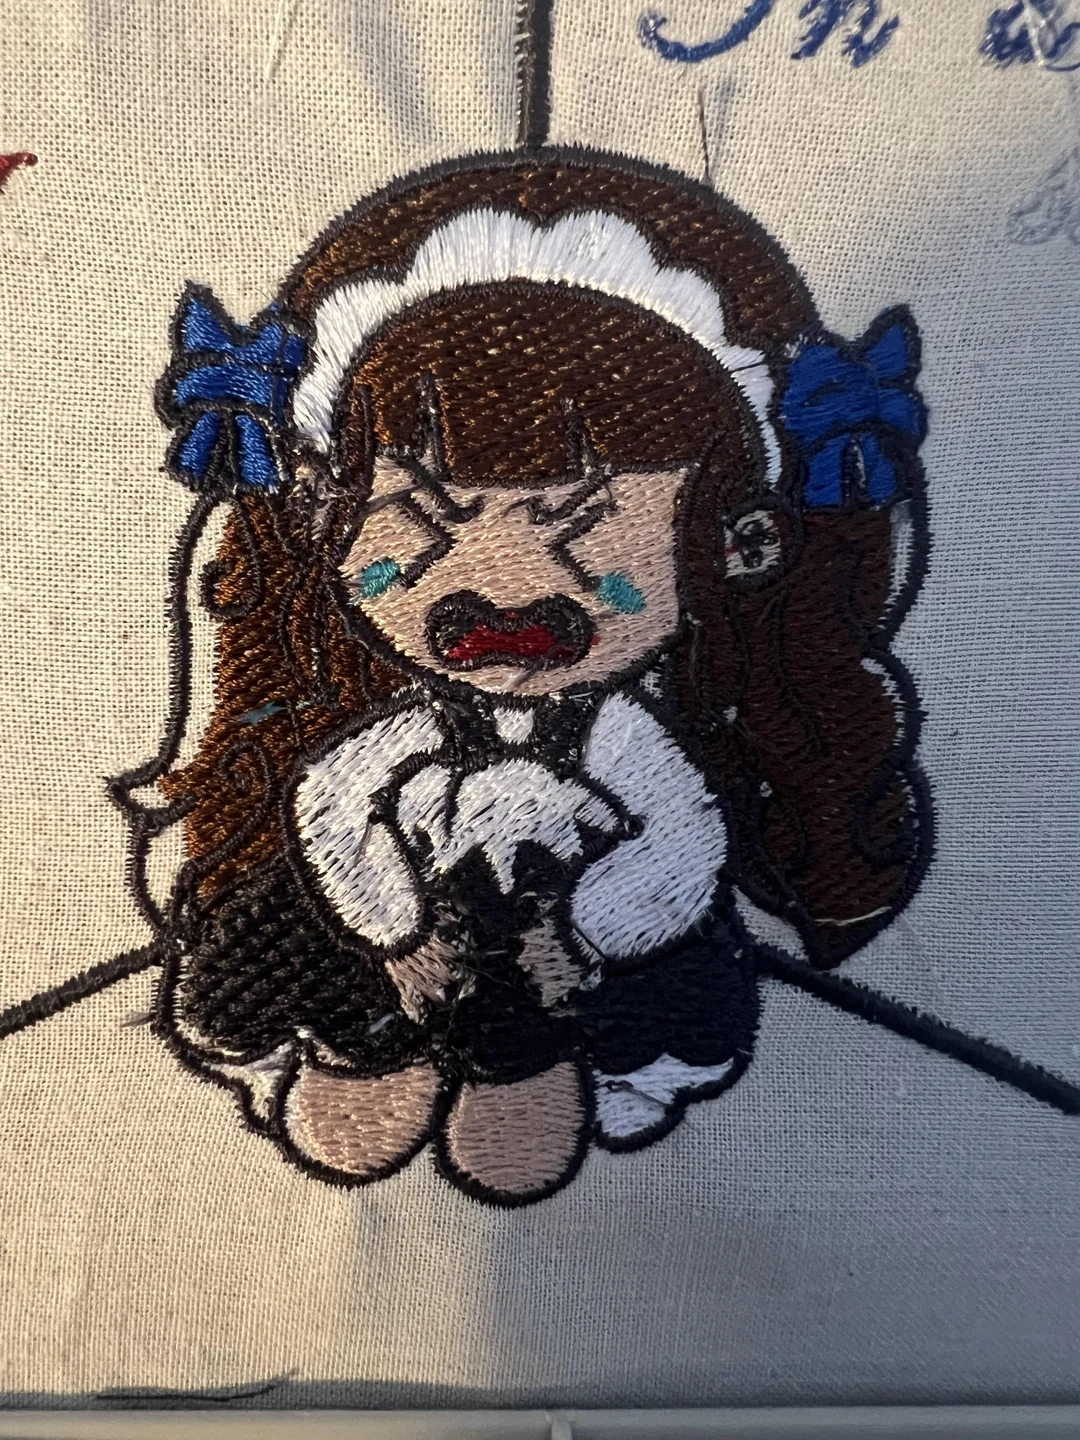
Start by selecting an image that is clean, high-resolution, and has clear outlines. Designs with bold lines and solid colors are ideal, especially for beginners. Try to avoid pictures with too many tiny details, complex gradients, or blurry edges. The simpler and clearer your image, the easier it will be to digitize and stitch accurately.
Step 2: Use Janome Digitizer MBX (or Equivalent Software)
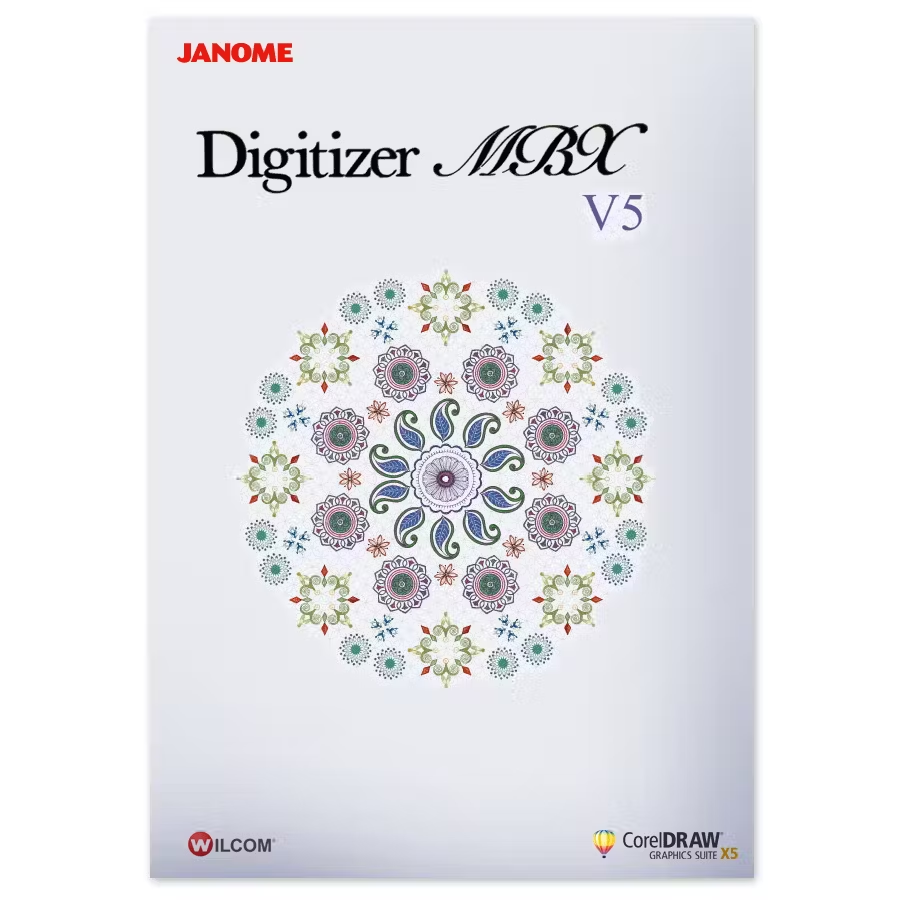
Once your image is ready, open your embroidery digitizing software. Janome Digitizer MBX is the recommended software for creating JAN files.
-
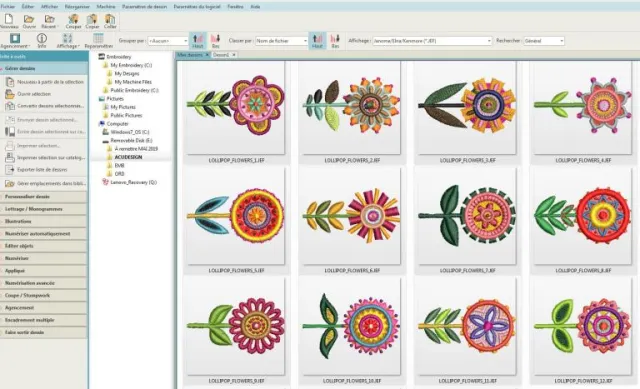
Import the image (JPG or PNG) into the software.
-
You’ll now have two main options: Auto-Digitize or Manual Digitize. Auto-digitize lets the software assign stitches automatically, which can save time, but may require later editing. Manual digitizing gives you more control over every stitch, ideal for high-precision results.
Step 3: Set Stitch Types and Parameters
Now it’s time to assign stitch types to different parts of your design:
-
Use fill stitches for large solid areas, satin stitches for outlines or borders, and running stitches for fine details.
-
Next, fine-tune your settings: adjust stitch density, angle/direction, pull compensation, and other parameters to match the fabric type and ensure smooth stitching.
-
Proper settings help prevent thread breaks, puckering, or uneven finishes.
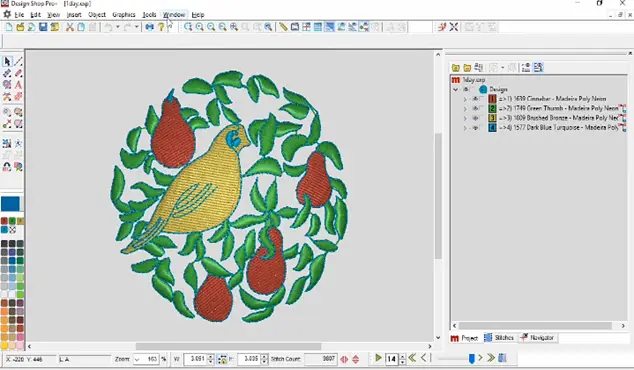
Step 4: Preview & Simulate the Design
Before saving your file, always run a virtual stitch simulation within the software. This helps you visually check how the design will be stitched on the machine.
-
Look out for jump stitches, missing fills, uneven patterns, or too many trims.
-
Make adjustments as needed to clean up the design and improve stitch efficiency.
Step 5: Save as JAN Format
Once you’re satisfied with the simulation, it’s time to save or export your design in the JAN format.
-
Make sure to select “Save As” or “Export” and choose JAN as the output type.
-
Transfer the file to your Janome machine using a USB stick or the Janome software tools that allow for direct machine communication.
Mistakes to Avoid When Converting an Image to a JAN File
Converting an image to a JAN embroidery file might seem simple with modern software, but several common mistakes can lead to poor stitch results. Avoiding these errors will save you time, thread, and frustration.
1. Using Low-Resolution or Complex Images
A blurry or pixelated image makes it hard to define clean stitch paths. Similarly, highly detailed images with tiny elements can overwhelm the machine and create messy embroidery. Always start with a clear, high-resolution image that has simple shapes and clean outlines.
2. Relying Solely on Auto-Digitizing
Auto-digitizing is a helpful tool, but it’s not perfect. Many users make the mistake of using it and skipping manual cleanup. This can lead to random stitch directions, overlaps, and broken outlines. Always review and adjust the design manually after using auto-digitize.
3. Not Adjusting Stitch Density or Underlay
Every fabric needs different stitch settings. If you don’t adjust stitch density or add the right underlay, your design might pucker, bunch up, or look too thin. Proper adjustments ensure smooth stitching and durability.
4. Ignoring Hoop Size or Fabric Type
Using the wrong hoop size can stretch or crop the design. Also, different fabrics—like caps, T-shirts, or towels—react differently to stitches. Always match the hoop and fabric type to your settings during digitizing.
Free vs Paid Tools for JAN File Conversion

Free Tools: Limited and Incompatible
While free embroidery software may seem appealing, most of them do not support the JAN format directly. Some allow basic digitizing or conversion to common formats like DST or PES, but you’ll often need extra steps to convert those into JAN. This adds unnecessary complexity and increases the risk of file errors or design misalignment. Free tools also offer limited control over stitch types, density, and underlay settings.
Paid Tools: Reliable and Feature-Rich
If you’re serious about creating high-quality JAN files, investing in paid software is highly recommended. Janome Digitizer MBX is the official choice and offers direct JAN file output. Other programs like Hatch Embroidery or Wilcom Embroidery Studio provide professional digitizing features and can export to formats that may be converted to JAN with the right tools. These platforms offer superior stitch control, simulation previews, and editing capabilities.
Why Paid Tools Are Better
Paid software ensures accuracy, compatibility, and long-term reliability. You can fine-tune every element of your design, reduce thread breaks, and avoid machine errors. Plus, they usually come with customer support and updates.
Avoid Cracked Software
Using pirated or cracked software may seem like a shortcut, but it often leads to corrupted files, design glitches, or even permanent damage to your machine. For peace of mind and professional results, stick with genuine software.
Should You Hire a Professional Digitizer?
While it’s absolutely possible to learn digitizing and convert your own images into JAN files, the learning curve can be steep—especially if you’re aiming for clean, professional results. Digitizing isn’t just about converting an image; it involves understanding stitch types, fabric behavior, machine limitations, and embroidery software settings. For beginners, this can be time-consuming and overwhelming.
If you’re working on logos, commercial projects, or complex designs, hiring a professional is often the smarter choice. Pros know how to create efficient stitch paths, avoid thread breaks, and ensure the design looks sharp on the final product.
Digitizing Buddy offers expert-level digitizing services starting at just $10 per logo. Whether you need a left chest design, cap logo, or full back embroidery, they’ve got you covered. They provide quick turnaround times, often within 4–12 hours, and even offer rush delivery in as little as 2 hours. You’ll also benefit from free edits until you’re satisfied and a quality guarantee, making it a risk-free option.
Conclusion

Converting an image into a JAN embroidery file isn’t as simple as clicking a button—it takes time, skill, and the right software tools. From selecting a clean image to setting proper stitch types and running simulations, each step matters to ensure a smooth and flawless embroidery outcome.
You can certainly try it yourself if you enjoy learning new software and experimenting. But for complex or professional-quality designs, trusting a seasoned digitizer is the best way to save time and avoid frustration.
Let the experts handle it for you. Order your custom JAN embroidery file now at Digitizing Buddy – where speed, precision, and affordability come together. Free edits, fast delivery, and satisfaction guaranteed!