You have the perfect logo, clean and stylish, ready to represent your brand on uniforms, caps, or shirts. Now all you need is to get it embroidered. Before your machine can stitch it, the logo must be converted into a format your embroidery machine understands. If you are using a Husqvarna Viking or Pfaff embroidery machine, that format is called a VIP embroidery file.
A VIP file is not just a simple image. It is a detailed map that tells your machine where each stitch should go, what direction the threads should take, and how dense the design should be. Many beginners make the mistake of converting a regular image such as a JPG or PNG into VIP format using free tools. The result is often broken threads, uneven stitching, or distorted designs.
In this guide, we will explain how to turn your logo into a VIP embroidery file the right way and why hiring professionals is a smarter choice that saves time, money, and frustration.
Understanding the .VIP Embroidery File Format
The .VIP file is a native embroidery format used by older Pfaff and Husqvarna Viking embroidery machines. It stores all the stitch commands required for a machine to recreate a design. While it’s still functional for compatible models, it is considered a legacy format that has mostly been replaced by modern file types such as .VP3 and .VIP3.
Key Features of the .VIP Format
-
Machine-Specific: Designed primarily for certain Pfaff and Husqvarna Viking models.
-
Legacy Format: An older format, now replaced by advanced versions offering better editing and compatibility.
-
Limited Editing: Provides essential stitch data but lacks the flexibility and layer control found in modern software.
-
Data Content: Contains stitch-based instructions that guide the embroidery machine during production.
In short, .VIP files are perfect for older machines but limited when it comes to editing or modifying designs using current software tools.
How to Use and Convert .VIP Files
For Older Machines
If you own an older Pfaff or Husqvarna Viking embroidery machine, you can use .VIP files directly. These machines were designed to read this format natively, so no conversion is required.
For Newer Machines
Modern embroidery machines often no longer support .VIP files. In this case, you’ll need to convert the file to a supported format such as .VP3, .HUS, .JEF, .PES, or .DST before using it. Many embroidery software programs can handle this conversion easily.
For Editing
Editing .VIP files can be challenging since the format doesn’t support advanced adjustments. It’s best to convert the file into a native editing format—for example, .VP3 or .VP4—to unlock full editing options like resizing, stitch density, and color management.
For Conversion
Several embroidery programs allow you to convert .VIP files into other popular formats. For instance, some software can export designs as .HUS, .JEF, .PES, or .DST, as shown in a helpful YouTube tutorial. This flexibility lets you update old designs for use with modern embroidery machines.
What You Need Before Converting a Logo
1. Use a High-Resolution Image
Start with a clear, high-resolution logo, preferably a vector file (like AI, SVG, or EPS) or a 300 dpi image. A crisp image helps ensure the stitches follow clean lines and produce sharp details during embroidery.
2. Understand Stitch Settings
Before digitizing, you need basic knowledge of stitch density, underlay, and color mapping. These factors control how thick the stitches appear, how the design sits on the fabric, and how smooth the final result looks.
3. Choose the Right Digitizing Software
You’ll need compatible software such as Wilcom Embroidery Studio, Hatch, or Ink/Stitch to manually assign stitch types and directions. These programs allow you to preview your design before saving it as a VIP file.
4. Know Your Machine Specifications
Every embroidery machine is different. Be aware of your hoop size, thread type, and fabric type, as these affect the stitch layout and final quality. Matching the file settings to your machine ensures the design runs smoothly without thread breaks or distortion.
Step-by-Step: How to Turn a Logo into a VIP File
![]()
1. Prepare the Logo
Start by cleaning up your logo. Remove unnecessary background elements, smooth out rough edges, and resize it to match your intended embroidery area. A simple, high-quality logo helps ensure that the stitches come out clean and accurate.
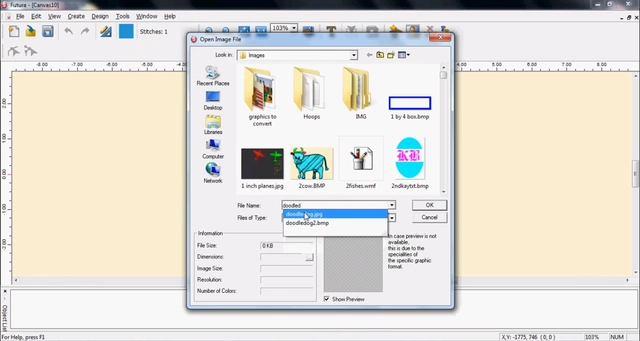
2. Import into Digitizing Software
Open your logo in professional embroidery software such as Wilcom Embroidery Studio E4, Hatch, or Chroma. These programs are designed to convert your design into stitches that can be read by embroidery machines.
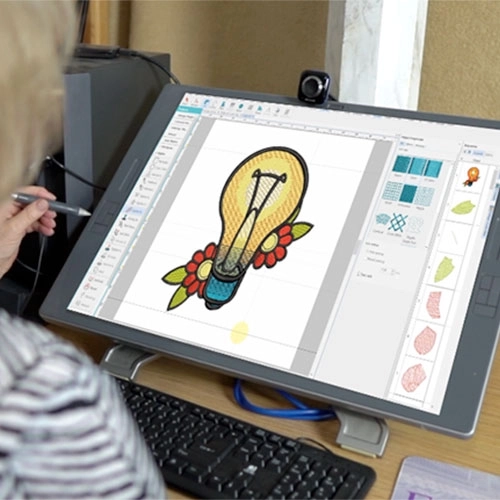
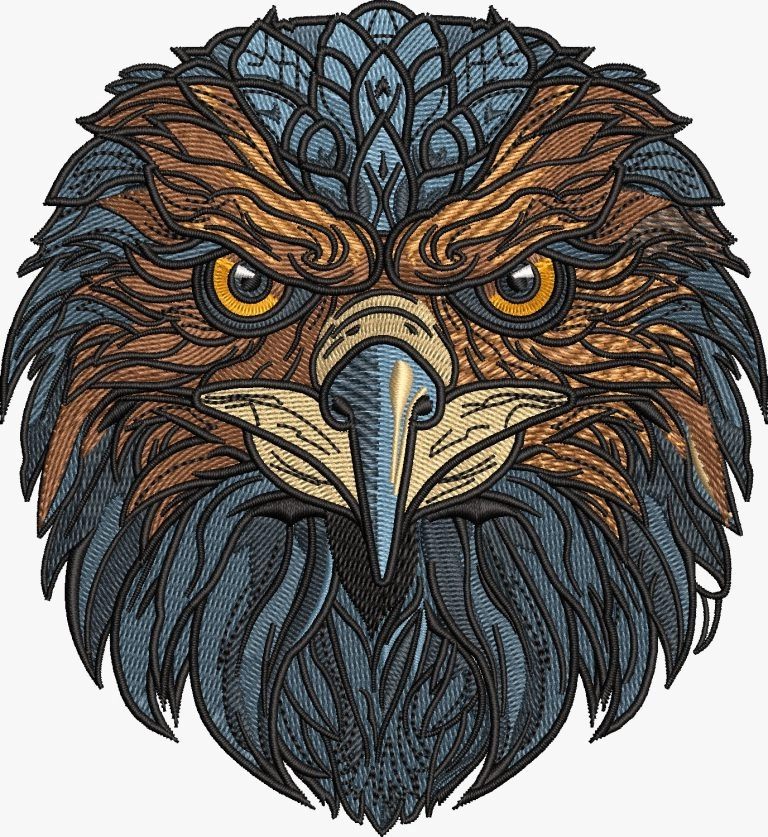
3. Digitize Manually
Assign stitch types manually instead of relying on auto-digitizing. Use satin stitches for borders and text, fill stitches for larger areas, and running stitches for fine details. This step determines how your design will appear when embroidered.
4. Adjust Stitch Density and Underlay
Fine-tune the stitch density to balance thread coverage and flexibility. Add an underlay stitch to stabilize the fabric and prevent puckering. These settings depend on your fabric type and thread thickness.
5. Add Trims and Tie-ins
Trims and tie-ins help control loose threads between sections of your design. Adding them properly reduces the chances of thread breaks and ensures smooth machine operation.
6. Preview and Simulate
Use the software’s stitch simulator to preview the design before saving. This allows you to identify thread jumps, overlaps, or density issues that might appear during stitching.
7. Export as VIP File
Once the design looks perfect, export or save it in the .VIP format, which is compatible with Husqvarna Viking and Pfaff machines.
8. Test Stitch-Out
Always perform a test stitch on a fabric similar to your final product. This helps verify the stitch quality, color alignment, and design size before mass production.
Common Mistakes to Avoid
![]()
1. Converting Images Without Proper Digitizing
One of the most common mistakes is trying to simply “convert” a JPG or PNG image into a VIP file using free converters. These tools only change the file extension and do not create actual stitch data. The result is a file that looks correct on screen but cannot be stitched properly by your machine.
2. Relying on Auto-Digitizing Tools
Auto-digitizing software might seem quick, but it often ignores important details such as fabric type, stitch direction, and density settings. This can lead to poor-quality embroidery, uneven textures, and frequent thread breaks.
3. Ignoring Stitch Density
Incorrect stitch density can cause serious problems. Too much density leads to puckering, while too little leaves visible gaps. Always adjust density according to your fabric and design size.
4. Skipping the Preview or Test Stitch
Never skip the stitch simulation or test run. Previewing allows you to spot errors before production, and a test stitch ensures your design looks perfect on the actual material.
Why Hiring Professional Digitizers Is the Smarter Choice
Turning a logo into a perfect VIP embroidery file is not just about hitting “convert.” It requires technical knowledge, precision, and experience. That’s where professional digitizers like Digitizing Buddy make all the difference.
Expertise and Professional Tools
Professional digitizers use licensed software such as Wilcom Embroidery Studio E4 and understand every stitch parameter, from density and underlay to pull compensation and stitch direction. This ensures that every part of your logo stitches cleanly, without gaps or bunching.
Optimized for Machines and Fabrics
Each embroidery machine and fabric behaves differently. Experts optimize every file for your specific machine model and fabric type. Whether you’re working with caps, jackets, or t-shirts, your design will run smoothly without distortion or broken threads.
Saving Time and Money
Professionals save you hours of frustration by delivering ready-to-sew VIP files quickly, often within 12 to 24 hours. You also save money by avoiding wasted fabric, thread, and repeated test runs caused by poor auto-digitized files.
Quality and Flexibility
At Digitizing Buddy, our services start at just $10, with free unlimited edits until you’re completely satisfied. We handle everything from simple logos to complex gradients, 3D puff designs, and textured embroidery — tasks that automated tools simply can’t manage.
How Digitizing Buddy Can Help
At Digitizing Buddy, we make turning your logo into a flawless VIP embroidery file simple, fast, and affordable. Our team of skilled digitizers uses the industry’s top software, including Wilcom Embroidery Studio E4, to ensure every stitch is perfectly placed. Whether you need files for Husqvarna Viking, Pfaff, or any other machine, we’ve got you covered.
We offer custom logo digitizing starting at just $10, with free unlimited edits until you are 100% satisfied. Need your design fast? Our rush service delivers files within 2 to 4 hours without compromising quality. From standard flat embroidery to 3D puff and complex multi-color designs, our team handles it all.
You also get peace of mind with our money-back guarantee and 24/7 live chat support, ensuring your project runs smoothly from start to finish.
Conclusion
Turning a logo into a VIP embroidery file is more than a simple conversion, it’s a process that requires skill, precision, and the right tools. A properly digitized VIP file ensures your design stitches perfectly, runs smoothly on your machine, and reflects your brand’s quality in every detail.
By choosing Digitizing Buddy, you save time, money, and the headache of dealing with poor-quality auto conversions. Our expert team delivers ready-to-sew files that are optimized for your specific machine and fabric, starting at just $10 with free unlimited edits and fast turnaround.
Don’t take chances with your designs. Let professionals handle your logo conversion the right way.