Logos are the heartbeat of a brand. Whether stitched on uniforms, caps, jackets, or promotional products, they create instant recognition and give businesses a professional edge. For companies, schools, and sports teams alike, a clean, sharp logo on apparel is not just decoration, it is branding in action.
However, if you are using a Pfaff embroidery machine, you cannot simply take a JPG or PNG logo and load it in. Pfaff machines require embroidery-ready files in formats like VP3 or VIP, where every detail of the logo is mapped out in stitches. Without this conversion, the machine will not know how to sew the design, and the result can be thread breaks, distorted logos, or files that do not even open.
This is where many beginners get stuck. They expect the machine to do the magic of embroidery on its own. The truth is, logos need professional digitizing before they are ready. In this guide, we will take you step by step through the easiest ways to convert logos for Pfaff embroidery machines successfully.
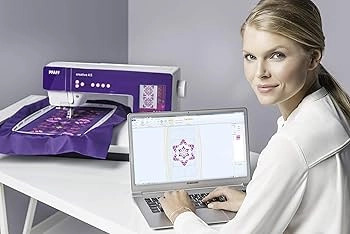
Understanding Pfaff Embroidery Machines
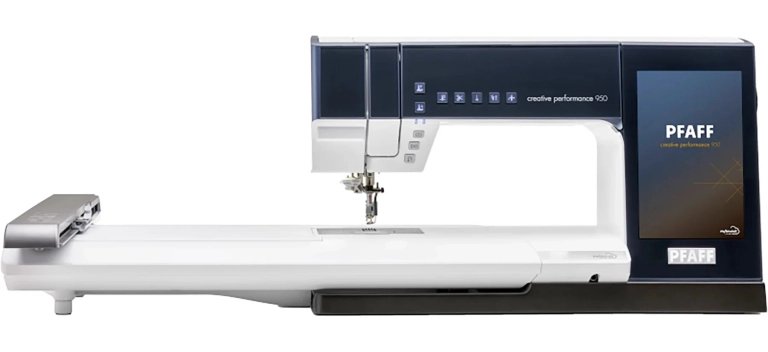
Pfaff’s Reputation in Embroidery
Pfaff has been a respected brand in the sewing and embroidery industry for over a century. Known for innovation, precision, and long-lasting quality, Pfaff machines are trusted by hobbyists, small businesses, and professional embroidery shops. They are designed to handle everything from delicate fabrics to heavy garments, making them a reliable choice for high-quality embroidery work.
Common Pfaff File Formats
Pfaff embroidery machines do not work with standard image files. Instead, they use specialized embroidery file formats such as VP3, VIP, PCS, and PCD. These files contain detailed instructions for the machine, including stitch type, density, order of stitching, and color changes. Without this data, the machine cannot create a proper embroidery design.
Why Logos Cannot Be Used Directly
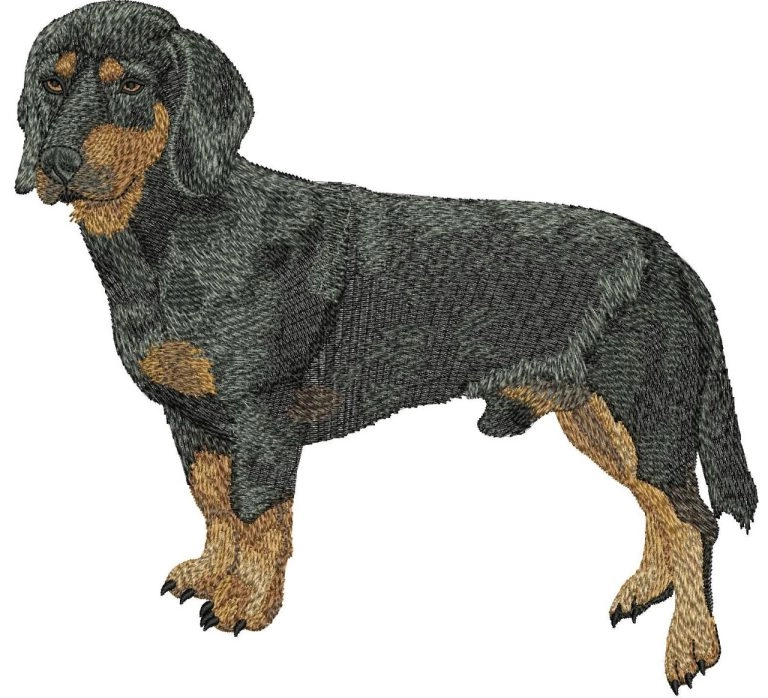
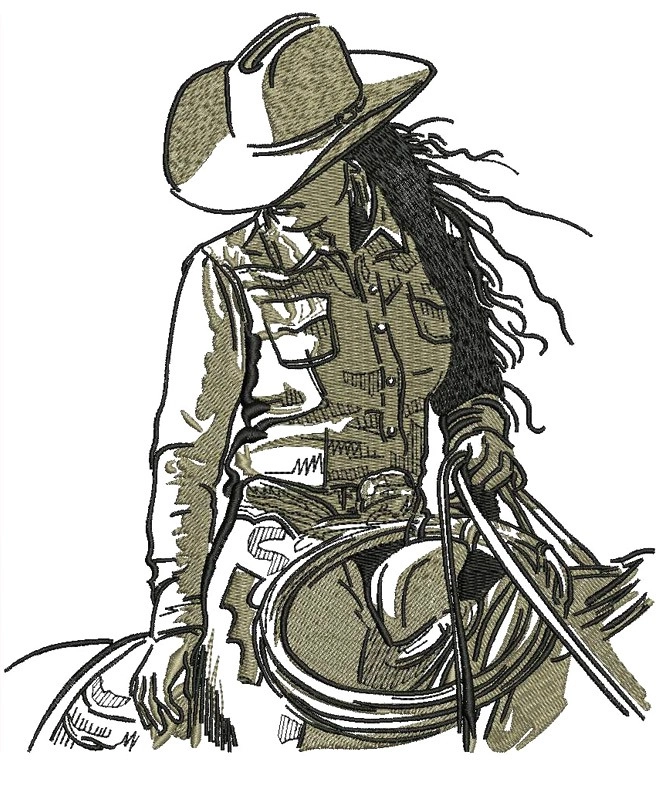
Logos in formats like JPG, PNG, or even vector files such as AI or EPS are designed for screens and printers. They only define shapes and colors, not stitches. Embroidery machines, however, need stitch-based data to know how to sew the design. This is why logos must go through a process called digitizing before they can be used.
Importance of Correct File Conversion
Using the right format is crucial. If the logo is not digitized properly, the result may be thread breaks, distorted logos, or machine errors. Converting to the correct Pfaff embroidery format ensures smooth stitching and professional results.
Why Logo Conversion (Digitizing) Is Necessary
What Is Embroidery Digitizing?
Embroidery digitizing is the process of converting artwork into a stitch file that an embroidery machine can read. Instead of pixels or vectors, the design is translated into stitch commands that tell the machine how to sew each part of the logo.
Image Editing vs. Digitizing
Many people confuse image editing with digitizing. Editing a JPG or PNG only changes how the picture looks on a screen. Digitizing, on the other hand, creates detailed instructions for stitch types, direction, density, and thread colors. Without digitizing, the embroidery machine has no idea how to stitch the logo.
Problems Without Digitizing
If you try to use an image directly, you will run into issues such as thread breaks, distorted logos, and poor scaling when applied to different garments like caps or polos. The machine may even fail to read the file altogether.
Why Accuracy Matters
Accurate digitizing ensures that the design runs smoothly on the machine, producing clean, professional results every time without wasted time or materials.
Preparing Your Logo for Conversion
Choose High-Resolution Artwork
The quality of your final embroidery depends heavily on the quality of the logo you start with. High-resolution files such as AI, EPS, or SVG are ideal because they are vector-based and retain clarity at any size. While JPG or PNG files can still be used, they often lose detail when enlarged, which makes the digitizing process more difficult and less precise.
Clean Up the Logo
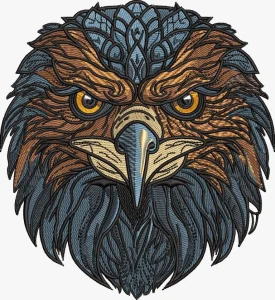
Before converting, it is important to simplify the artwork. Remove extra elements, shadows, or unnecessary gradients that will not translate well into stitches. Clear, bold shapes with defined edges are easier to digitize and result in cleaner embroidery.
Think About Thread Colors
Colors on a computer screen do not always match thread shades. During preparation, choose embroidery-friendly colors and match them as closely as possible to available thread options. This ensures that the embroidered logo looks true to the original design once stitched.
Plan Scaling and Placement
A logo may look great on paper, but it needs adjustments depending on where it will be placed. For example, a left chest logo should remain small and crisp, while a cap logo may need wider lettering to prevent distortion. Proper scaling and placement guarantee professional results across different garments.
Methods to Convert Logos for Pfaff Machines
here are several ways to prepare your logo for a Pfaff embroidery machine. Some methods give you complete control, while others save time and effort. Below are the three most common options, with their pros and cons.
a) Using Embroidery Digitizing Software
One of the most reliable ways to convert logos is through professional embroidery digitizing software. Popular programs include Wilcom, Hatch, and mySewnet, which is part of Pfaff’s own ecosystem. These tools allow you to transform vector or image files into stitch-ready embroidery files.
The basic process involves:
-
Importing your logo into the software.
-
Assigning stitch types such as satin, fill, or run stitches.
-
Adding underlay to stabilize the design.
-
Adjusting density and stitch direction.
-
Saving the final file in a Pfaff-compatible format like VP3 or VIP.
Pros: You get full creative control, the ability to fine-tune every stitch, and professional-quality results.
Cons: The software is expensive, often costing hundreds or even thousands of dollars, and it comes with a steep learning curve. It may not be practical for beginners or those who only need occasional logo conversions.
b) Using Auto-Digitizing Tools
Many digitizing programs come with built-in auto-digitizing features. With just a few clicks, you can import a logo and let the software automatically generate stitch patterns.
This method is quick and convenient, but the results are often unreliable. Auto-digitizing can produce misaligned stitches, excessive density, or missing underlay, which lead to poor quality embroidery. It may work for very simple shapes like text or basic icons, but it usually fails with complex or detailed logos.
Auto-digitizing is best viewed as a shortcut for practice or hobby use, not for production-ready files.
c) Outsourcing to Professional Services (Best Method)
For most businesses, the easiest and most effective solution is outsourcing logo conversion to professional embroidery digitizing services. Experienced digitizers understand fabrics, density, stitch flow, and scaling for different applications such as caps, polos, or jackets. They know how to optimize a design so it runs smoothly on a Pfaff machine without errors.
By outsourcing, you save time, reduce costly machine issues, and receive files that are ready for production. Services like DigitizingBuddy.com offer fast turnaround, free edits, and prices starting as low as $10 per logo. This makes it a cost-effective option, especially compared to buying expensive software or risking poor results with auto-digitizing.
Best Choice: If your goal is clean, professional embroidery with minimal hassle, outsourcing is the most reliable method.
Step-by-Step Logo Conversion Process for Pfaff Embroidery
To better understand how logo conversion works, let’s walk through an example. Imagine you have a simple company logo that you want to place on a cap. The process of preparing this design for a Pfaff embroidery machine involves several clear steps.
Step 1: Import the Logo File
Start by opening your digitizing software and importing the artwork. In this case, the logo is available as an AI (Adobe Illustrator) file, which is ideal because vector files maintain sharp edges and clean shapes.
Step 2: Assign Stitch Types
Next, assign the proper stitch types to each part of the design. Use satin stitches for text or thin lines, and fill stitches for larger areas such as shapes or icons. This ensures that the design sews out cleanly without uneven coverage.
Step 3: Adjust Density and Underlay
Fine-tune the stitch density to prevent thread breaks or overly thick areas. Add underlay stitches beneath the main design to stabilize the fabric, which is especially important on curved surfaces like caps.
Step 4: Add Trims, Lock Stitches, and Test Run
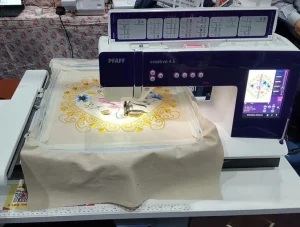
Insert trims between color changes and lock stitches at the start and end points to prevent unraveling. Use the software’s simulation feature to preview how the design will sew out. This step helps identify mistakes before you run the machine.
Step 5: Save and Test on the Machine
Finally, save the file in a Pfaff-compatible format such as VP3. Load it onto the embroidery machine and run a test stitch-out on a sample fabric. Check for issues like overlapping stitches, poor scaling, or rough edges. Once everything looks smooth and balanced, the design is ready for production.
Why Professional Digitizing Services Are the Smarter Choice
Learning embroidery digitizing software takes time, money, and a lot of trial and error. While the software gives full control, the steep learning curve can easily eat up hours that could be spent on other important parts of your business, such as production, sales, or customer service. For someone running a shop or managing multiple orders, this lost time quickly adds up.
Professional digitizing services eliminate that struggle. Skilled digitizers already know how to handle density, underlay, scaling, and stitch flow for different fabrics and placements. They make sure the logo is prepared in the exact Pfaff format you need, without the headaches of thread breaks, misaligned stitching, or machine errors.
By outsourcing, you not only save valuable time but also avoid costly mistakes. Instead of fighting with software or redoing failed stitch-outs, you get a clean, production-ready file right away. In the long run, hiring experts is the faster, smarter, and more cost-effective solution.
Conclusion
Converting logos for Pfaff embroidery machines is not as simple as changing a file type. It is a process known as digitizing, where artwork is transformed into stitches that a machine can actually sew. Without this step, even the cleanest logo can end up looking distorted, misaligned, or unusable on fabric.
If you enjoy experimenting and have time to spare, learning embroidery digitizing software can be an interesting skill. However, most businesses and individuals cannot afford trial and error when production quality is at stake. For consistent, professional results, the smarter choice is to rely on experienced digitizers who know how to prepare designs specifically for Pfaff machines.
Save yourself the frustration of broken threads, wasted material, and hours lost on a steep learning curve. Instead, get a logo file that is ready to stitch perfectly from the start. Order your Pfaff logo conversion today at DigitizingBuddy.com