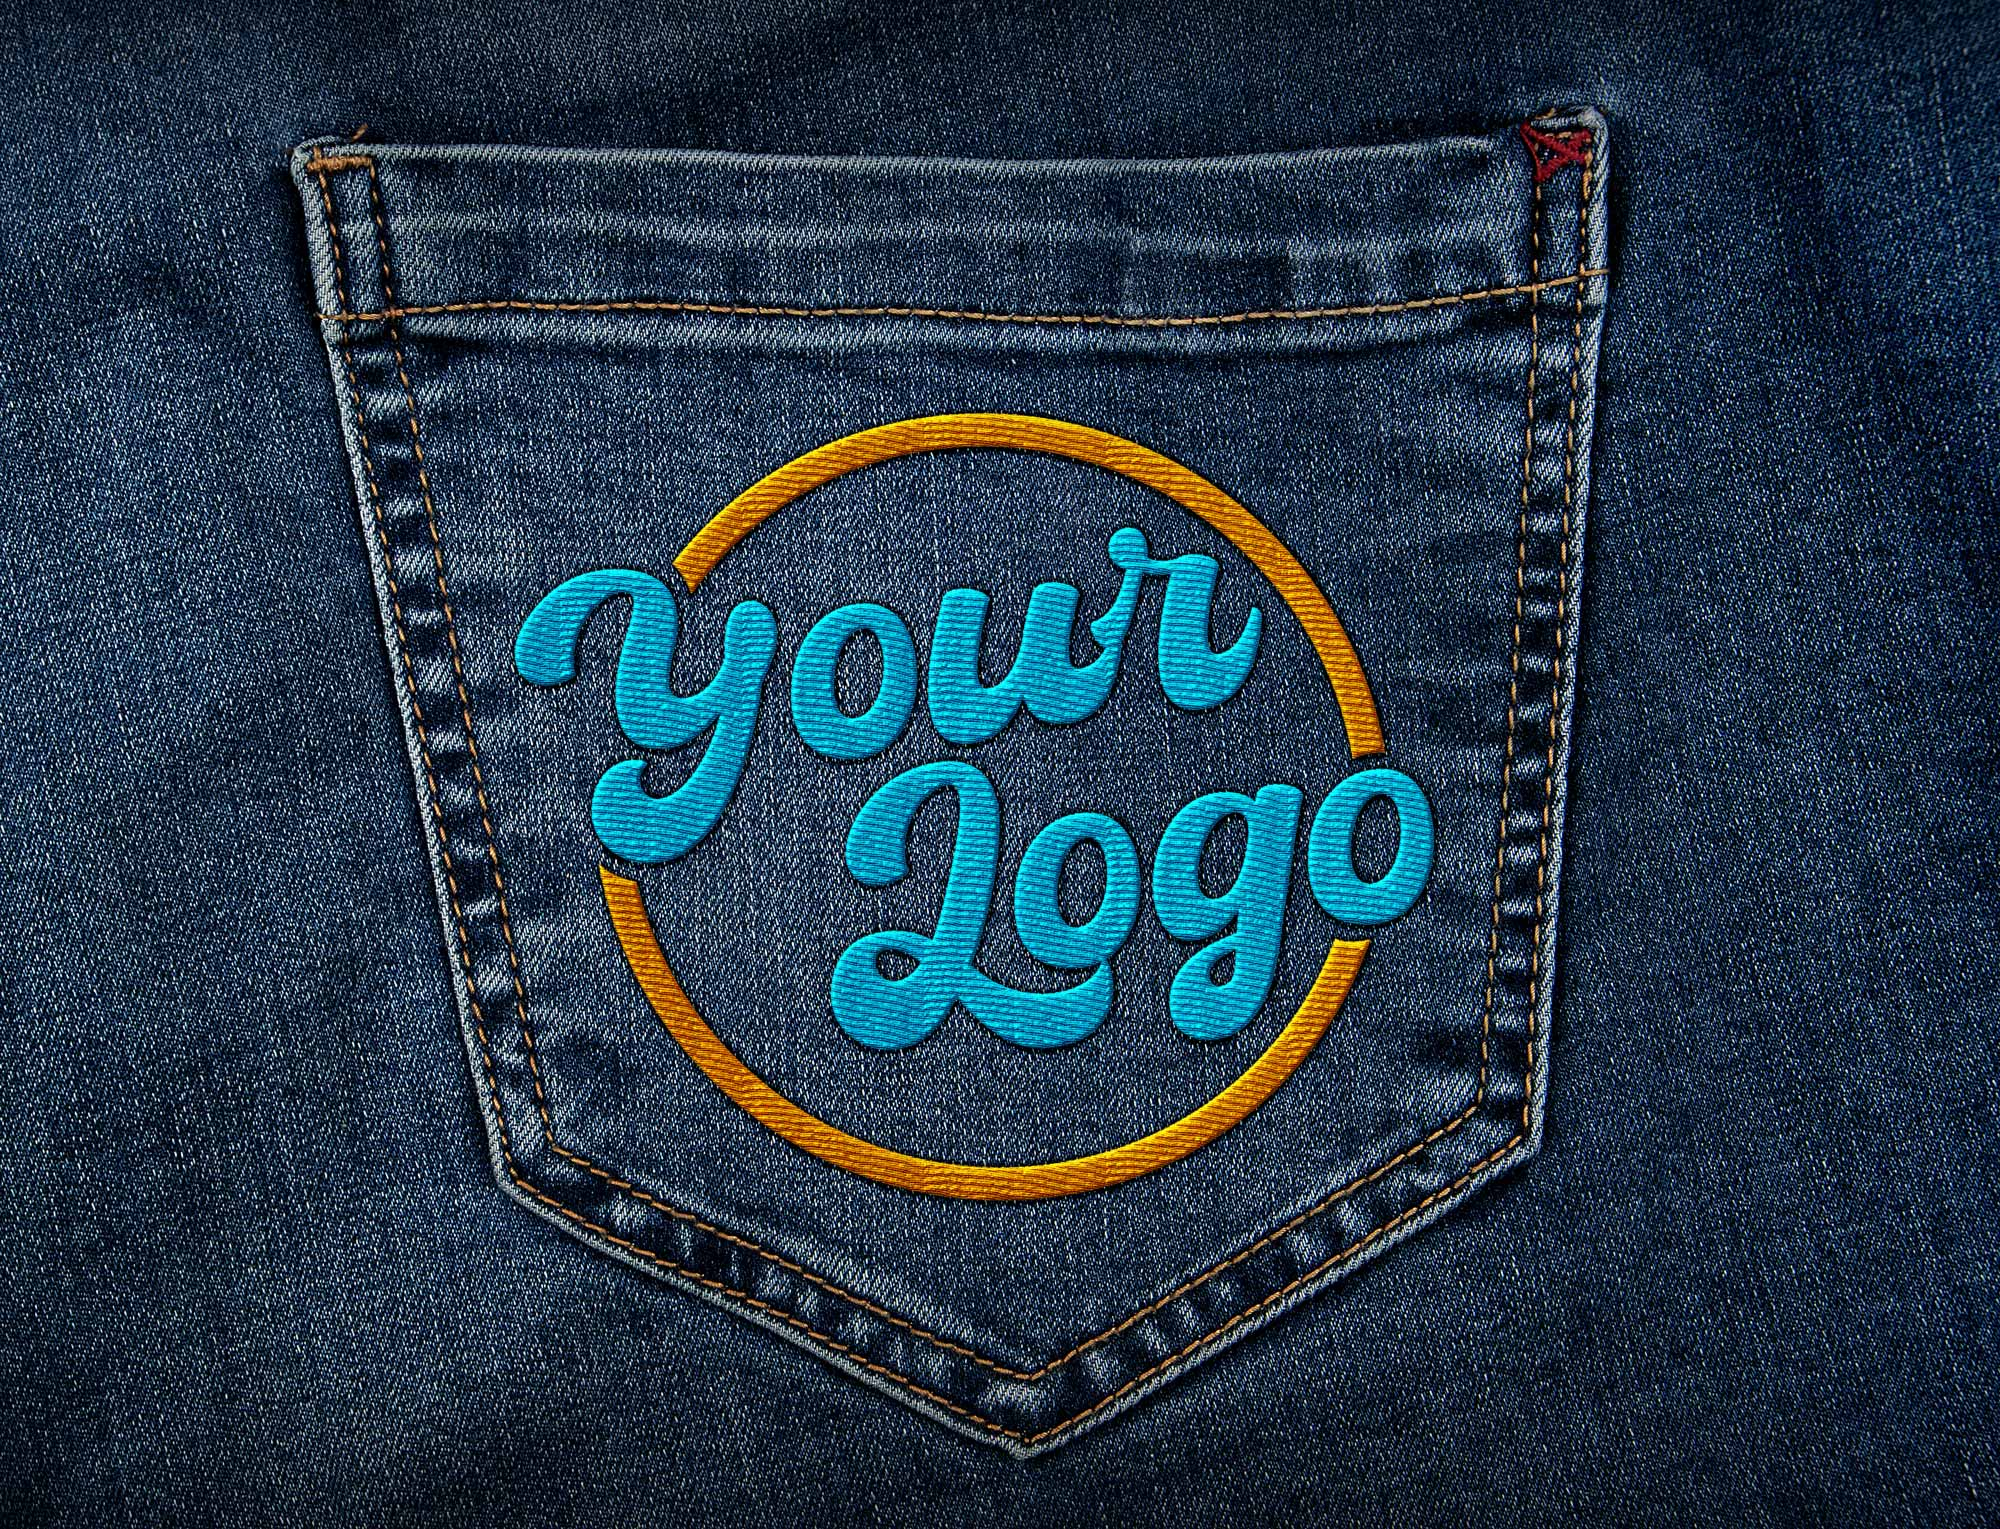
A logo is more than just an image, it’s the face of a brand. When it comes to embroidery, ensuring that your logo is accurately stitched onto fabric requires digitizing it into the correct embroidery file format.
Do you have a logo or design saved but aren’t sure how to turn it into a VP3 file for your embroidery machine? You’re not alone! As machine embroidery grows in popularity, more and more people are transforming their favorite designs into stitched masterpieces. Whether it’s a business logo, a cartoon character, floral patterns, or even photorealistic embroidery, the creative possibilities are endless. From personalizing shirts and jackets to decorating bags and home décor, embroidery allows you to bring your unique vision to life with precision and style.
If your machine supports VP3, you need a precise, well-digitized VP3 embroidery file to achieve a high-quality embroidered design. However, converting a logo into VP3 isn’t as simple as clicking “Save As.” It requires the right software, proper stitch settings, and expertise in embroidery digitizing.
That’s where this guide comes in! Whether you’re a business owner, embroidery hobbyist, or professional, we’ll walk you through everything you need to know about converting a logo to VP3. From choosing the right software to step-by-step instructions and troubleshooting tips, this guide ensures you get the best results.
Need a professional touch? Digitizing Buddy can convert your logo to VP3 format starting at just $10! With expert precision and a quick turnaround, we guarantee high-quality embroidery files that work seamlessly with your machine. Let’s dive in and get started!
Logo File Formats That Won’t Work for Embroidery Machines (And Why You Need Digitizing)
A logo can be stored in various file formats, but not all of them are compatible with embroidery machine software. In fact, most standard graphic file formats used for web and print design cannot be read by embroidery machines because they lack stitch data. Below is a breakdown of some common non-compatible formats:
1. Raster Image Formats (Pixel-Based Images)
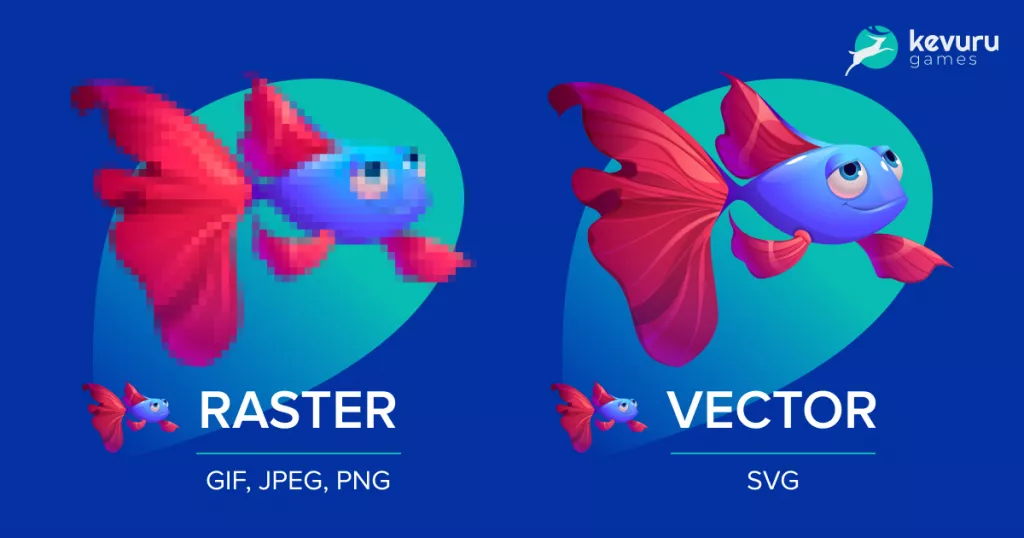
Raster images are composed of pixels and are commonly used for web, digital, and print media. These formats do not contain stitch information and cannot be directly used in embroidery software.
- JPG/JPEG – One of the most common formats for logos and images but lacks vector or stitch data.
- PNG – Supports transparency but is still a pixel-based format, not suitable for embroidery.
- BMP (Bitmap) – An uncompressed image format that retains quality but is not stitch-compatible.
- GIF – Mostly used for web graphics and animations; unsuitable for embroidery.
- TIFF – High-resolution raster format used in printing but not for embroidery machines.
2. Vector Formats (Used for Print & Design, Not Embroidery)
Vector files are scalable and great for print and graphic design, but they must be digitized before they can be used in embroidery machines.
- AI (Adobe Illustrator) – Ideal for professional graphic design but needs conversion to embroidery format.
- EPS (Encapsulated PostScript) – Used for printing and logos but not compatible with embroidery machines.
- SVG (Scalable Vector Graphics) – Web-based vector format; still needs digitization.
- PDF (Portable Document Format) – Sometimes contains vector elements, but embroidery machines can’t read it.
3. Other Miscellaneous Formats
- PSD (Adobe Photoshop Document) – Used for layered graphic design but lacks embroidery instructions.
- CDR (CorelDRAW File) – A vector format used in CorelDRAW but not directly compatible with embroidery software.
Why Are These Formats Not Compatible?
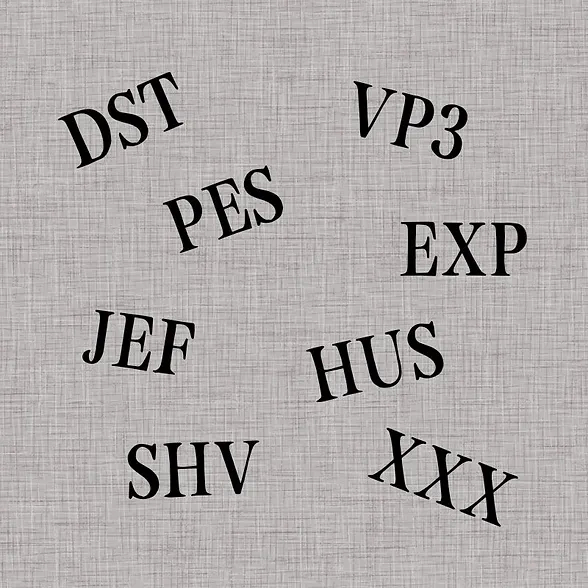
Embroidery machines do not work with pixel-based images or vector graphics in their original form. Instead, they require stitch-based formats (such as VP3, DST, PES, etc.) that include information like:
- Stitch type (satin, fill, or running stitch)
- Stitch sequence (the order in which elements are embroidered)
- Thread colors and layering
If your logo is stored in one of the formats listed above, it must be digitized into an embroidery machine-readable format before it can be stitched out. Digitizing Buddy offers professional logo conversion services, ensuring your design is embroidery-ready for as low as $10!
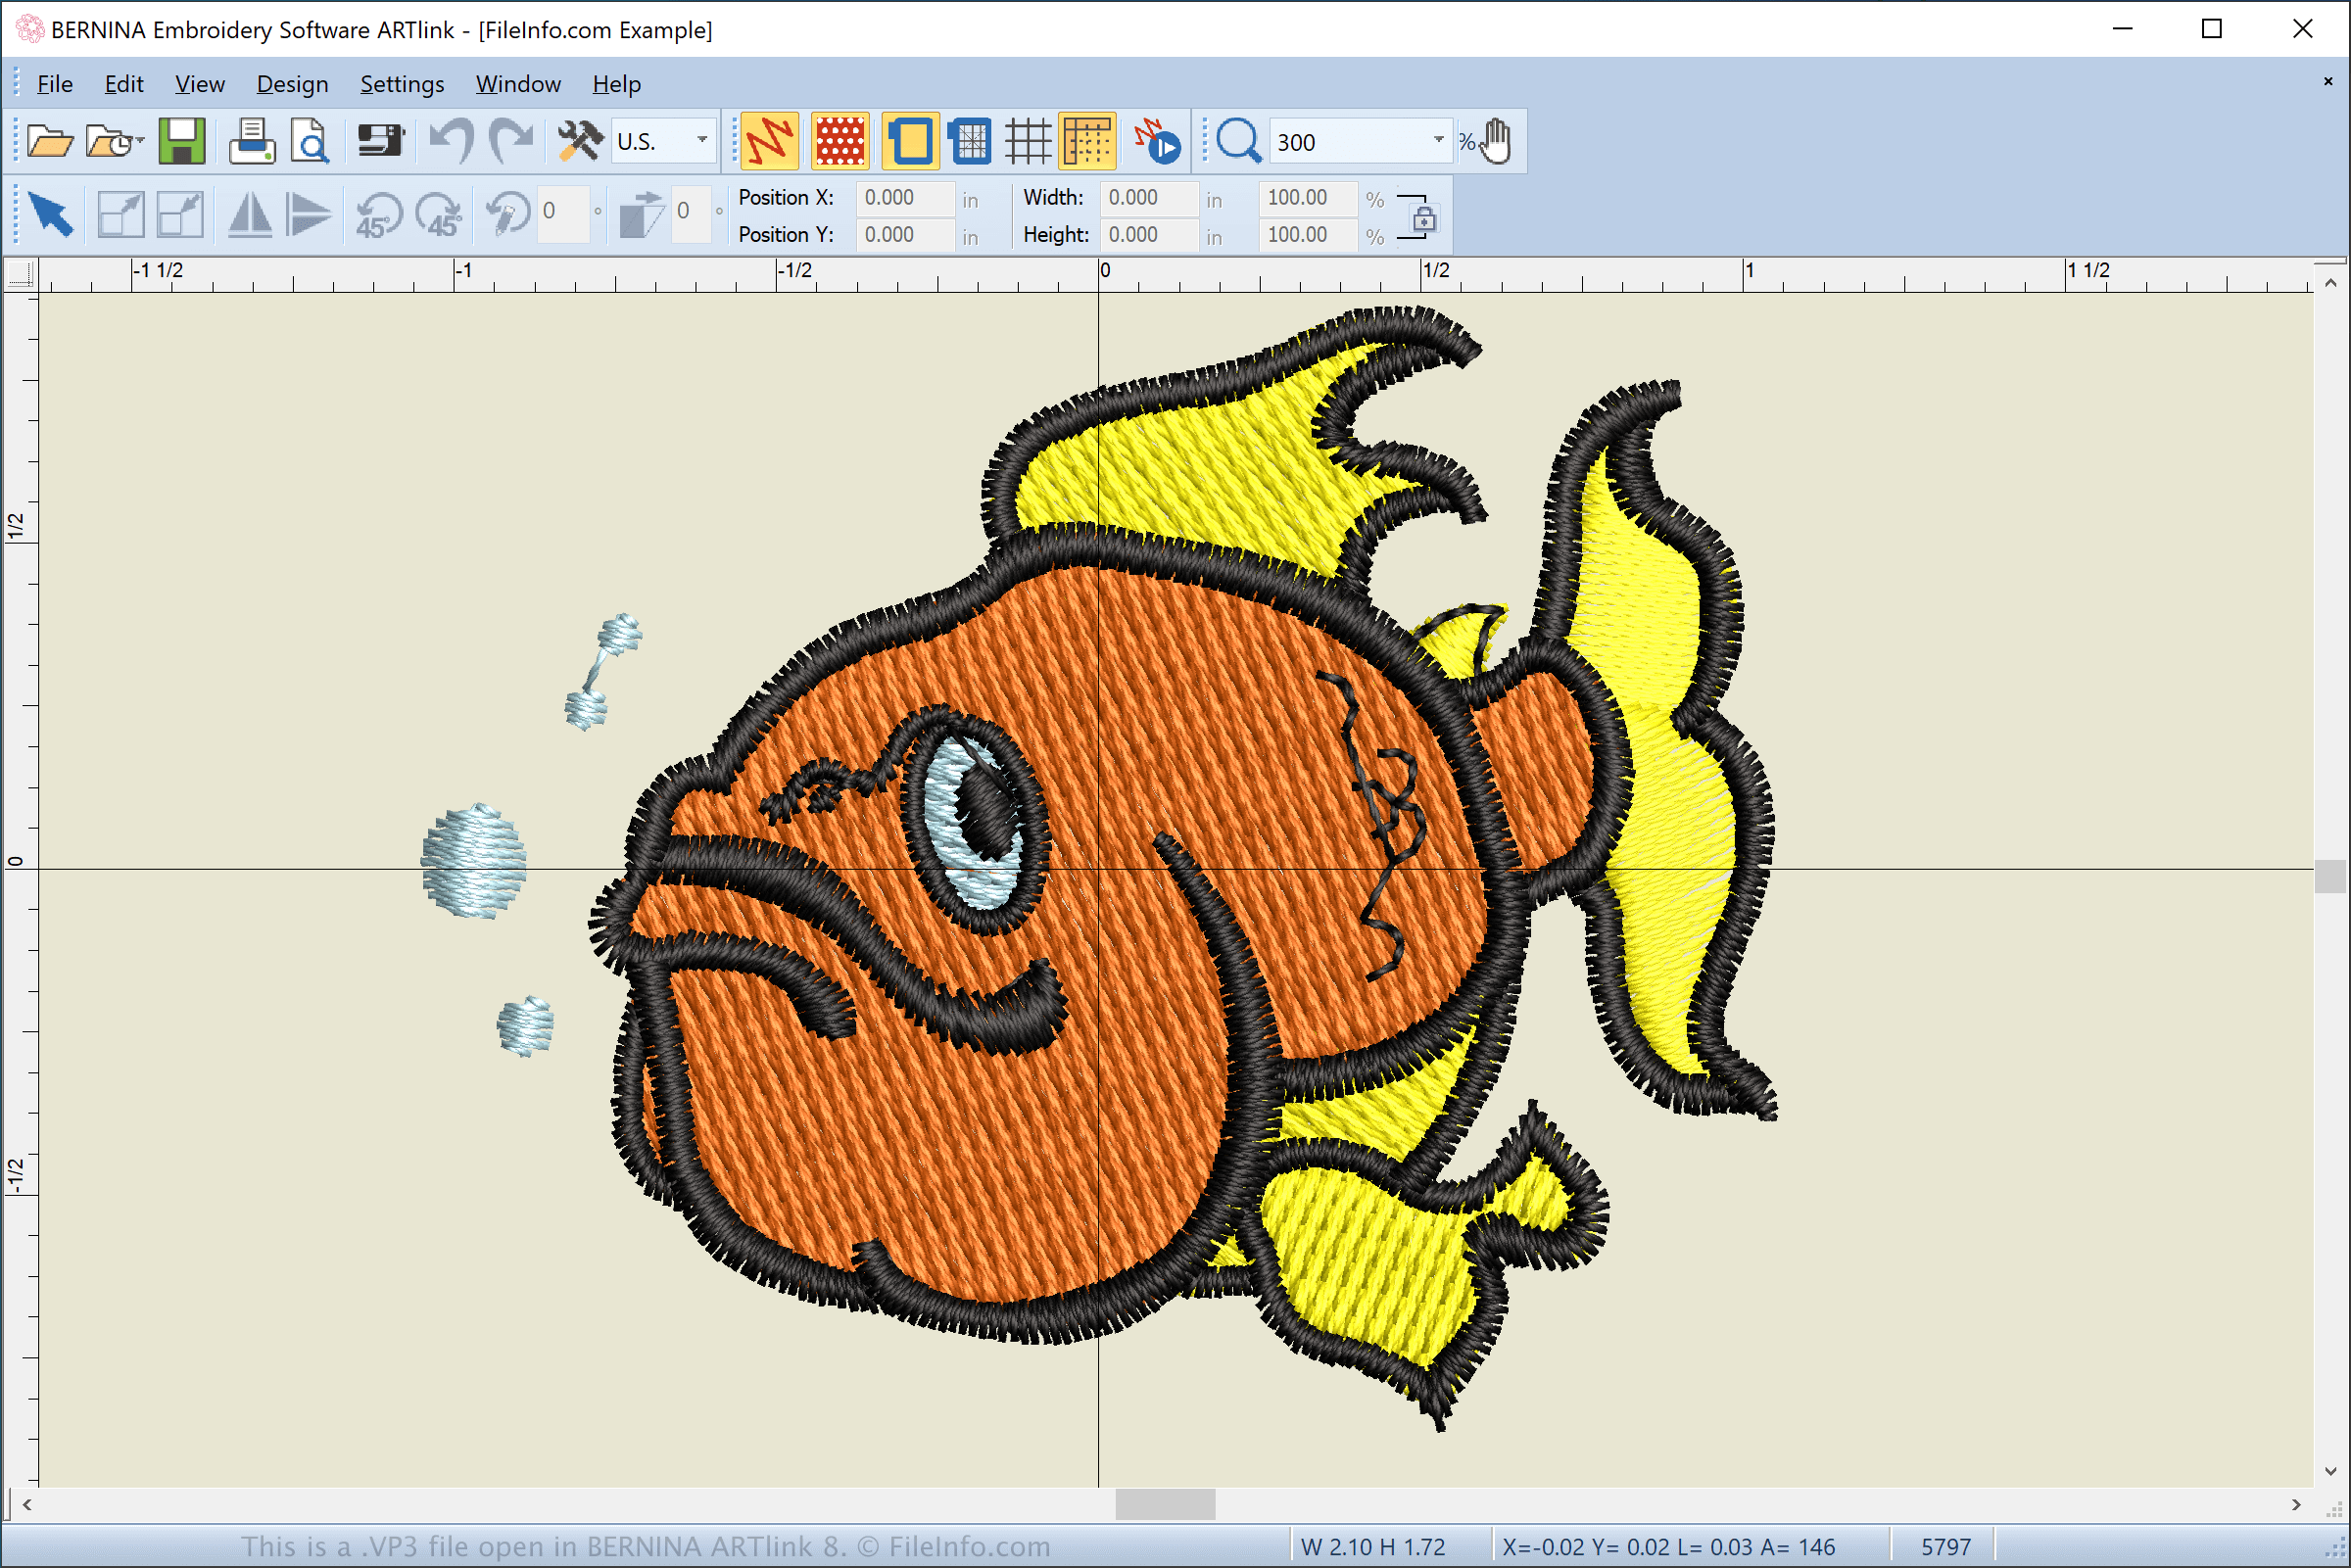
What is VP3 Embroidery Format?
When working with embroidery machines, you’ll come across various file formats, each designed to work with specific brands and models. VP3 is one such format, widely used by Husqvarna Viking and Pfaff embroidery machines. It is an advanced embroidery file type that contains detailed stitch data, allowing for precise and high-quality embroidery output.
A VP3 file acts as a set of instructions for your embroidery machine, telling it exactly how to stitch your design onto fabric. Without it, the machine wouldn’t know where to place stitches, what type to use, or how to execute the design properly.
VP3 files include essential details such as:
- Stitch type: Specifies whether to use a running stitch, satin stitch, or fill stitch, depending on the design’s details and fabric type.
- Stitch order: Determines the sequence in which different parts of the design should be stitched to ensure accuracy and avoid gaps.
- Thread colors: Assigns the correct thread shades to various sections of the design, making sure the embroidery matches the original artwork.
Without a properly digitized VP3 file, your embroidery machine won’t be able to interpret a standard image like a JPG or PNG for stitching. That’s why converting your logo or design to VP3 is a crucial step in the embroidery process. If you’d like to learn more about other embroidery file formats and how they work, be sure to check out a guide on different file types and their uses.
How VP3 Differs from Other Embroidery File Formats
VP3 is often compared to other formats like DST, PES, and EXP, which are also common in machine embroidery. While DST (Tajima) files are universal and widely used in industrial embroidery, they do not store color data, requiring manual color assignment. PES files (used by Brother and Baby Lock machines) are similar to VP3 but are designed for a different brand ecosystem. VP3, on the other hand, offers enhanced stitch efficiency, layer management, and color support, making it ideal for users of Husqvarna Viking and Pfaff machines.
Why Choose VP3?
If your embroidery machine supports VP3, it’s best to use this format because it ensures optimal stitch performance and design clarity. The structured stitch data minimizes errors and allows for a more detailed and refined embroidery output. By converting your logo into VP3, you can achieve professional-quality embroidery with fewer issues, making the digitizing process worth the effort.
Step-by-Step Guide: How to Convert a Logo to VP3
Converting a logo into VP3 format requires more than just saving a file in a different format—it involves digitizing, a process that transforms an image into stitch instructions that an embroidery machine can read. Below is a detailed step-by-step guide to help you convert your logo into VP3 properly.
Step 1: Prepare the Logo File
Before you begin, make sure your logo is in a format suitable for digitizing.
- If available, use a vector file (AI, EPS, SVG) for the cleanest results.
- If you only have a JPG or PNG, ensure it is high resolution to avoid blurry or jagged edges.
- Simplify the design by removing any shadows, gradients, or tiny details that won’t translate well into embroidery stitches.
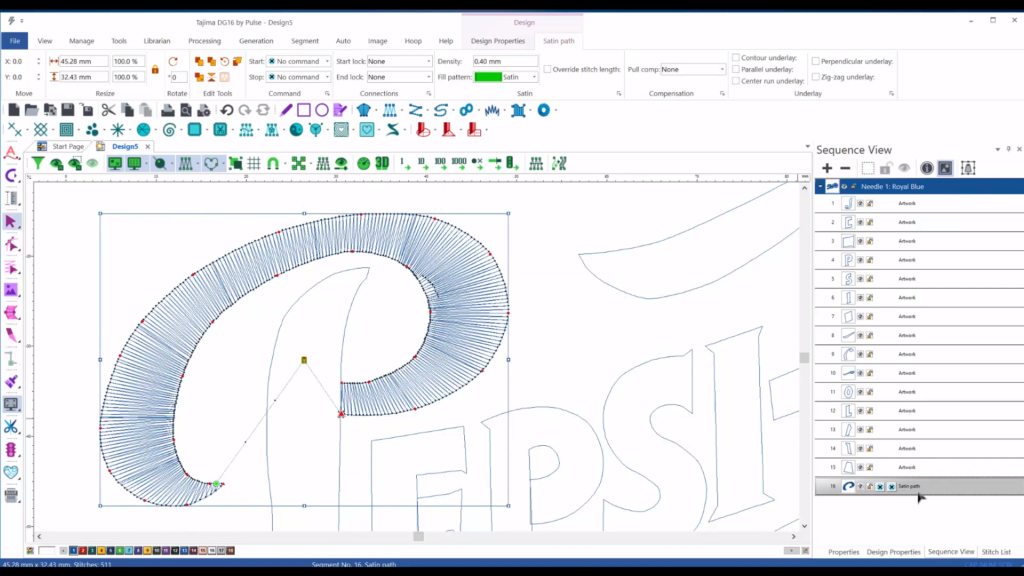
Step 2: Import the Logo into Digitizing Software
To convert the logo into an embroidery format, you’ll need professional digitizing software such as Wilcom, Hatch, Tajima Pulse, or Ink/Stitch.
- Open the software and start a new embroidery project.
- Import the JPG, PNG, or vector logo into the workspace.
- Resize the logo to match the intended embroidery area, making sure it fits within your machine’s hoop size limits.
Step 3: Manually Digitize the Logo (Best Method Over Auto-Digitizing)
Auto-digitizing tools might seem quick, but they often produce low-quality stitch files. Manual digitizing ensures precision.
- Trace the logo manually, defining each section that will be embroidered.
- Assign appropriate stitch types:
- Satin stitches for outlines and text.
- Fill stitches for larger solid areas.
- Running stitches for fine details.
- Adjust stitch density and pull compensation to prevent distortion on fabric.
- Set up underlay stitches to improve stability during embroidery.
- Assign the correct thread colors to different parts of the design.
Step 4: Convert and Save the File in VP3 Format
Once the digitizing process is complete:
- Go to the software’s “Save As” or “Export” option.
- Choose VP3 as the output format to ensure compatibility with Husqvarna Viking and Pfaff embroidery machines.
- Double-check the stitch count, thread colors, and file size to ensure accuracy.
Step 5: Test the VP3 File on an Embroidery Machine
Before using the file for production, it’s essential to run a test stitch-out on a sample fabric.
- Load the VP3 file into your embroidery machine.
- Perform a test embroidery on a similar fabric to the final product.
- Check for thread breaks, misalignment, density issues, or gaps in the design.
- If necessary, go back to the digitizing software and adjust stitch settings.
Auto-Digitizing Software: Not Free and Not Always Reliable

Many embroidery digitizing programs offer auto-digitizing features, which automatically convert a JPG or PNG into an embroidery file, including VP3. While this sounds convenient, these tools are rarely free—premium software like Wilcom, Hatch, and Tajima Pulse require costly licenses, often ranging from hundreds to thousands of dollars. Even if you find a budget-friendly option, the quality of auto-digitized files is usually poor, leading to:
- Messy stitch patterns that don’t translate well onto fabric.
- Unnecessary thread trims and jumps, causing slow, inefficient embroidery.
- Incorrect stitch density, resulting in thread breaks or fabric puckering.
- Distorted shapes and missing details, especially for complex designs.
Because of these issues, professionals prefer manual digitizing, ensuring that every stitch is carefully placed for a clean and high-quality embroidery result. If you’re serious about embroidery, auto-digitizing is not the best solution—a professionally digitized file will always produce superior results.
Online Converter Tools: A Scam or Waste of Time?

Many websites claim to offer free logo to VP3 converters, but most are unreliable or misleading. These tools either rename the file without actual digitizing or apply low-quality auto-digitizing, leading to poor stitch results. Worse, some may contain malware or steal your design. Even if a file is converted, it won’t stitch properly, wasting time and materials. Instead of risking bad results, it’s smarter to get a professionally digitized VP3 file for just $10 at Absolute Digitizing—guaranteeing precision and machine compatibility.
Why Professional Digitizing Services Are Better Than DIY Conversion

While DIY digitizing may seem cost-effective, professional digitizing services offer superior precision, efficiency, and reliability. Expert digitizers understand stitch optimization, ensuring smooth embroidery with correct stitch types, density, and underlay settings to prevent distortions.
By choosing a professional service, you save time and effort, avoiding frustrating trial-and-error with stitch issues or software complexities. Professionals also guarantee machine compatibility, ensuring your VP3 file works perfectly with Husqvarna Viking and Pfaff embroidery machines.
Final Thoughts: Get Your Logo Ready for Embroidery!
We’ve covered various methods for converting a logo into a VP3 file, including using embroidery digitizing software and opting for professional digitizing services. While mastering digitizing software can be a valuable skill, it requires time, patience, and practice to get high-quality results.
If you’re looking for a faster and hassle-free solution
, working with a professional digitizing service like Digitizing Buddy
is the best option. We offer affordable pricing, quick turnaround times, and expertly digitized files
, allowing you to focus on your embroidery projects without the technical complexities
.